Network Destinations
Networking Destinations allows you to route user traffic to any network by defining destination IPs, IP ranges, CIDR, and so on, and associating these parameters with a connector zone that can reach those resources. For more information, see Connector Zones.
You can use Network Destinations to provide access to systems without creating a separate application entry for every server or endpoint. This access can be managed by defining policy rules. For more information, see Adding Policy Rules.
The Network Destinations page allows you monitor and configure network destination aliases.
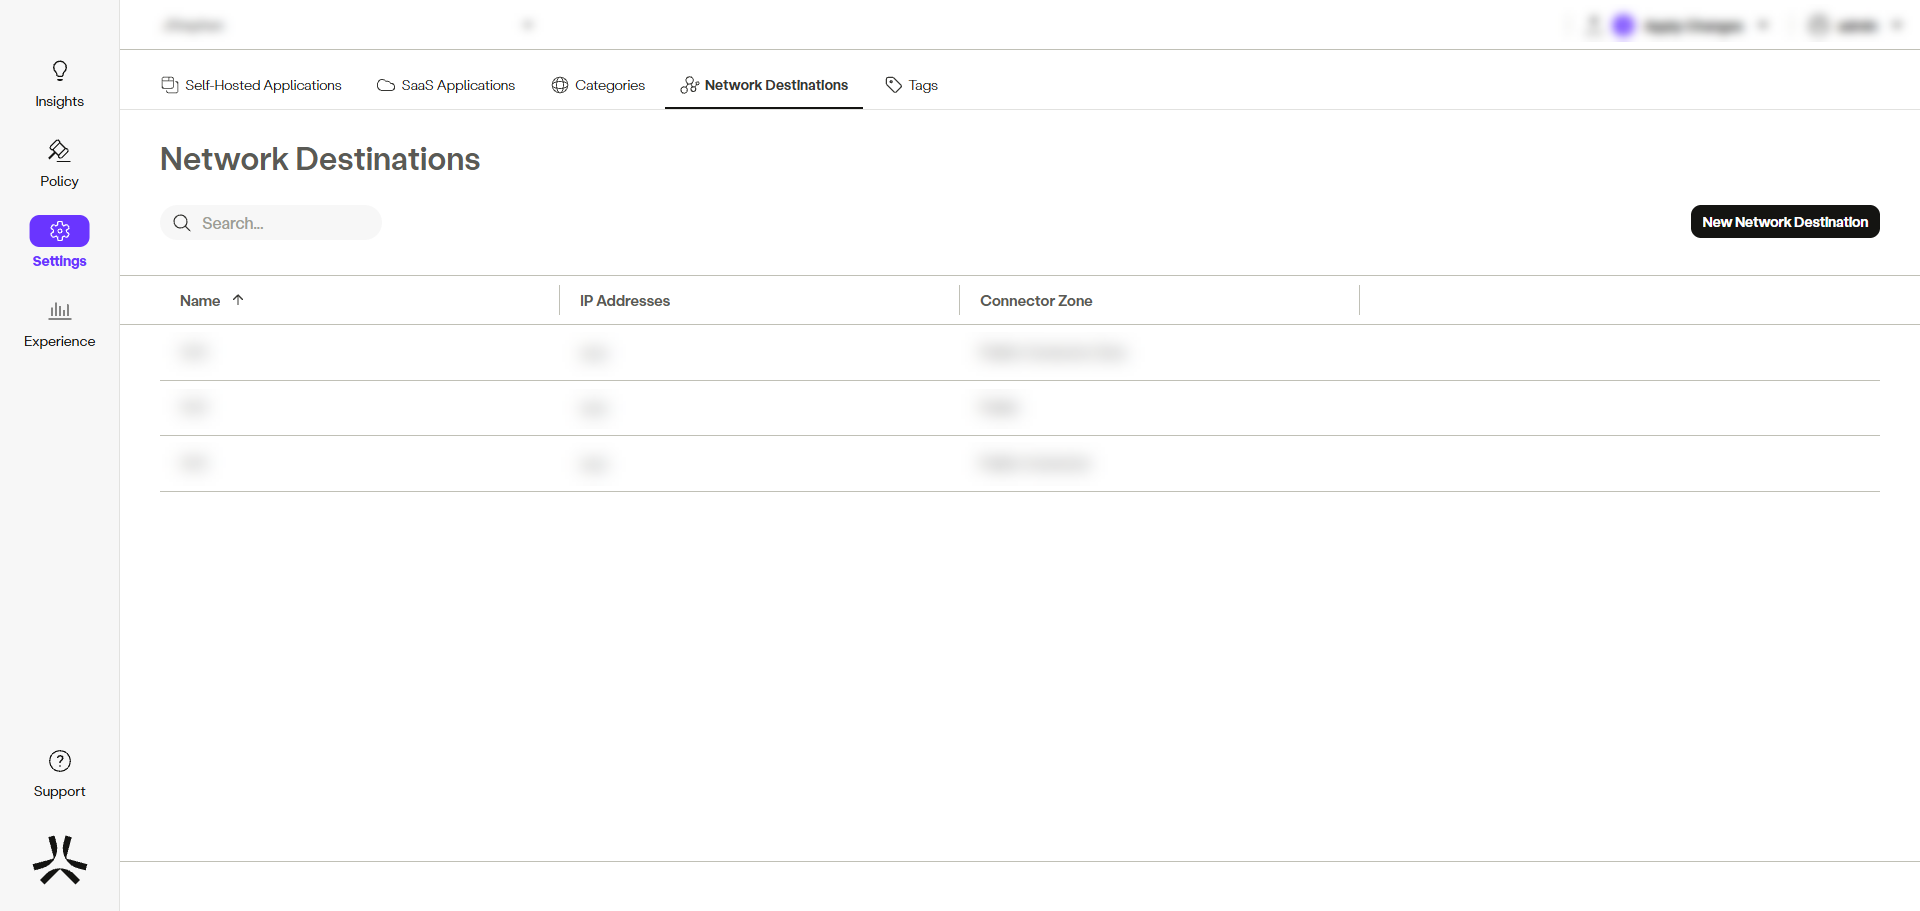
- The Name column displays the name of the network destination alias.
- The IP Addresses column displays the IP address, range or CIDR.
- The Connector Zone column displays the associated connector zone (internal or external).
Creating a Network Destination
To create a network destination, complete the following steps:
- In the management console, go to Settings -> Destinations -> Network Destinations.
- Click New Network Destination.
- Enter the alias name in the Name field.
- In the Destination IPs section, enter an IP range or CIDR.
- Click Add new source IP to add additional IP ranges or CIDR, as necessary.
- Click Submit.

NoteTo commit your changes, navigate to the top-right menu, click Apply Changes, then select Commit Changes.
Updated 3 months ago