SAML Integration: Advanced Settings
Use the Advanced IdP Settings screen in the Identity Provider (IdP) integration form to configure the following optional advanced settings for your SAML integration:
- Attribute Mapping: Add the SAML attributes that will be used to query the IdP in policy rules.
- User Auto-Provisioning (SCIM): Generate an auto-provisioning token that will be used when configuring the Axis application in Okta or Azure AD.
- User Portal SSO: Specify the portal address through which the user can access Clientless applications, authenticating using the IdP.
- Atmos Agent SSO: Change the default IdP configured for logging users into Atmos Agent.
- Administrators SSO: Change the default IdP configured for logging administrators into the Management Console.
Axis supports the following methods for adding an Identity Provider (IdP) using SAML:
- Okta IdP
- Azure IdP Integration
- Custom SAML IdP for other IdPs such as PingFederated IdP Integration and JumpCloud Integration
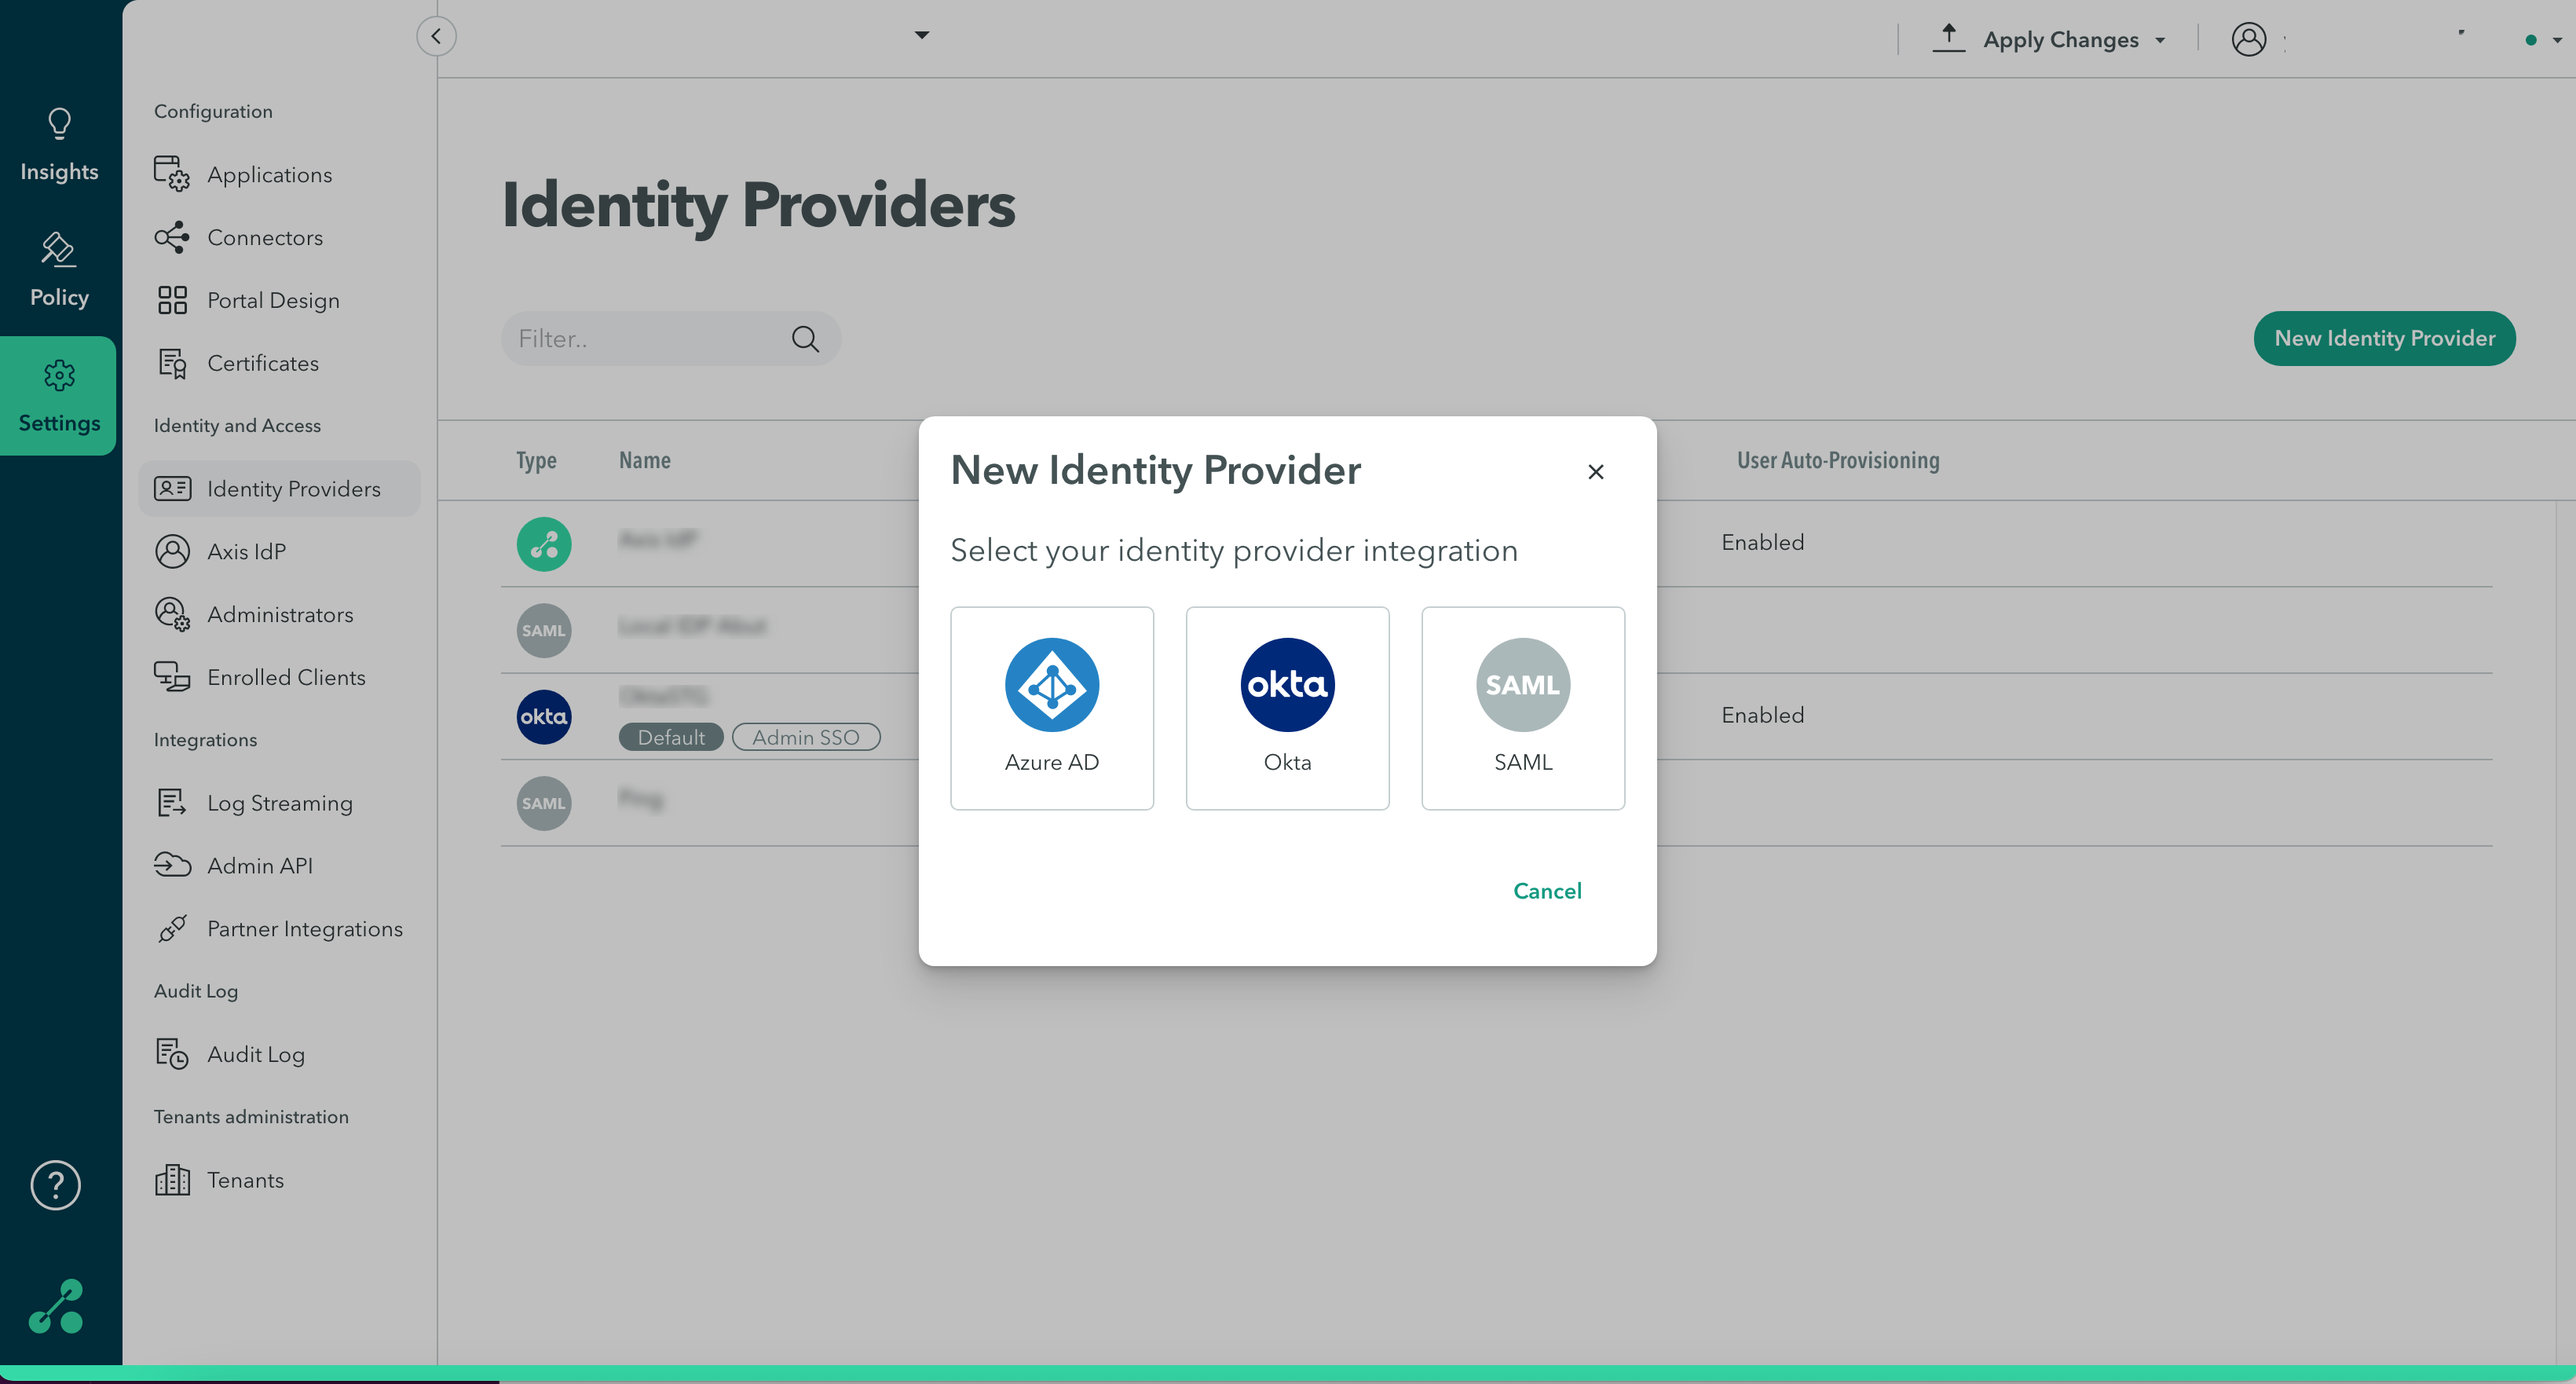
These settings are located at the Settings-> Identity Providers-> New Identity Provider-> screen.
The following screen shows the Advanced Settings option when you use the SAML identity provider:
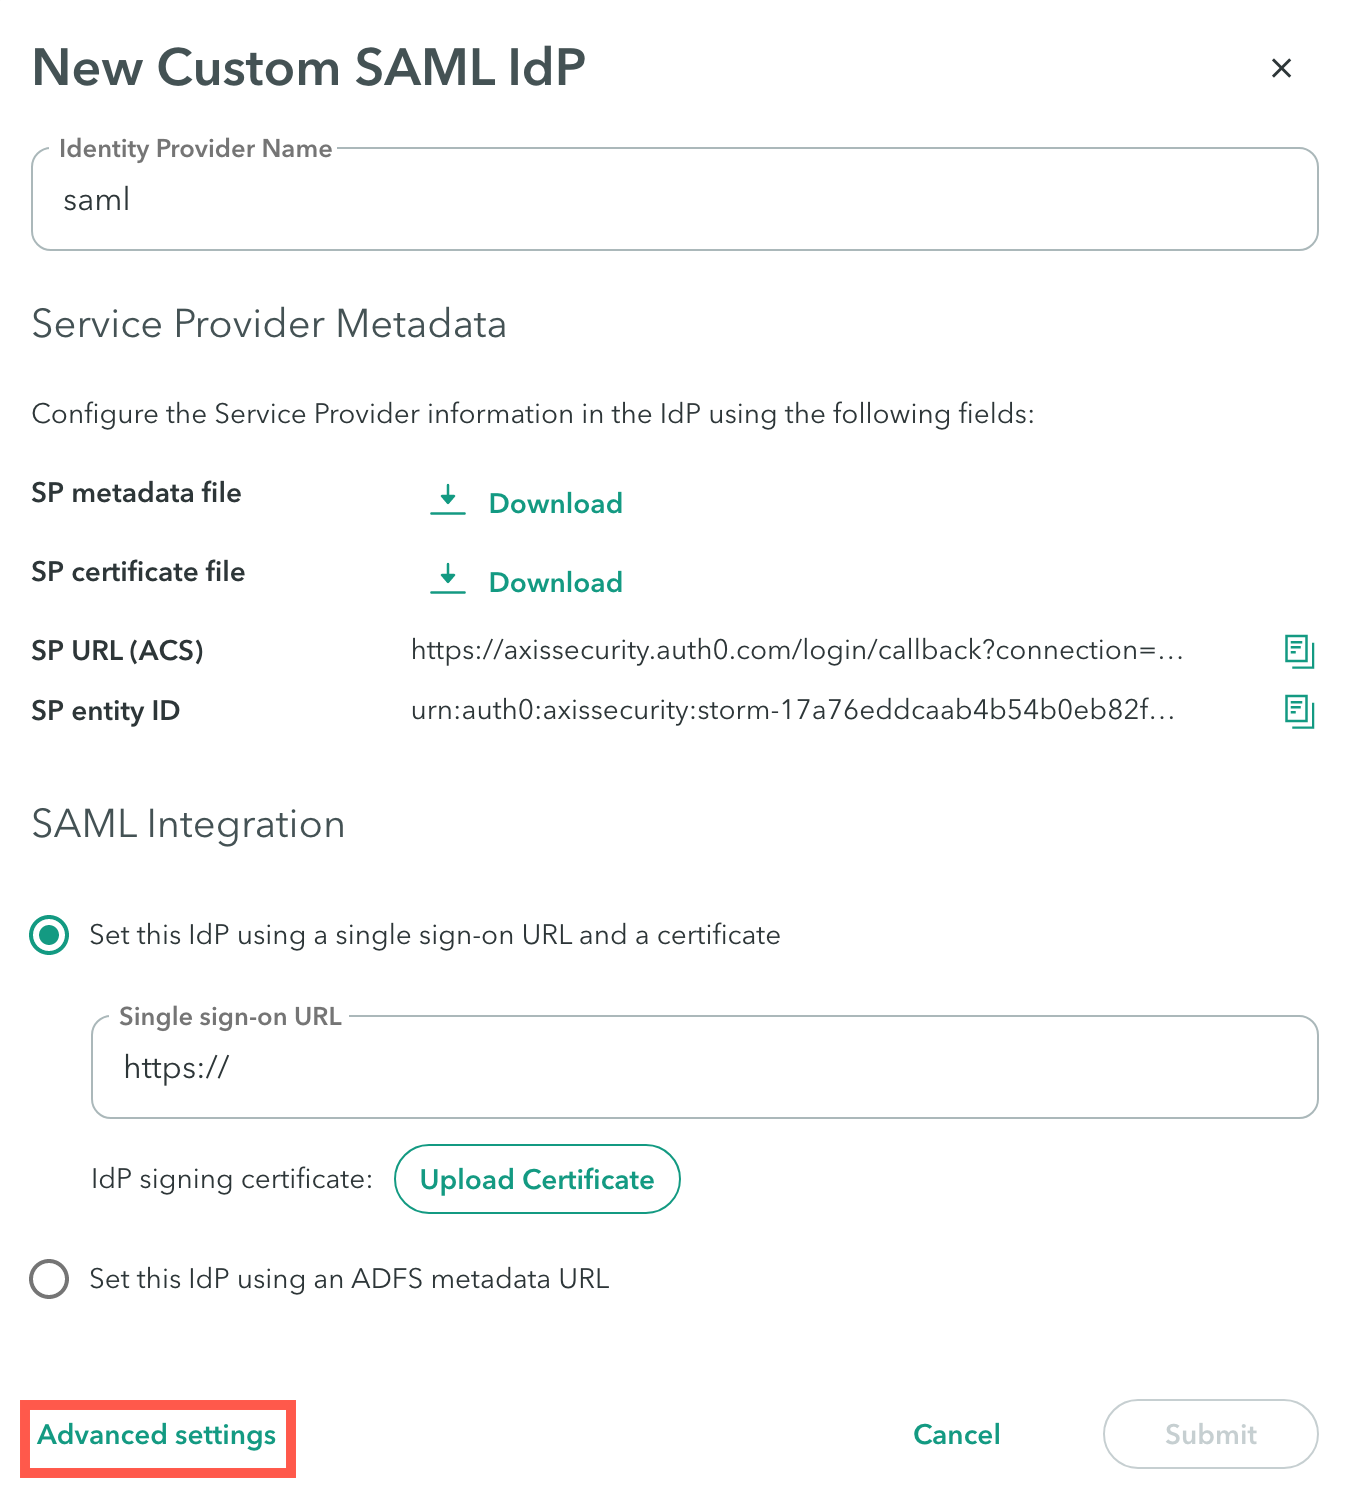
Attribute Mapping
Use the Attribute Mapping at Settings > Identity Providers Advanced Settings-> Attribute Mapping to add the SAML attributes that will be used to query the IdP in policy rules.
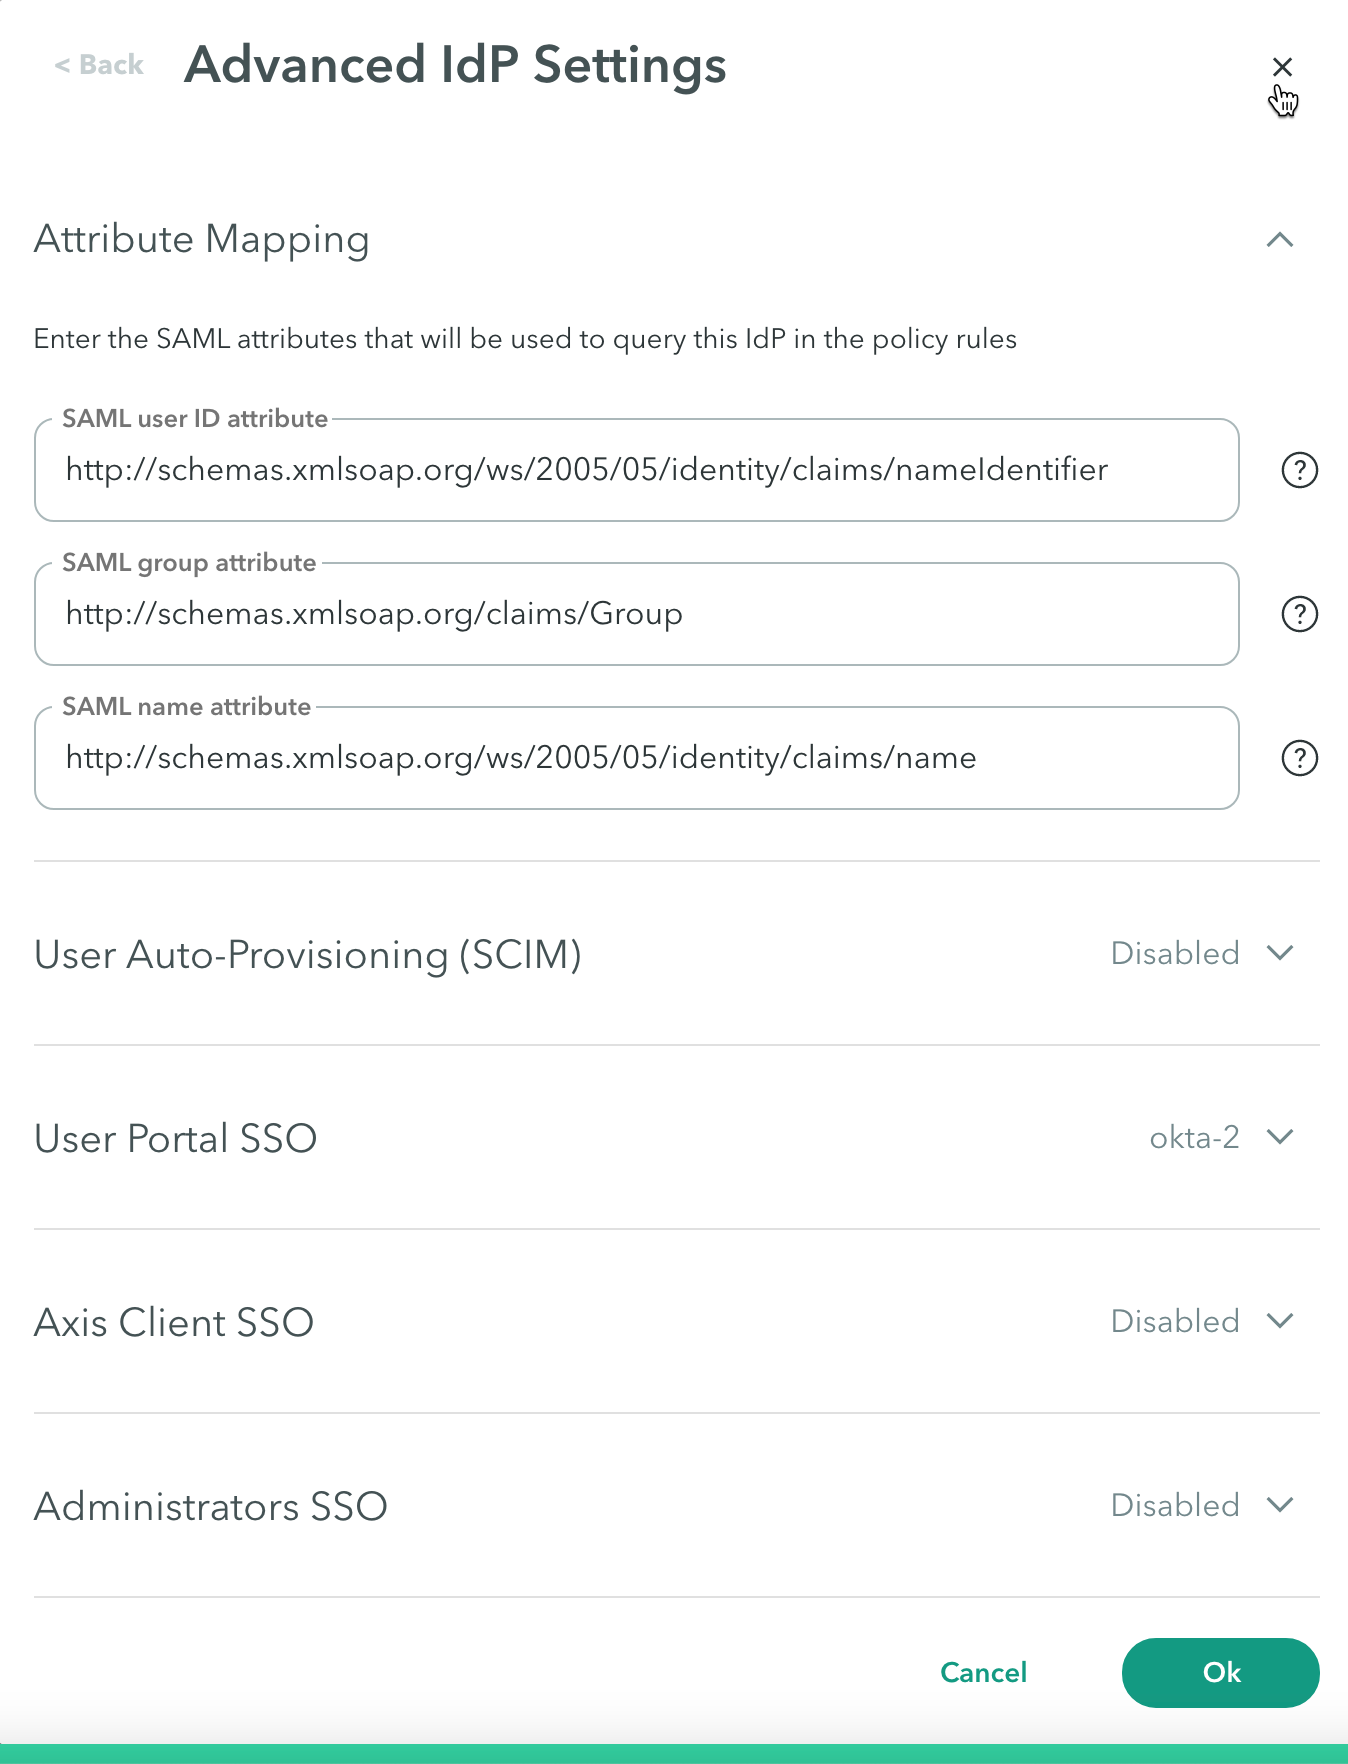
To add the SAML attributes that will be used to query the IdP in policy rules, enter the following:
- SAML user ID attribute: The SAML claim mapped to the User property in the policy rule.
The default value for Okta is http://schemas.xmlsoap.org/ws/2005/05/identity/claims/nameIdentifier
The default value for Azure AD is http://schemas.xmlsoap.org/ws/2005/05/identity/claims/upn - SAML group attribute: The SAML claim mapped to the Group property in the policy rule. The default value is http://schemas.xmlsoap.org/claims/Group.
- SAML name attribute: The SAML claim mapped to the Name property in the policy rule. The default value is http://schemas.xmlsoap.org/ws/2005/05/identity/claims/name.
User Auto-Provisioning (SCIM)
Use the User Auto-Provisioning (SCIM) configuration at Settings > Identity Providers Advanced Settings-> User Auto-Provisioning to generate an auto-provisioning token that will be used when configuring the Axis application in Okta or Azure AD.
Important: This configuration is relevant only for Okta and Azure AD.
Click here to learn more about user provisioning with Okta SCIM
Click here to learn more about user provisioning with Azure AD SCIM
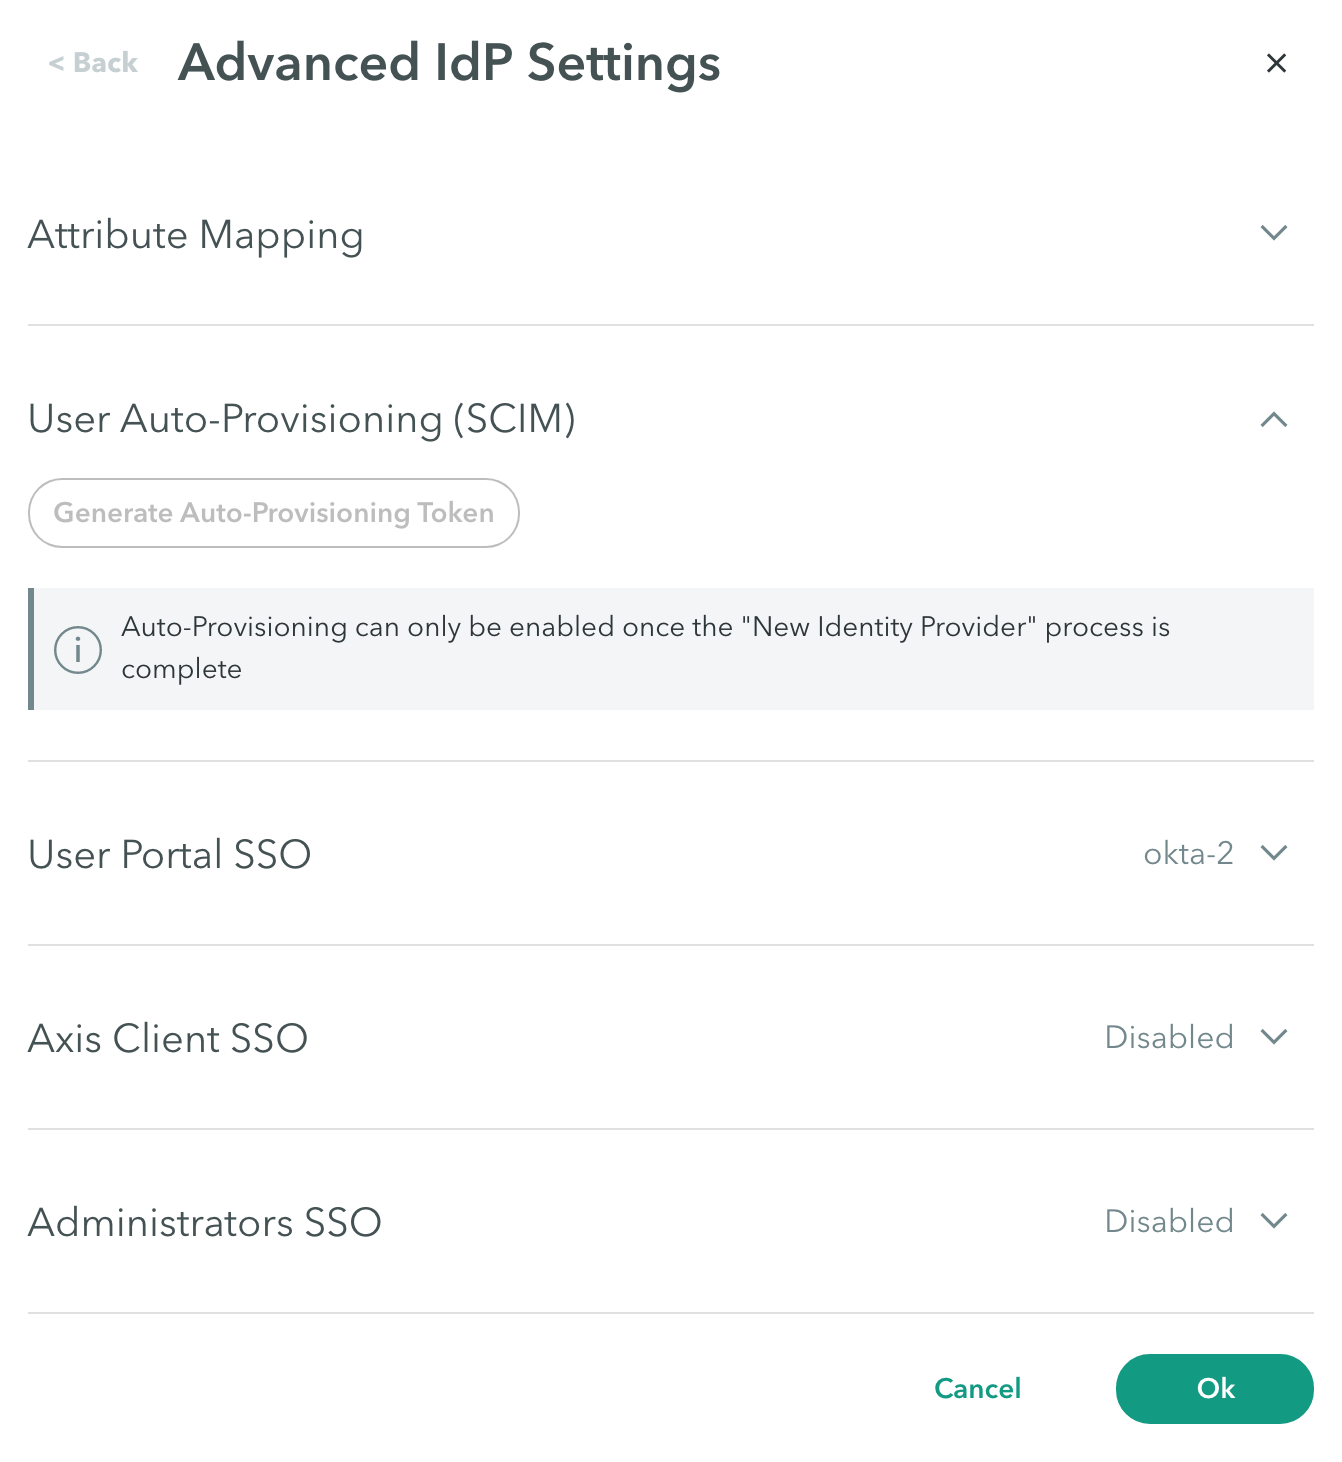
To generate an auto-provisioning token:
- Click Generate Auto-Provisioning Token.
- Copy the token value.
- Paste the token into a text editor.
This will be used to enable user auto-provisioning.
Important: Auto-provisioning can only be enabled once the IdP creation is complete.
User Portal SSO
Use the User Portal SSO configuration at the Settings > Identity Providers Advanced Settings-> User Portal SSO to specify the portal address through which the user can access Clientless applications, authenticating using the IdP.
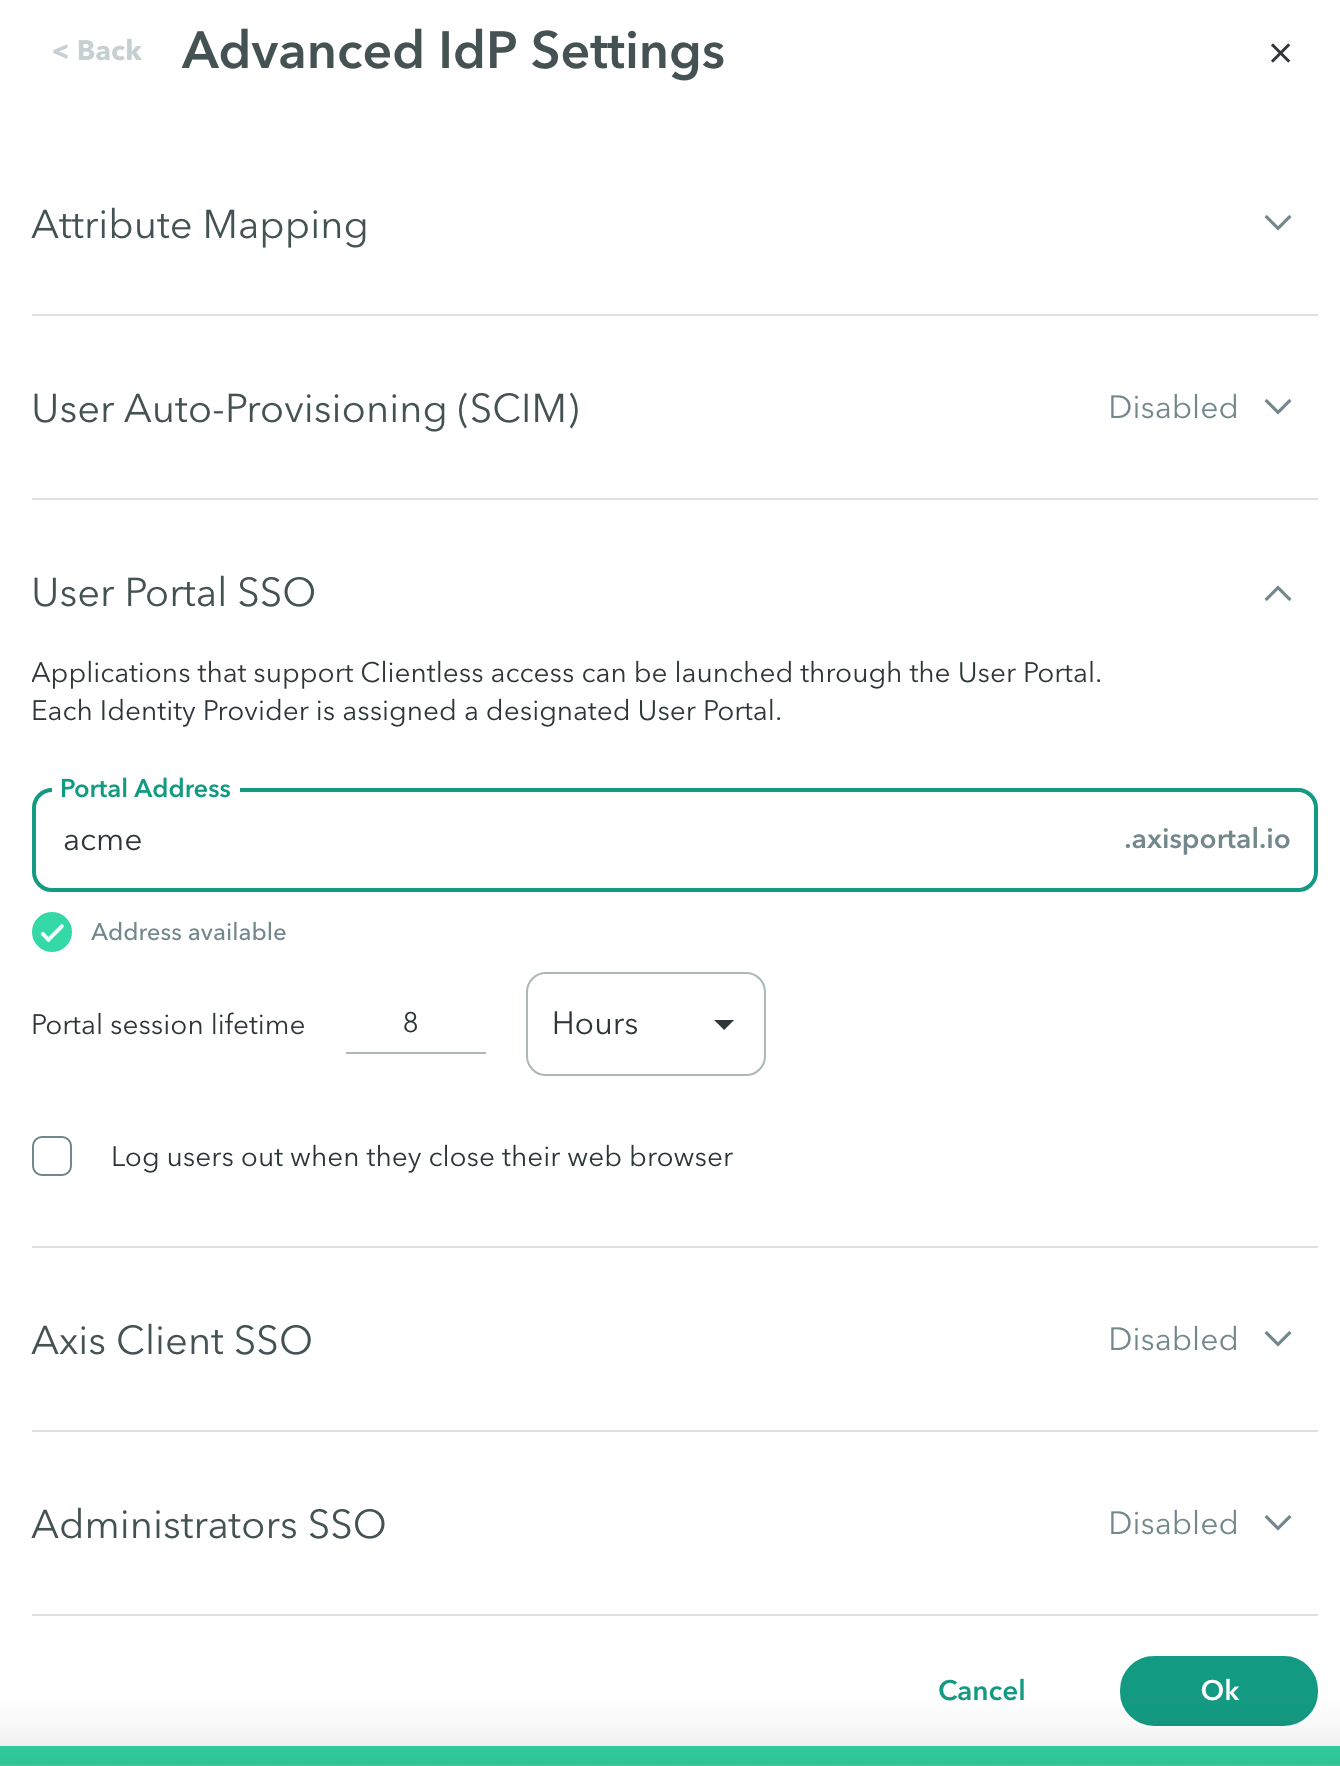
To specify the portal address through which the user can access Clientless applications, authenticating using the IdP:
- In Portal Address, enter a name for the user application portal URL.
- Configure Portal session lifetime in days, hours, or minutes. This indicates the time until the user must authenticate again. The maximum number of days is 90.
- Select Log users out when they close their web browser.
Atmos Agent SSO
Use the Atmos Agent SSO configuration at Settings > Identity Providers Advanced Settings-> Atmos Agent SSO to change the default IdP configured for logging users into Atmos Agent.
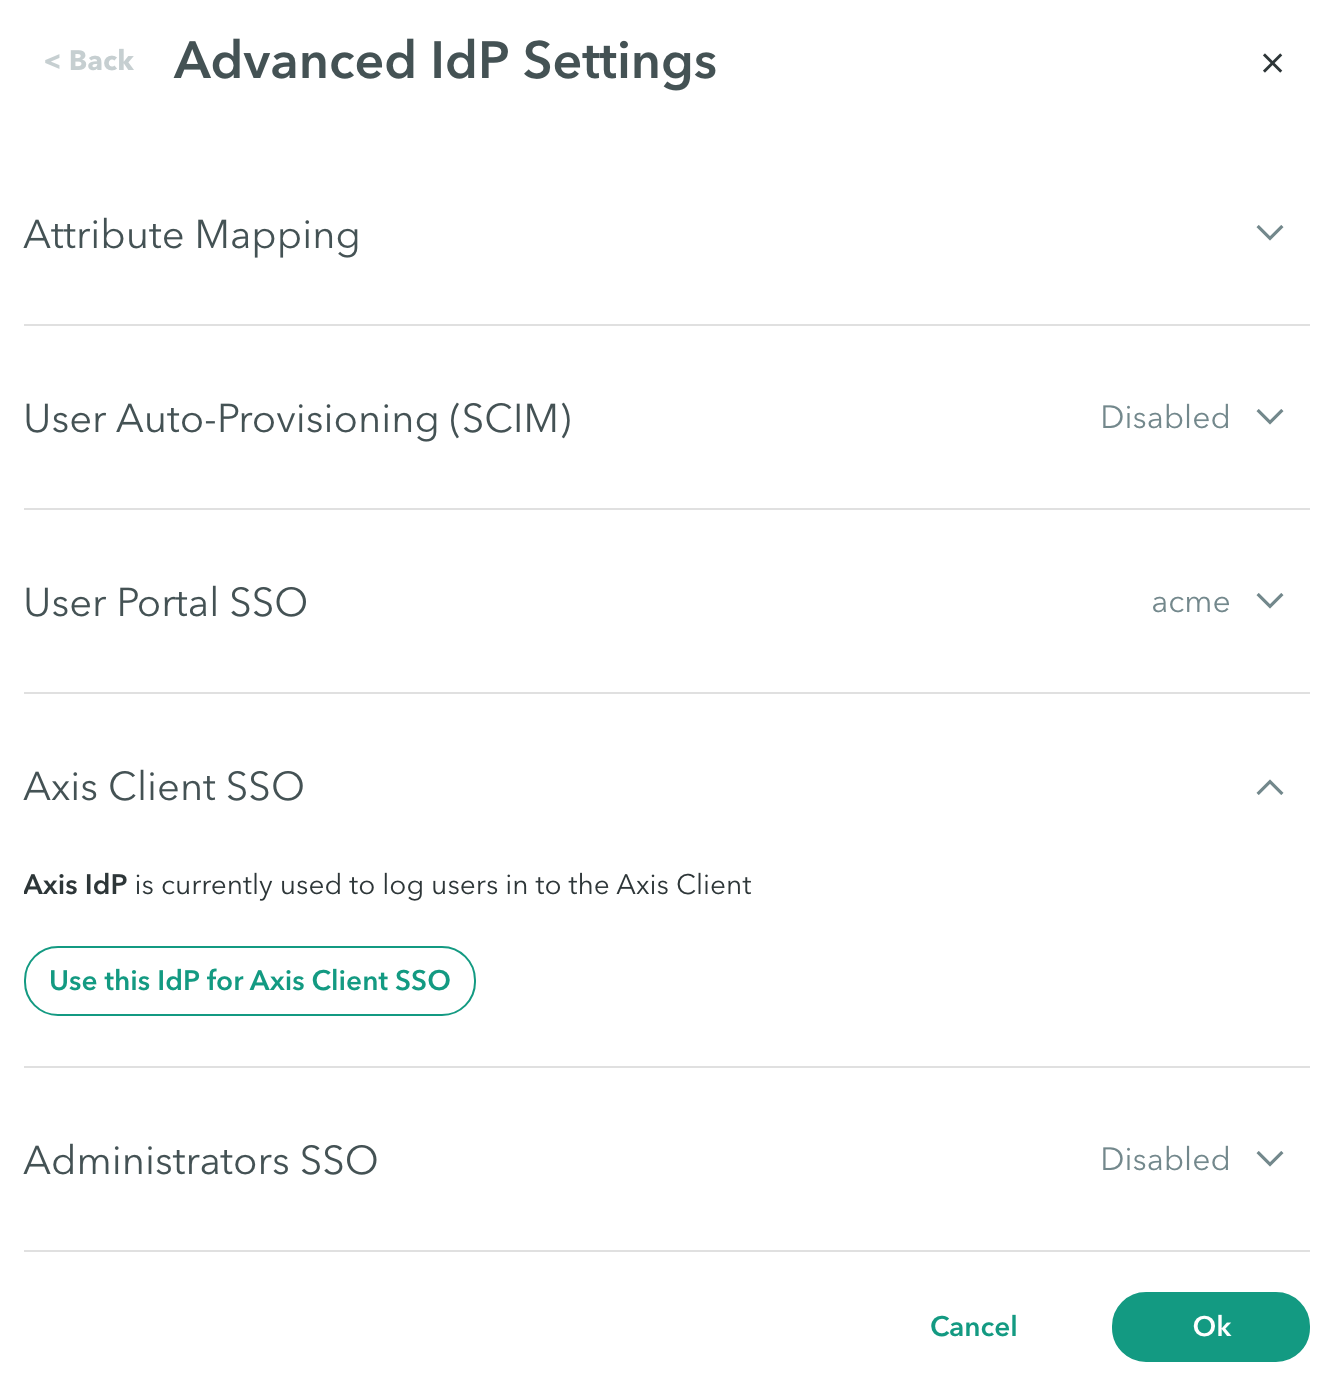
To change the default IdP configured for logging users into Atmos Agent:
- Click Use this IdP for Atmos Agent SSO if you want to use this IdP to authenticate users logging in to the Atmos Agent.
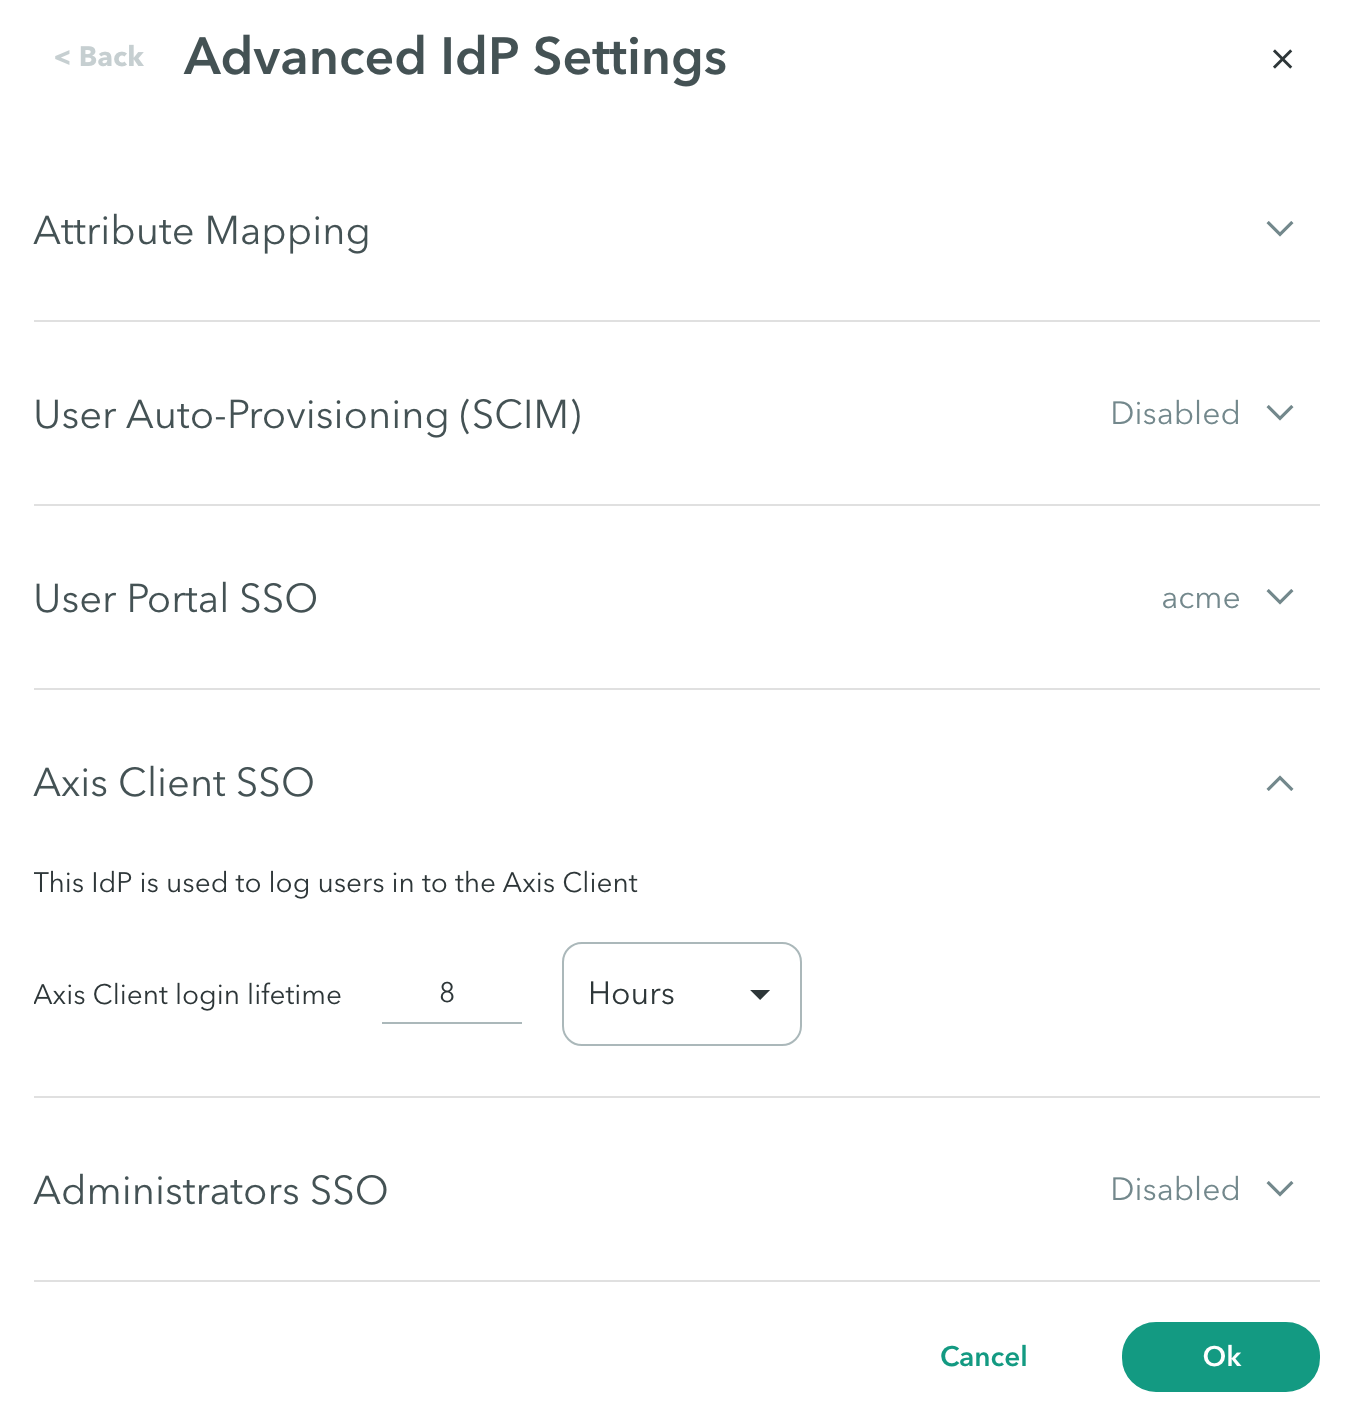
- Configure Atmos Agent login lifetime in days, hours, or minutes. This indicates the time until the user must authenticate again.
Note: When setting the IdP as the Atmos Agent SSO, this will be the new IdP used to login with to the Atmos Agent.
Administrators SSO
Use the Administrators SSO configuration at the Settings > Identity Providers Advanced Settings-> Administrators SSO screen to change the default IdP configured for logging administrators into the Management Console.
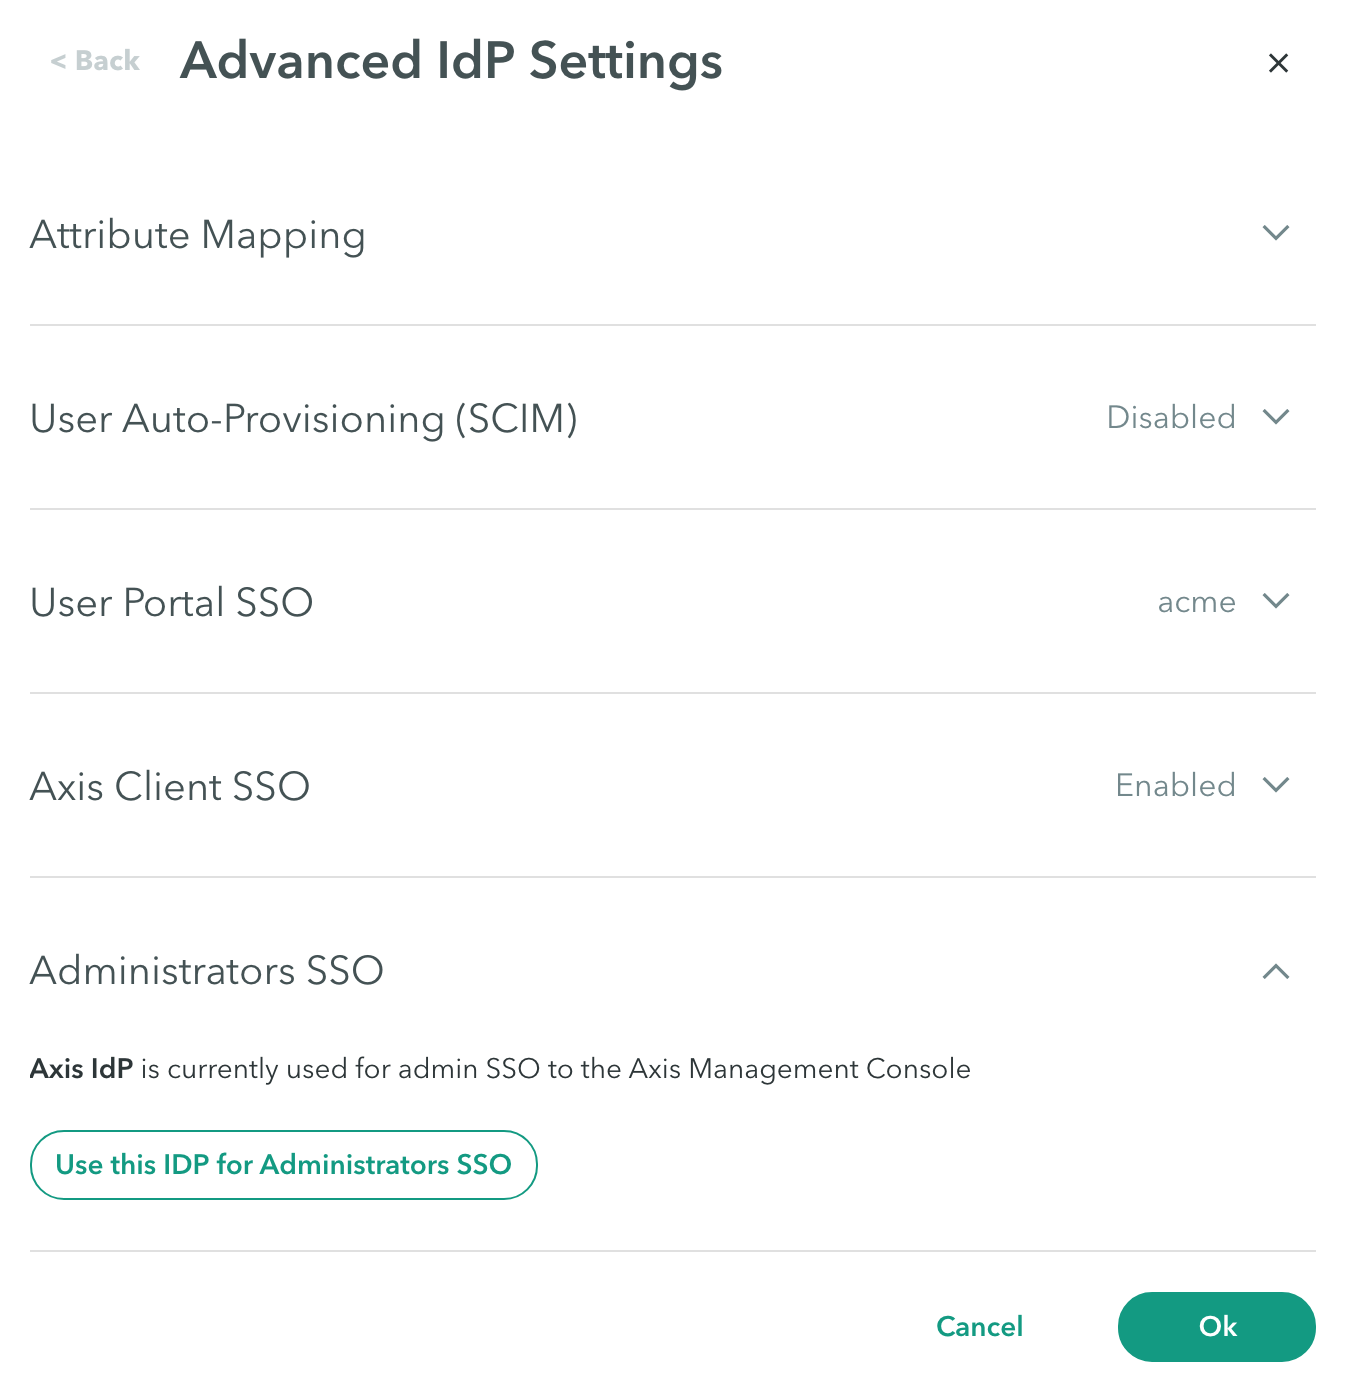
To change the default IdP configured for logging administrators into the Management Console:
- Click Use this IdP for Administrators SSO if you want to use this IdP to authenticate administrators logging in to the Axis Management Console.
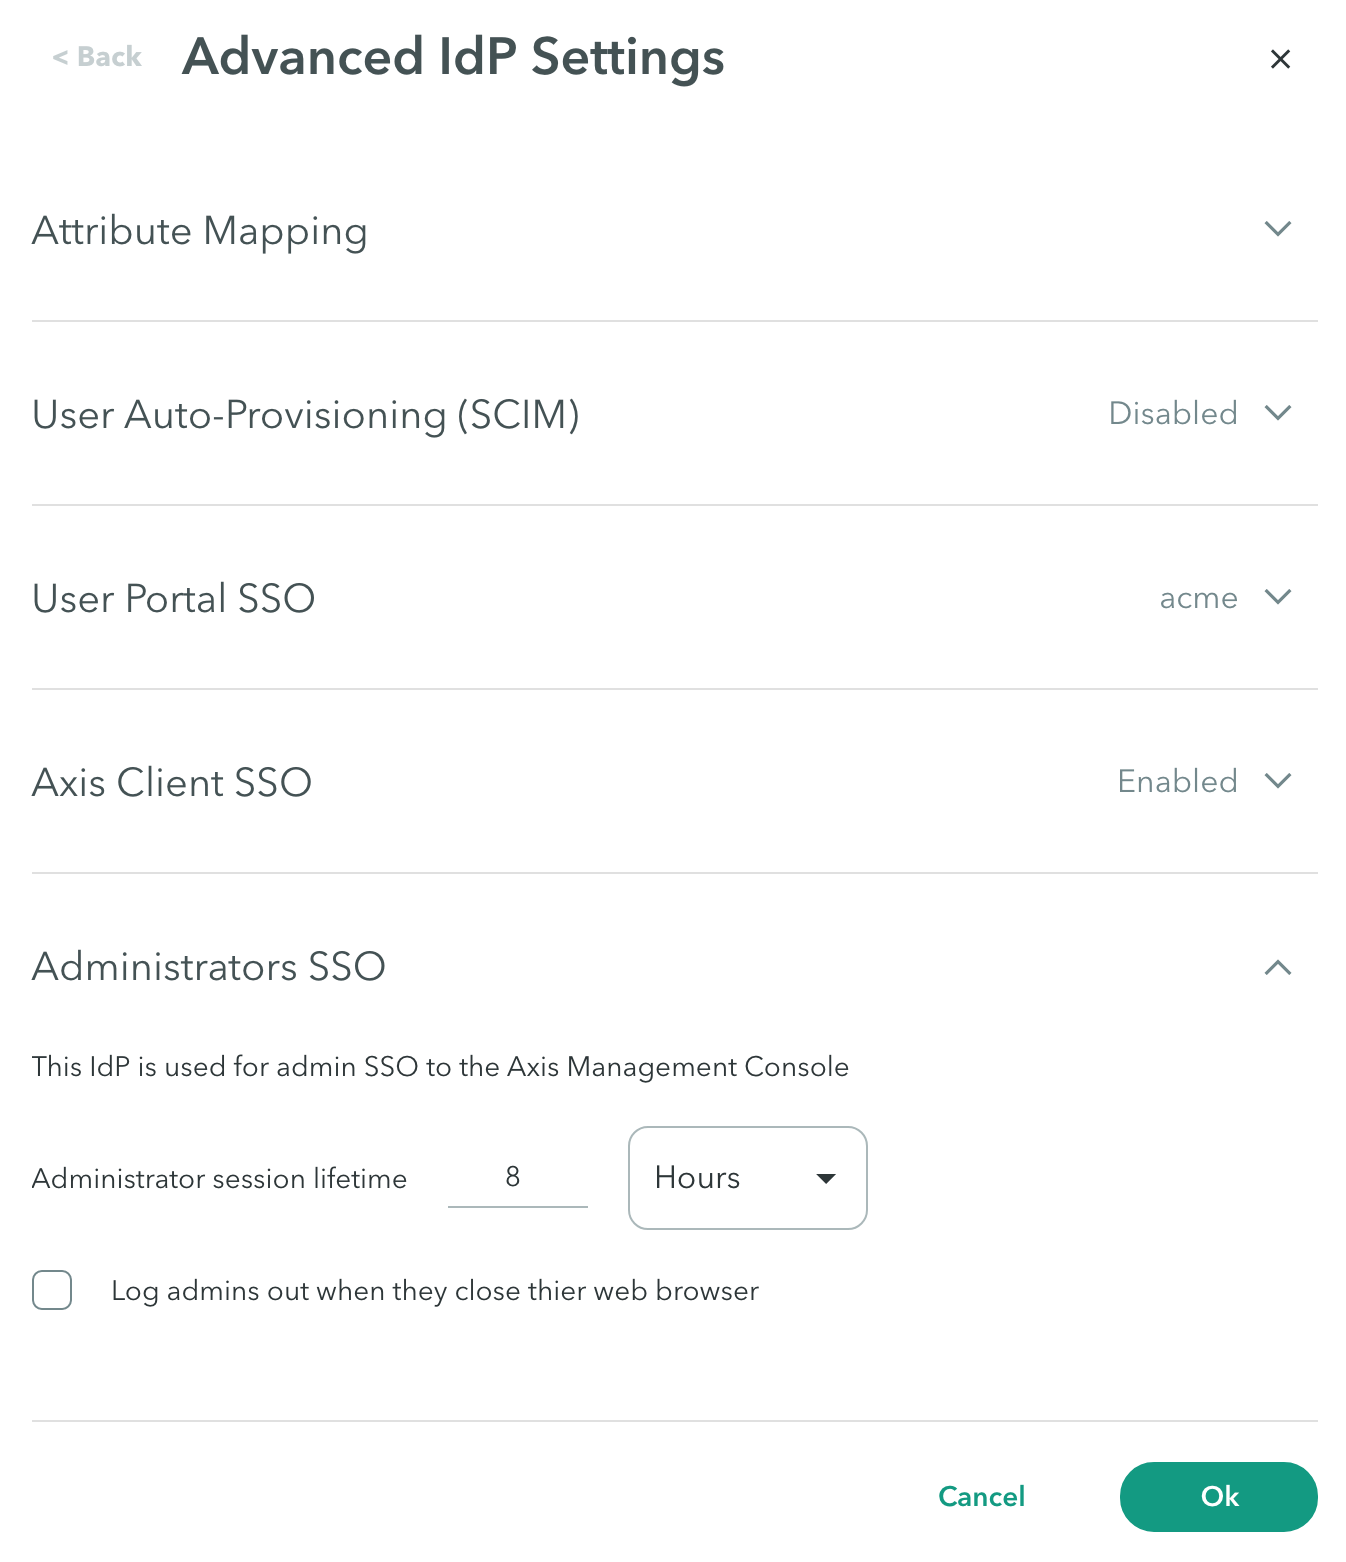
- Configure Administrator session lifetime in days, hours, or minutes. This indicates the time until the administrator must authenticate again.
The Atmos Agent SSO, if defined, becomes the default IdP. If the new IdP that is currently being configured is not the default IdP in the tenant, administrators can select whether to revert to the default IdP or remain with the configured IdP. - Check Log administrators out when they close their web browser. If not selected, administrators are not required to log in when they next access the Management Console.
- Click Ok.
Note: To commit your changes, navigate to the top-right menu, click Apply Changes, then select Commit Changes.
Updated 3 months ago
