Adding a Network Range
Note
Some of the features are limited release. For more information contact Axis Security Support: [email protected]
Adding a Network Range Application
- In the Management Console, go to Settings -> Destinations ->New Application.
- Select Network Range.
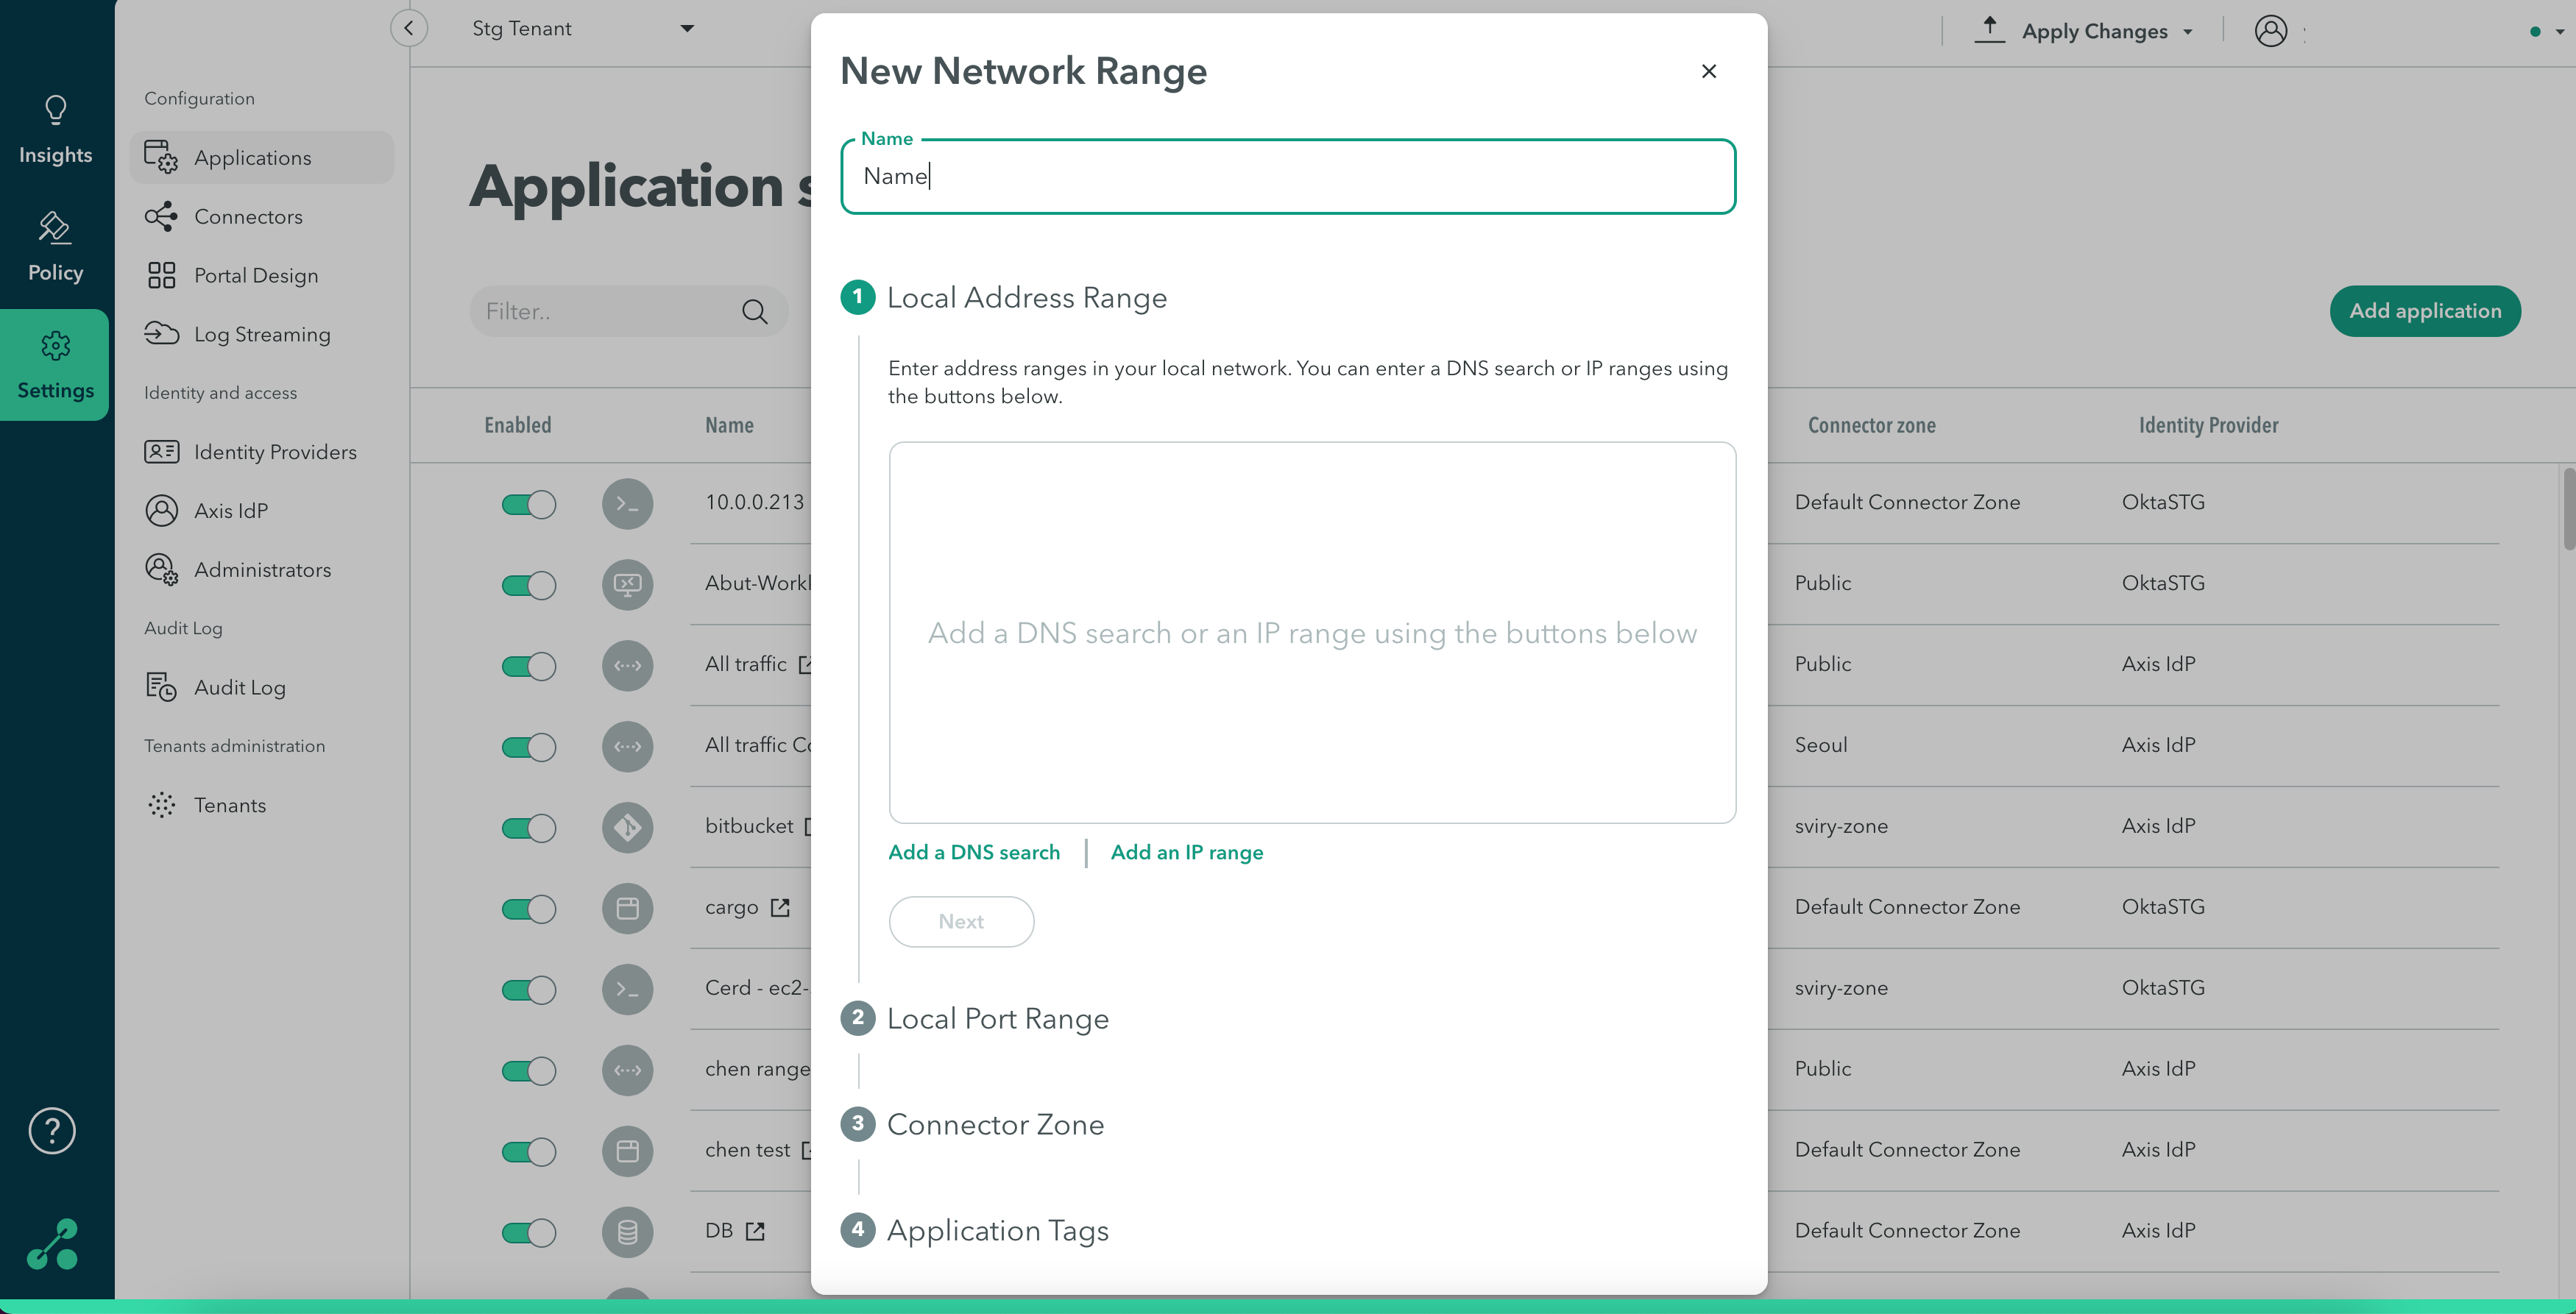
- Add a name for the application.

Local Address Range
- Enter address ranges in your local network. You can add a DNS wildcard or IP ranges. The relationship between the wildcards or ranges is such that the first item to be reached is applied.
- Click Next.
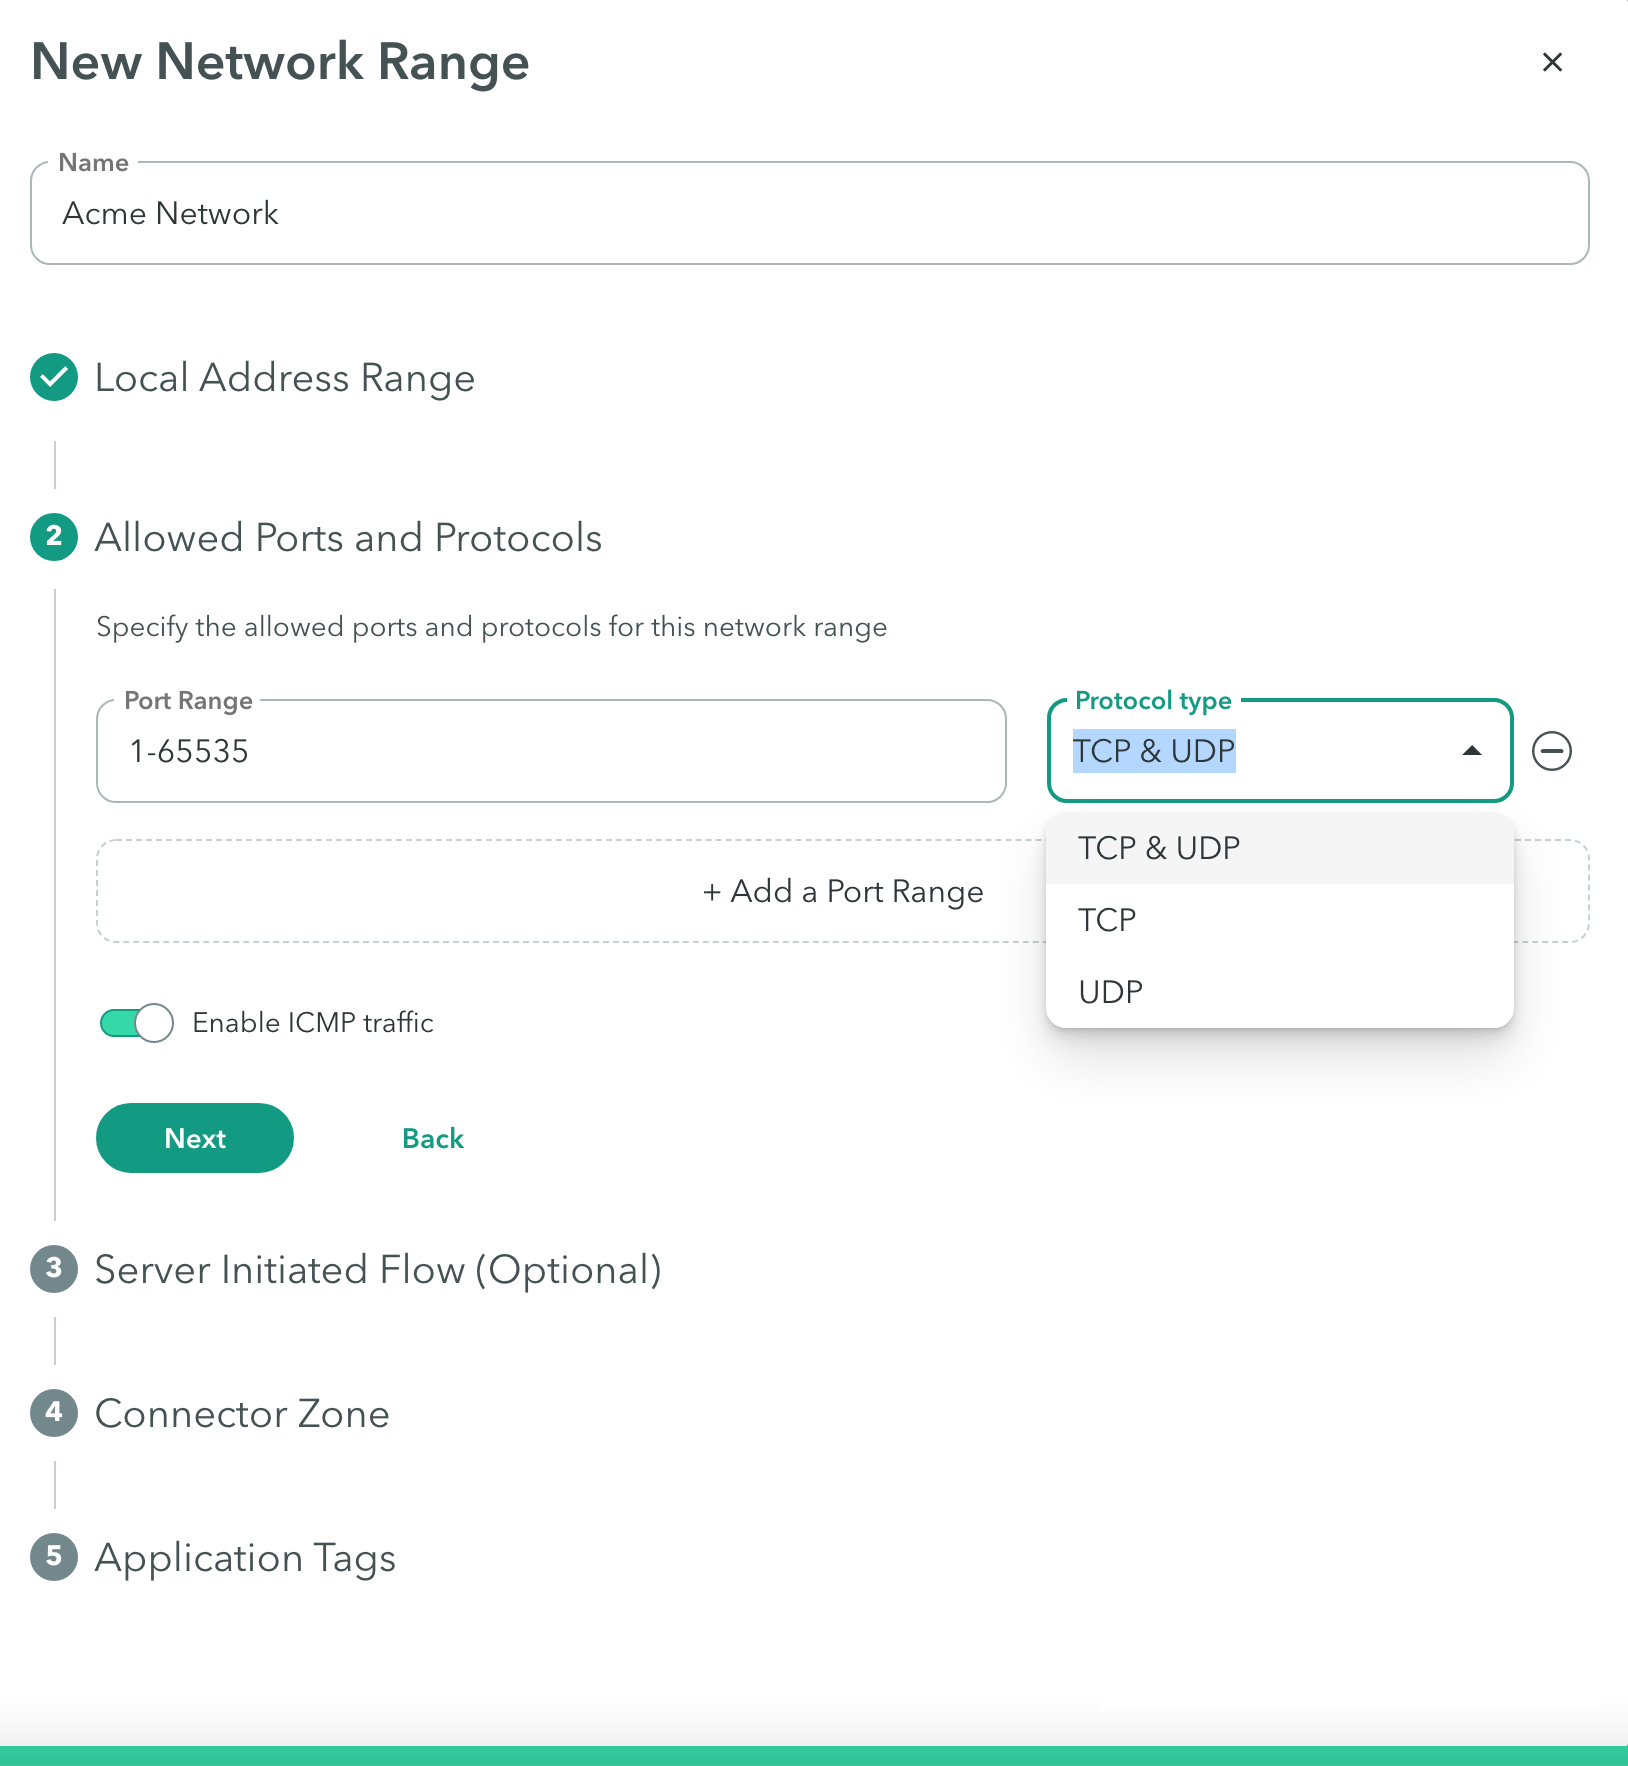
Allowed Ports and Protocols
- Enter port ranges that are relevant for the ranges you entered previously.
- For each port range, click the drop-down menu to select the protocol type: UDP, TCP, or both.
- Select the Enable ICMP traffic option to check connectivity on a Network Range.
- For a list of supported ICMP commands and requirements, click here.
- Click Next

Important
When you enable ICMP, use any connector, except the Public Connector zone.
- Click Next.
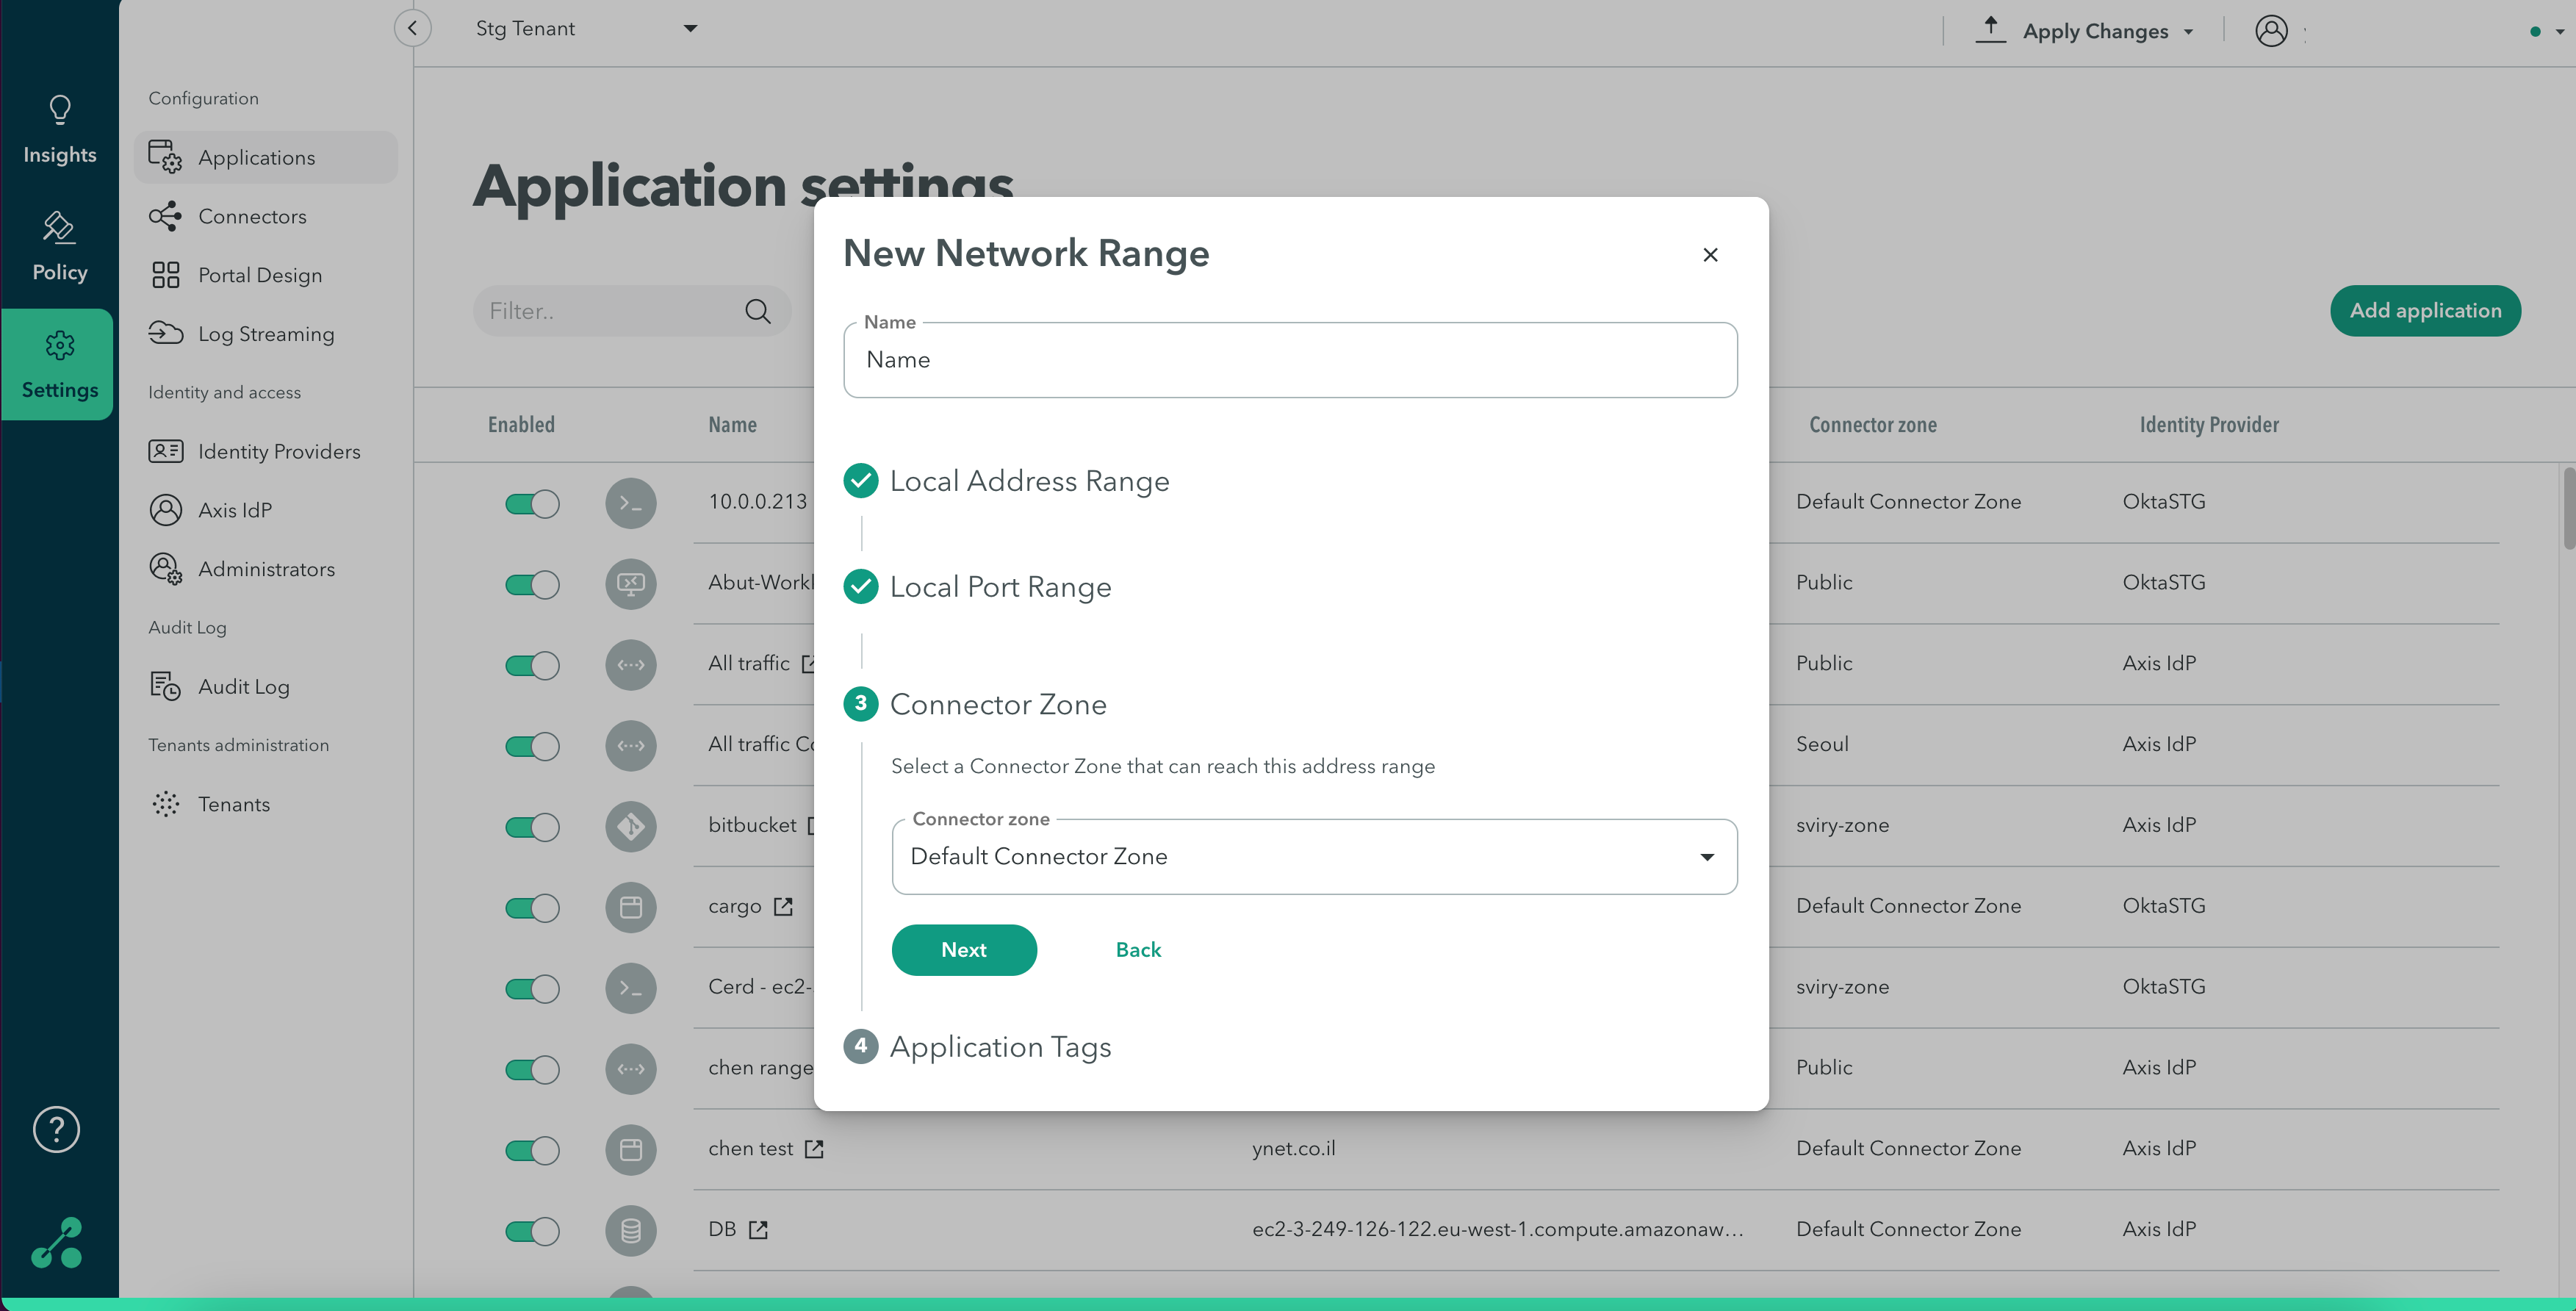
Connector Zone
- Click the Connector zone drop-down menu to select a Connector Zone that can reach the address range.
- Click Next.

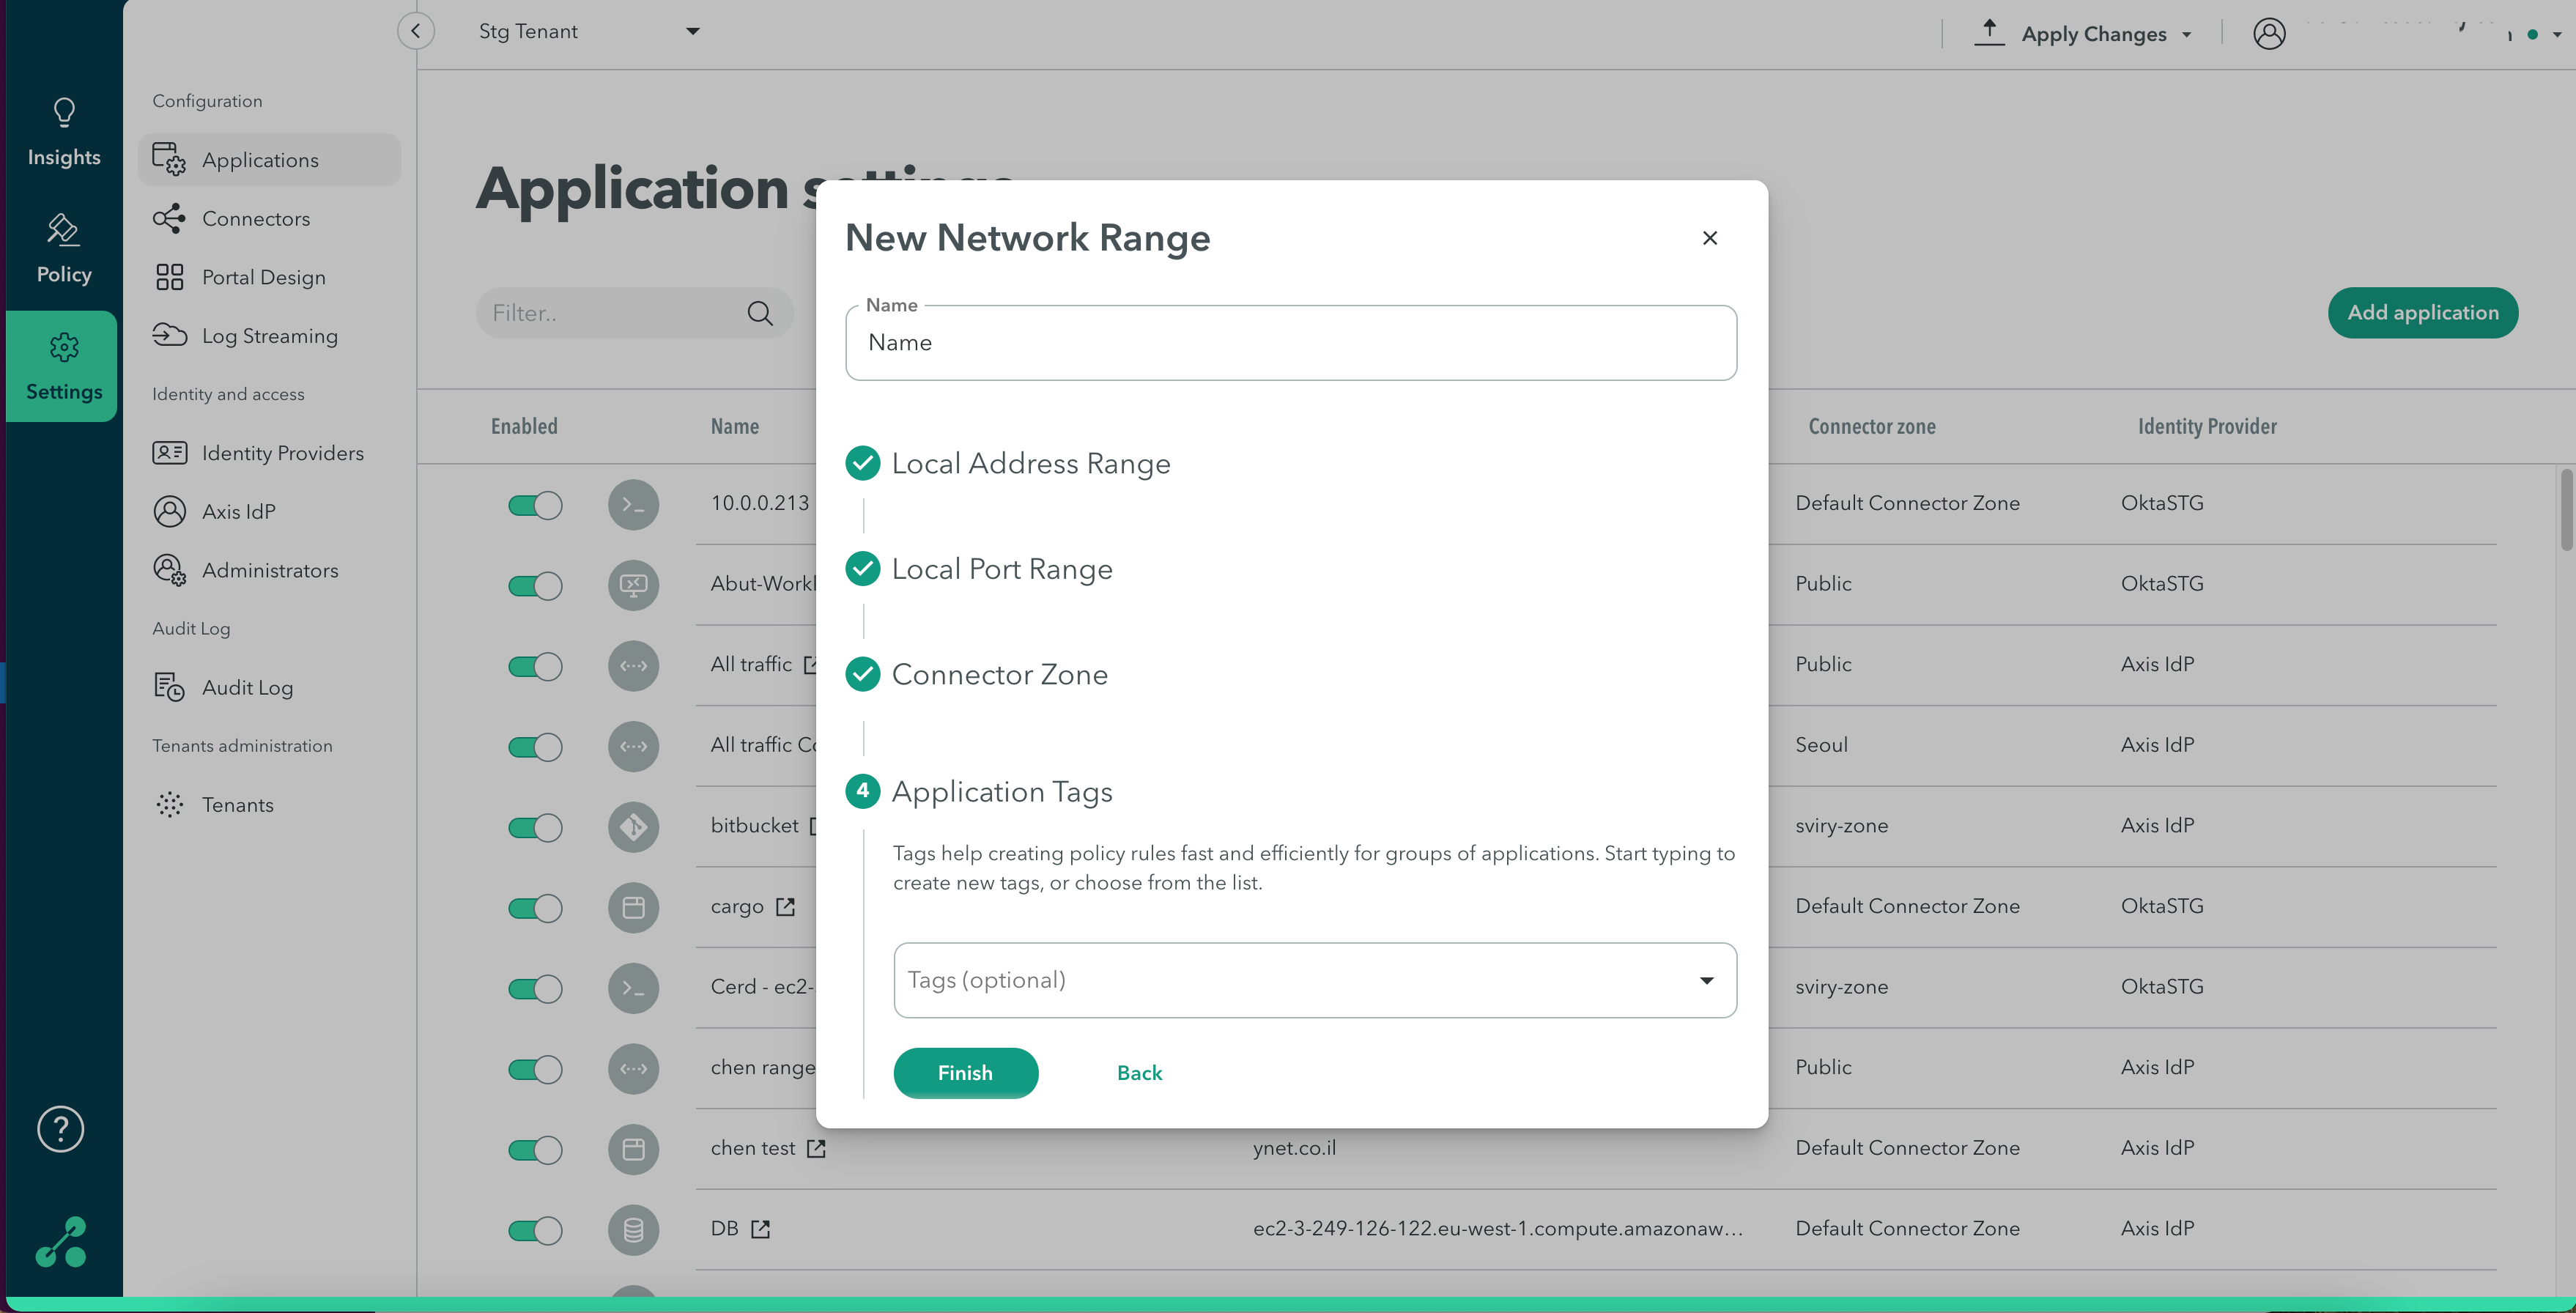
Application Tags (Optional)
Tags help creating policy rules fast and efficiently for groups of applications. Click here to learn about creating application tags.
- Start typing to create new tags, or choose from the drop-down menu.
- Click Finish.

Note
To commit your changes:
- Go to the top-right menu.
- Click Apply Changes.
- Review your changes.
- Select Commit Changes.
In many enterprise networks, administrators will be adding destinations that depend on local Domain Controllers and DNS servers. To learn about adding an Active Director Application please follow this link to learn about configuring an Active Directory Application.
Updated 10 months ago
