Adding a Time Range
To add a time range, complete the following steps:
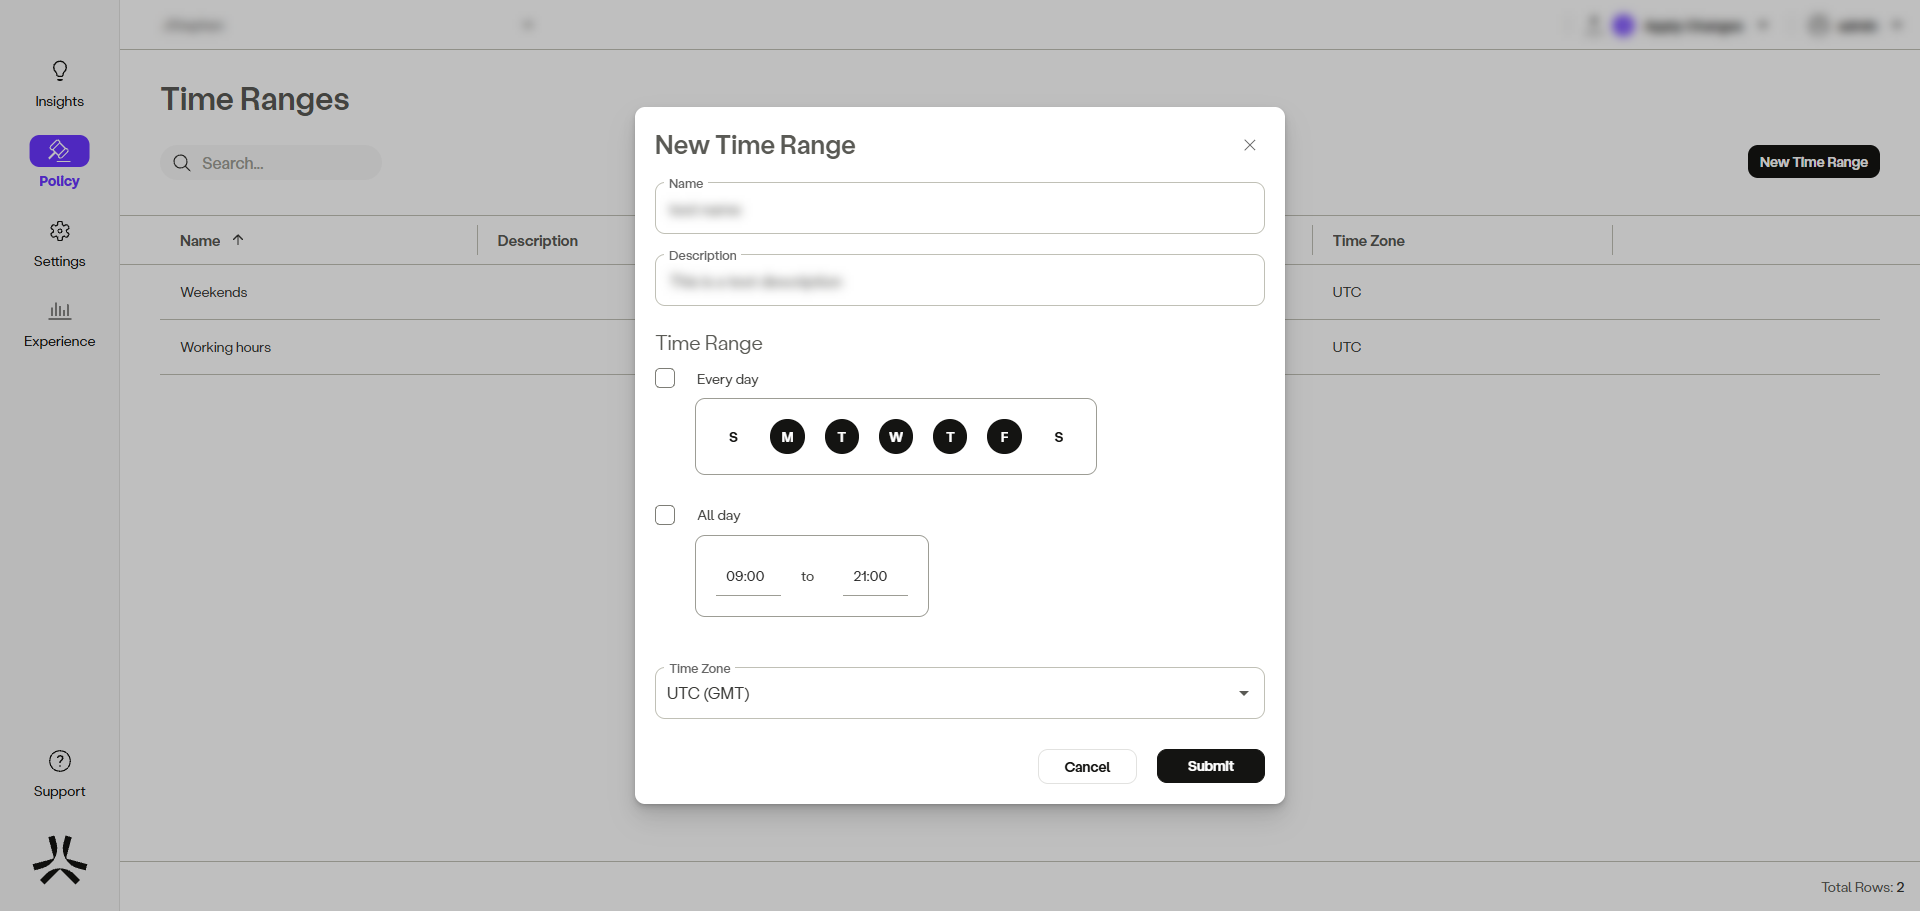
- In the management console, click Policy -> Time Ranges -> Add Time Range.
- Add a name.
- (Optional) add a description.
- In the Time Range section, check the box to select Everyday, or select the relevant days of the week.
- Check the box to select All day, or specify hours.
- In the Time zone section, select the time zone from the drop-down menu.
- Click Submit.
NoteTo commit your changes, navigate to the top-right menu, click Apply Changes, review your changes, then select Commit Changes.