DNS Application
Administrators are able to resolve dns requests sent by users using the Axis Agent, and create IP based policies.
To configure a DNS application, admins must specify the DNS Scope or IP Ranges (for reverse DNS Lookups) that will be resolved via the application, and the connector zone in which these requests can be resolved.
Adding a DNS Application
- In the Management Console, go to Settings -> Destinations -> New Application.
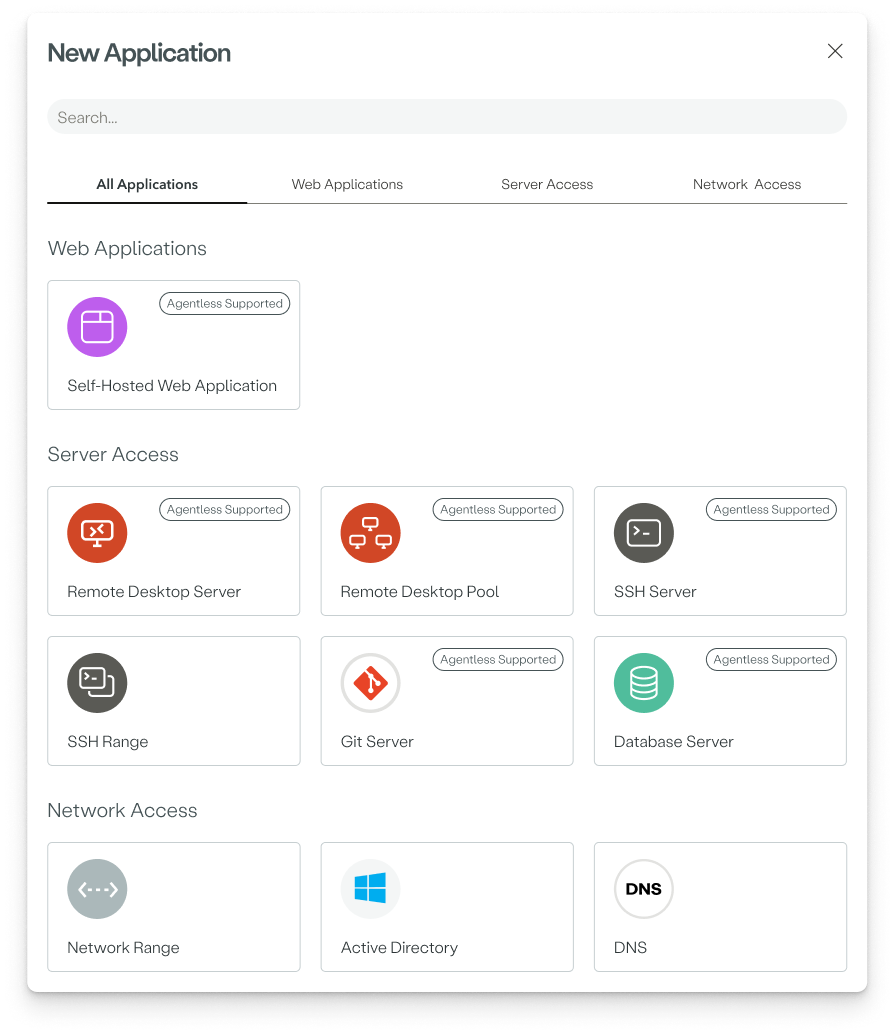
- In the Network Access area, select DNS.
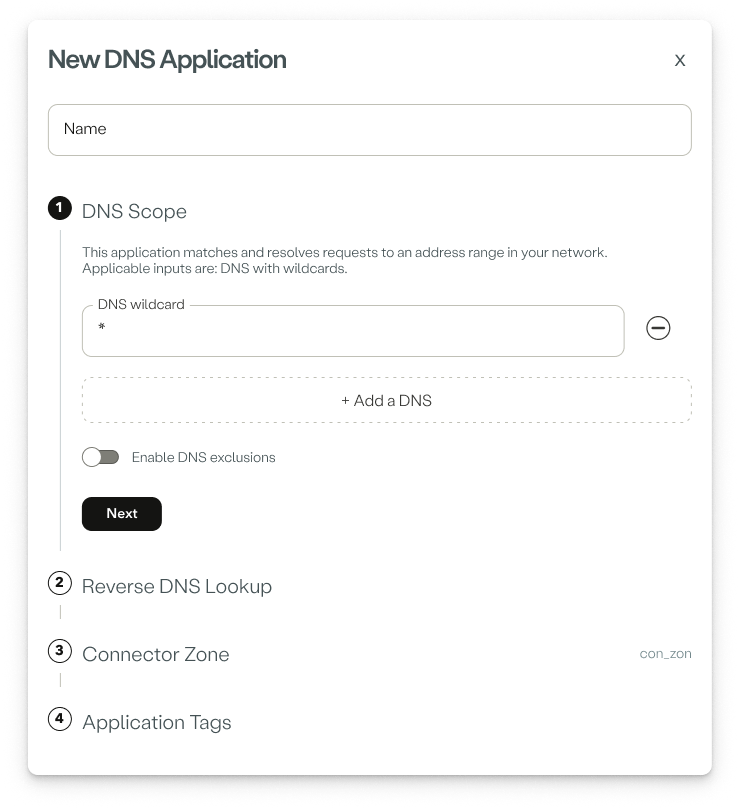
Step 1: DNS Scope
- Add a name for the application
- Add the domain / domain wildcard you want the application to resolve. Click on "Add a DNS" to add another domain / domain wildcard to this application's DNS Scope. It is also possible to exclude Domains by using enabling DNS Exclusions.
- Click Next.
Step 2: Reverse DNS Lookup
- Add the IP Range / CIDR wildcard you want the application to resolve. Click on "Add a Range" to add another IP / IP Range wildcard to this application's Reverse DNS Lookup Scope. Note - The Application will resolve all matched reverse DNS Lookup by default (0.0.0.0/0).
- Click Next.

Step 3: Connector Zone
- Specify the Connector Zone in which the application will try to resolve the matched requests.
Step 4: Application Tags
Tags help creating policy rules fast and efficiently for groups of applications. Click Creating a New Application Tag to learn about creating application tags.
- Start typing to create new tags, or choose from the Tags drop-down menu.
- Click Submit.
Notes
- This application is only relevant to users accessing via the Atmos Agent.
- The following feature is under limited release. For more information contact Axis Support: [email protected].
- Minimal Agent Version - 3.26
- Minimal Connector Version - 2.71.0
Updated 25 days ago
Did this page help you?