Performing Bulk Actions in Axis IdP
You can perform the following actions in bulk by using a dedicated CSV (comma-separated values) file:
- Add/ Edit users- instead of adding individual users, use a CSV file to create and add a number of users to Axis IdP or upload a file with changes.
- Export users- export a list of current users in Axis IdP to a CSV file to edit their information or delete them from Axis IdP.
- Delete users- instead of deleting users one by one, create a CSV file with the users you want to delete from Axis IdP.
Adding Users in Bulk
To accelerate the onboarding process, users can be created and imported in bulk using a CSV file.
To create and import users in bulk:
Step 1: Download and modify CSV file
- Go to Settings-> Axis IdP-> Users.
- Click Bulk Actions-> Import users from CSV
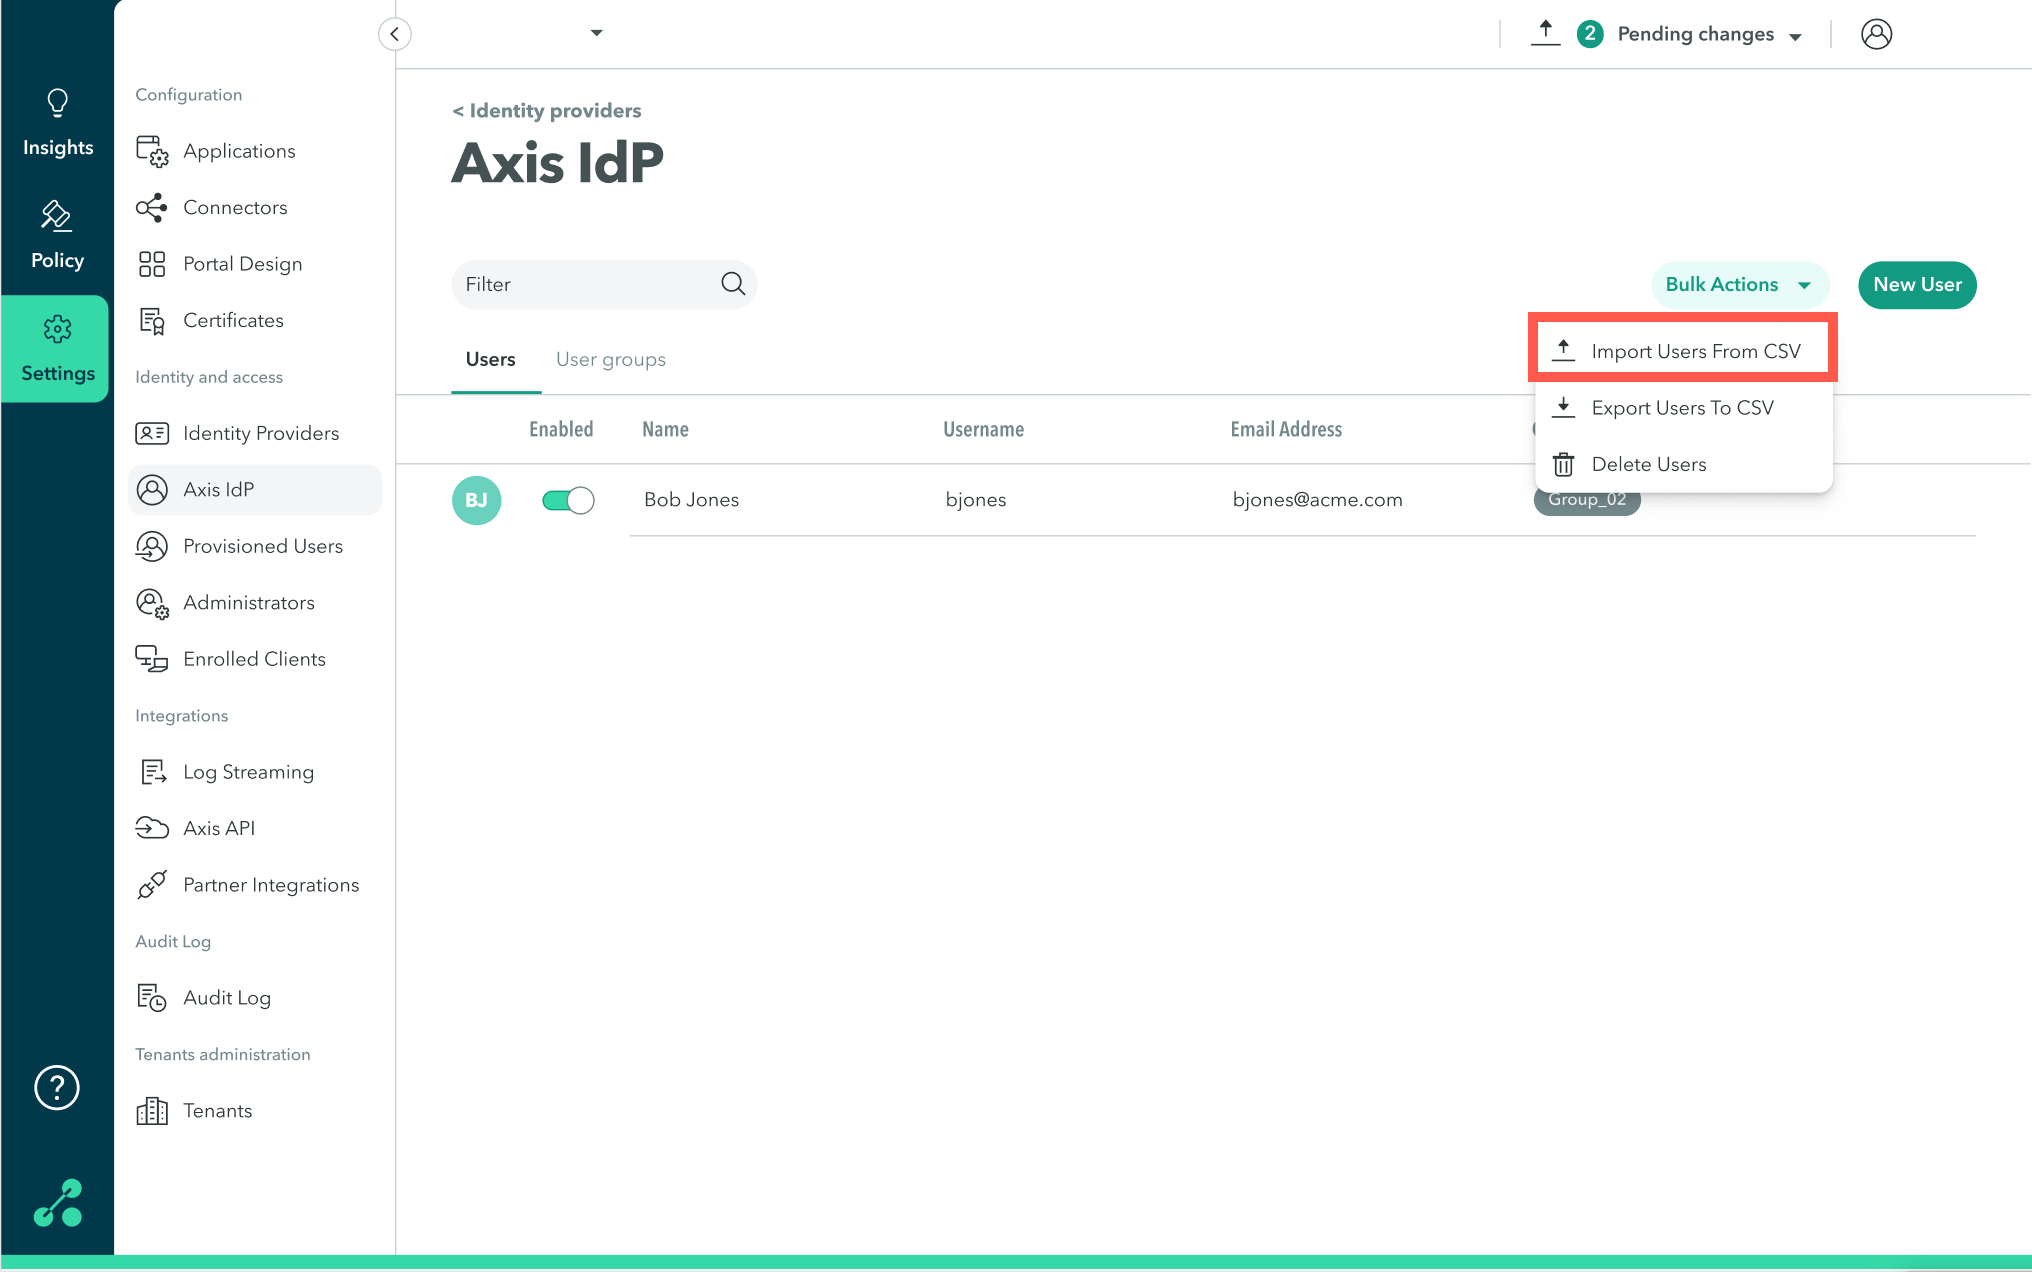
The Import and Edit Users in Bulk dialog appears.
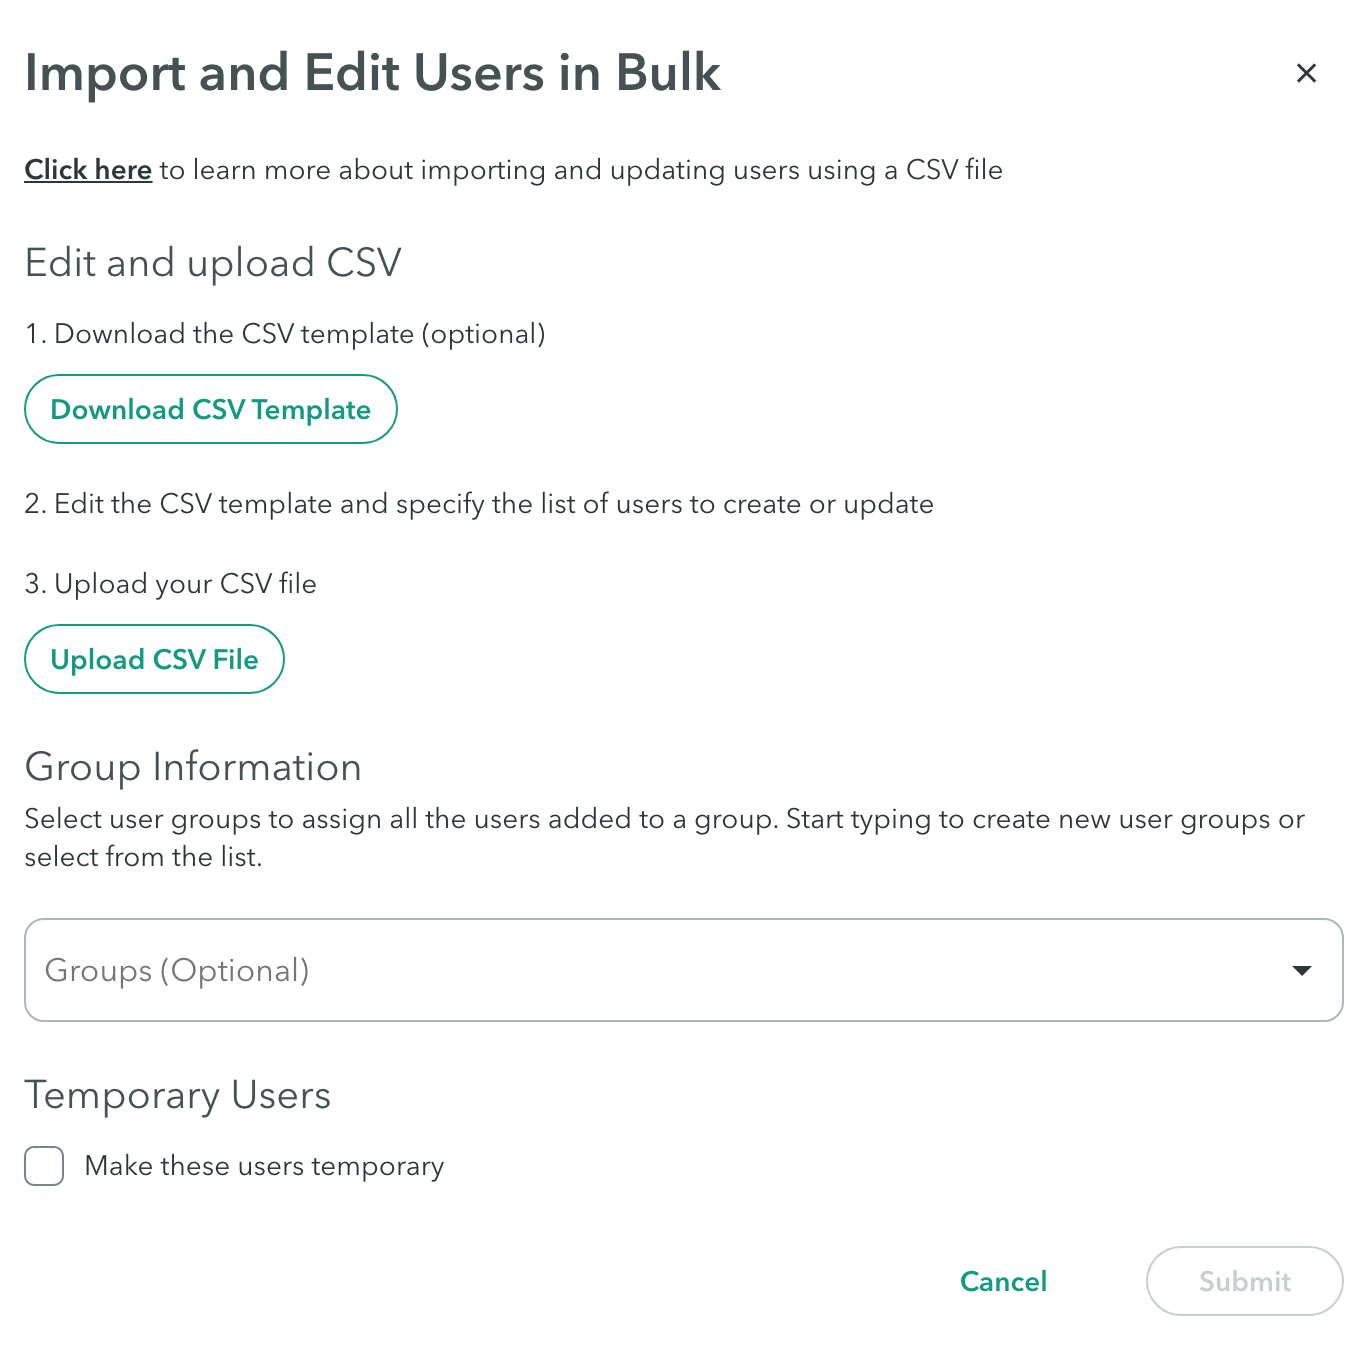
- Click Download CSV Template.
- Open the downloaded CSV file.
- Delete the explanation and example rows as shown in the following screenshot:

- Enter the information as shown in the following table.
Note
Headers marked with an asterisk (*) are required for importing the users.
| Field | Description | Example |
|---|---|---|
| Email* | Enter an email address for the user | [email protected] |
| First Name* | Enter the user's first name | Bob |
| Last Name* | Enter the user's last name | Jones |
| Username* | Enter a username for the user | BJones |
| Password (Optional) | Enter a password for the user, You can leave this field empty. | Password1 |
| Groups* | Enter the names of the groups the user belongs to separated by a semicolon ";" Note: If left empty, the user will only be added to the general groups determined in the Groups section of the Import and Edit Users in Bulk dialog (see below). If the new file includes changes to existing users, an empty field will remove the user from any groups he was a member of. | Admins; Sales |
Step 2: Upload the CSV file to Axis Security
To upload the CSV file:
- In the Management Console, go to Settings > Axis IdP-> Users
- Click Bulk Actions-> Import users from CSV
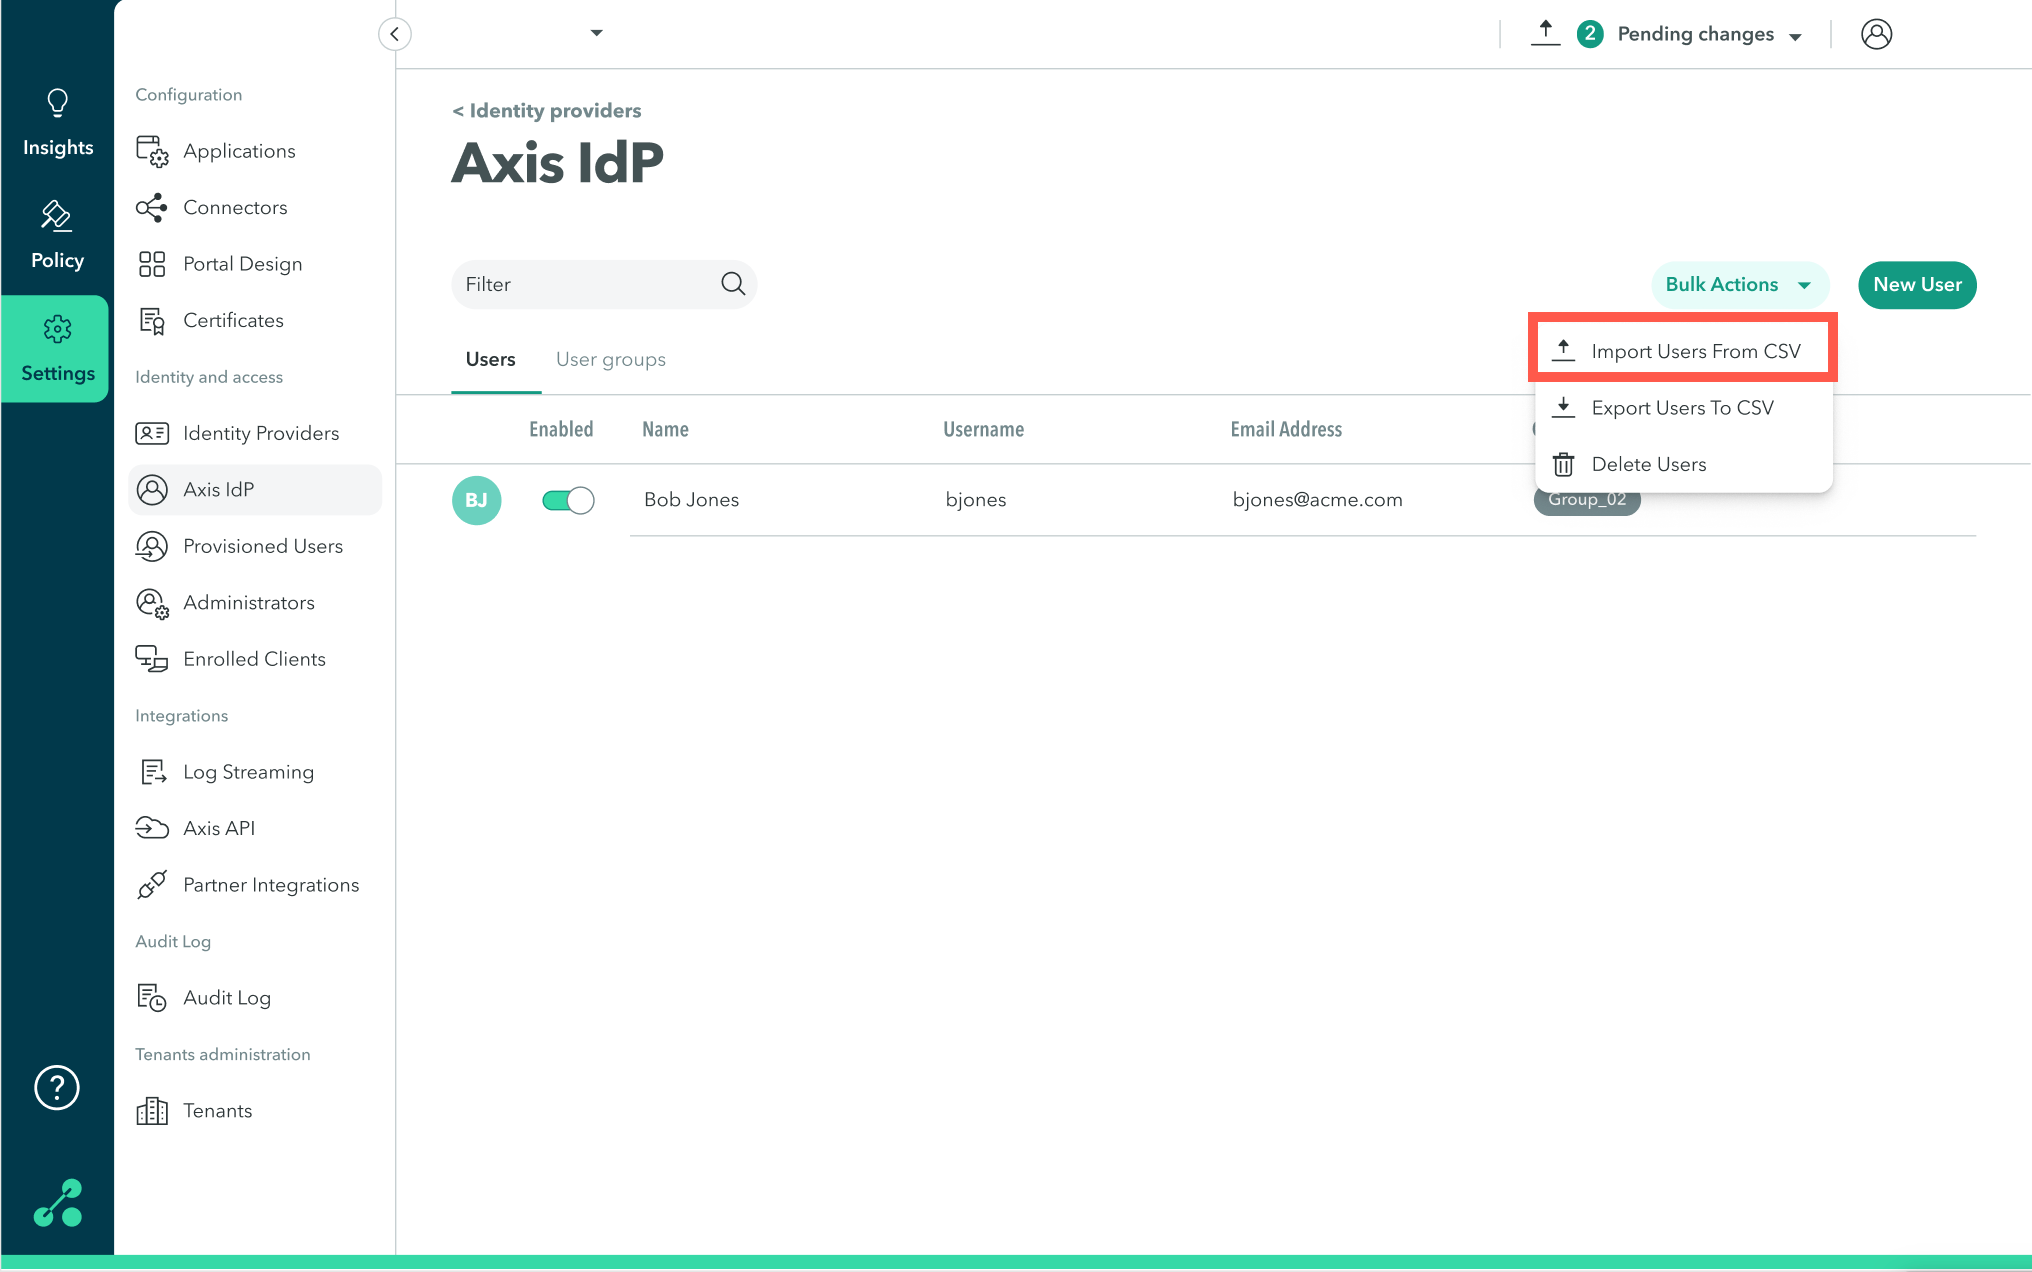
The Import and Edit Users in Bulk dialog appears.
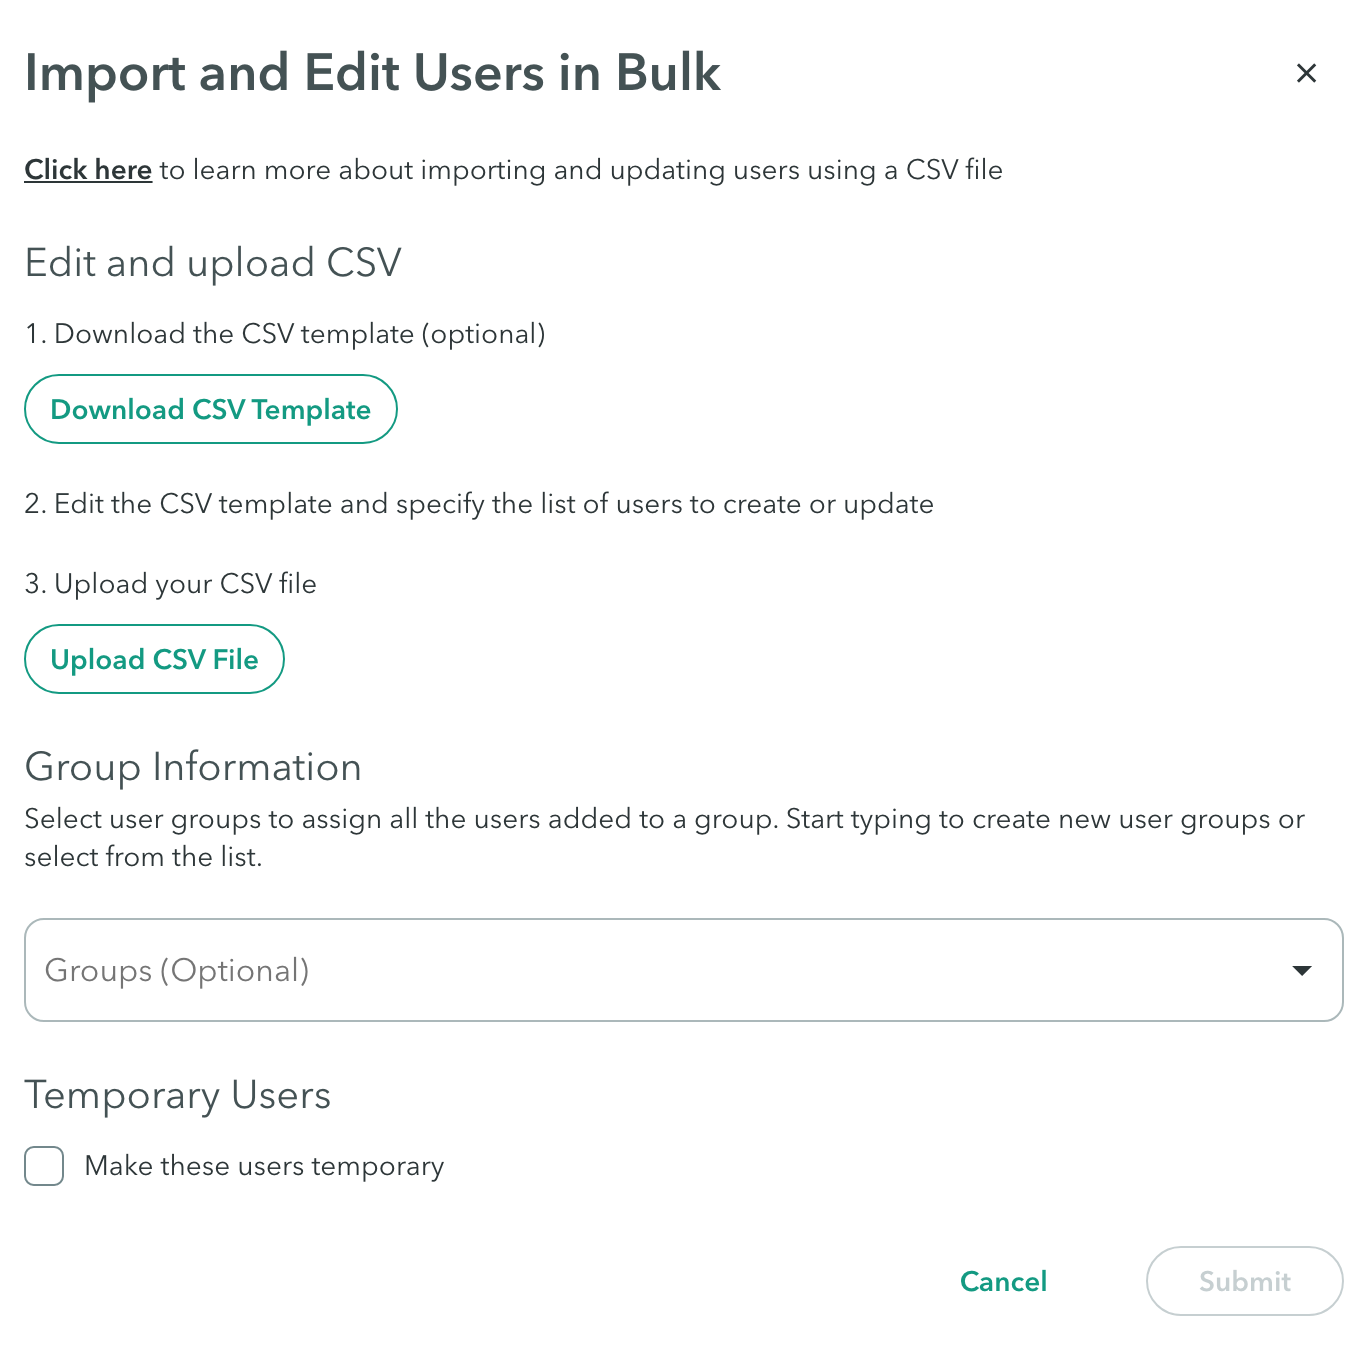
- Click Upload CSV File and attach the modified CSV file.
Group Information (Optional)
- Click the drop-down menu to select a group to assign all the users to.
- Start typing to create a new group for the users.
Notes
- This action will take effect on all of the users created using the CSV file.
- If left empty, the users will be added to a default group with a name similar to the following: "users03-01-2022_16.46.30(utc)"
Temporary Users (Optional)
- Check the Make these users temporary option to delete the users after a certain time in days, weeks, or months.
Step 3: Finalize import
- Click Submit.
- Click Apply changes-> Commit changes.
Exporting User Data
Export user data from Axis IdP to a CSV file.
To export user data:
- In the Management Console, go to Settings > Axis IdP-> Users
- Click Bulk Actions-> Export Users to CSV
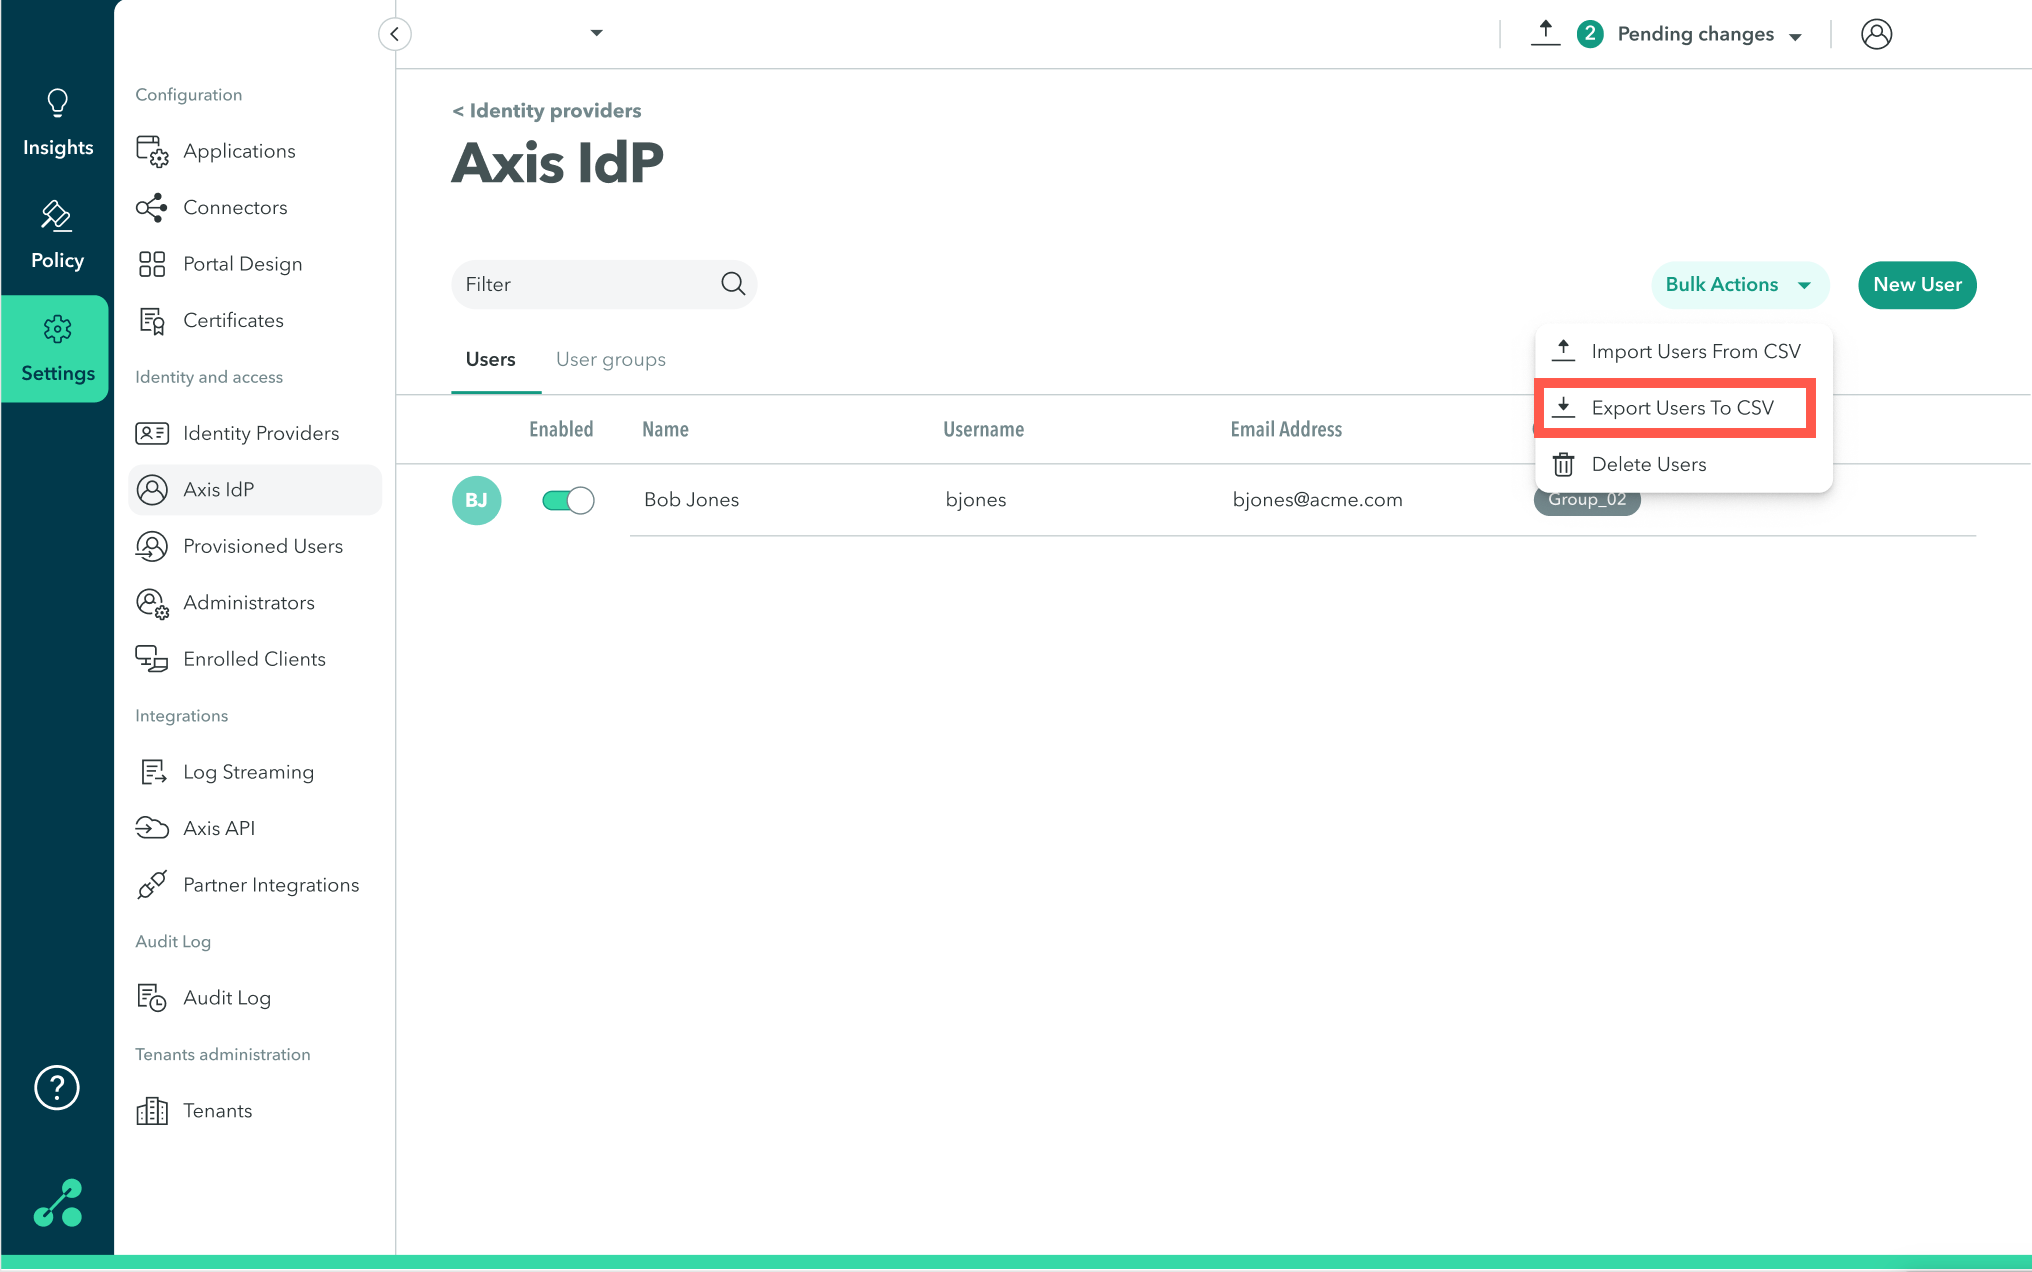
The CSV file with Axis IdP users is downloaded to your computer.
Deleting Users in Bulk
To delete users in bulk, create and upload a CSV file with the users' information.
Note
You can use the export users option (see above) to create a CSV file with all the users in Axis IdP.
To delete users in bulk:
###Step 1: Download and modify CSV file
- In the Management Console, go to Settings > Axis IdP-> Users
- Click Bulk Actions-> Delete Users
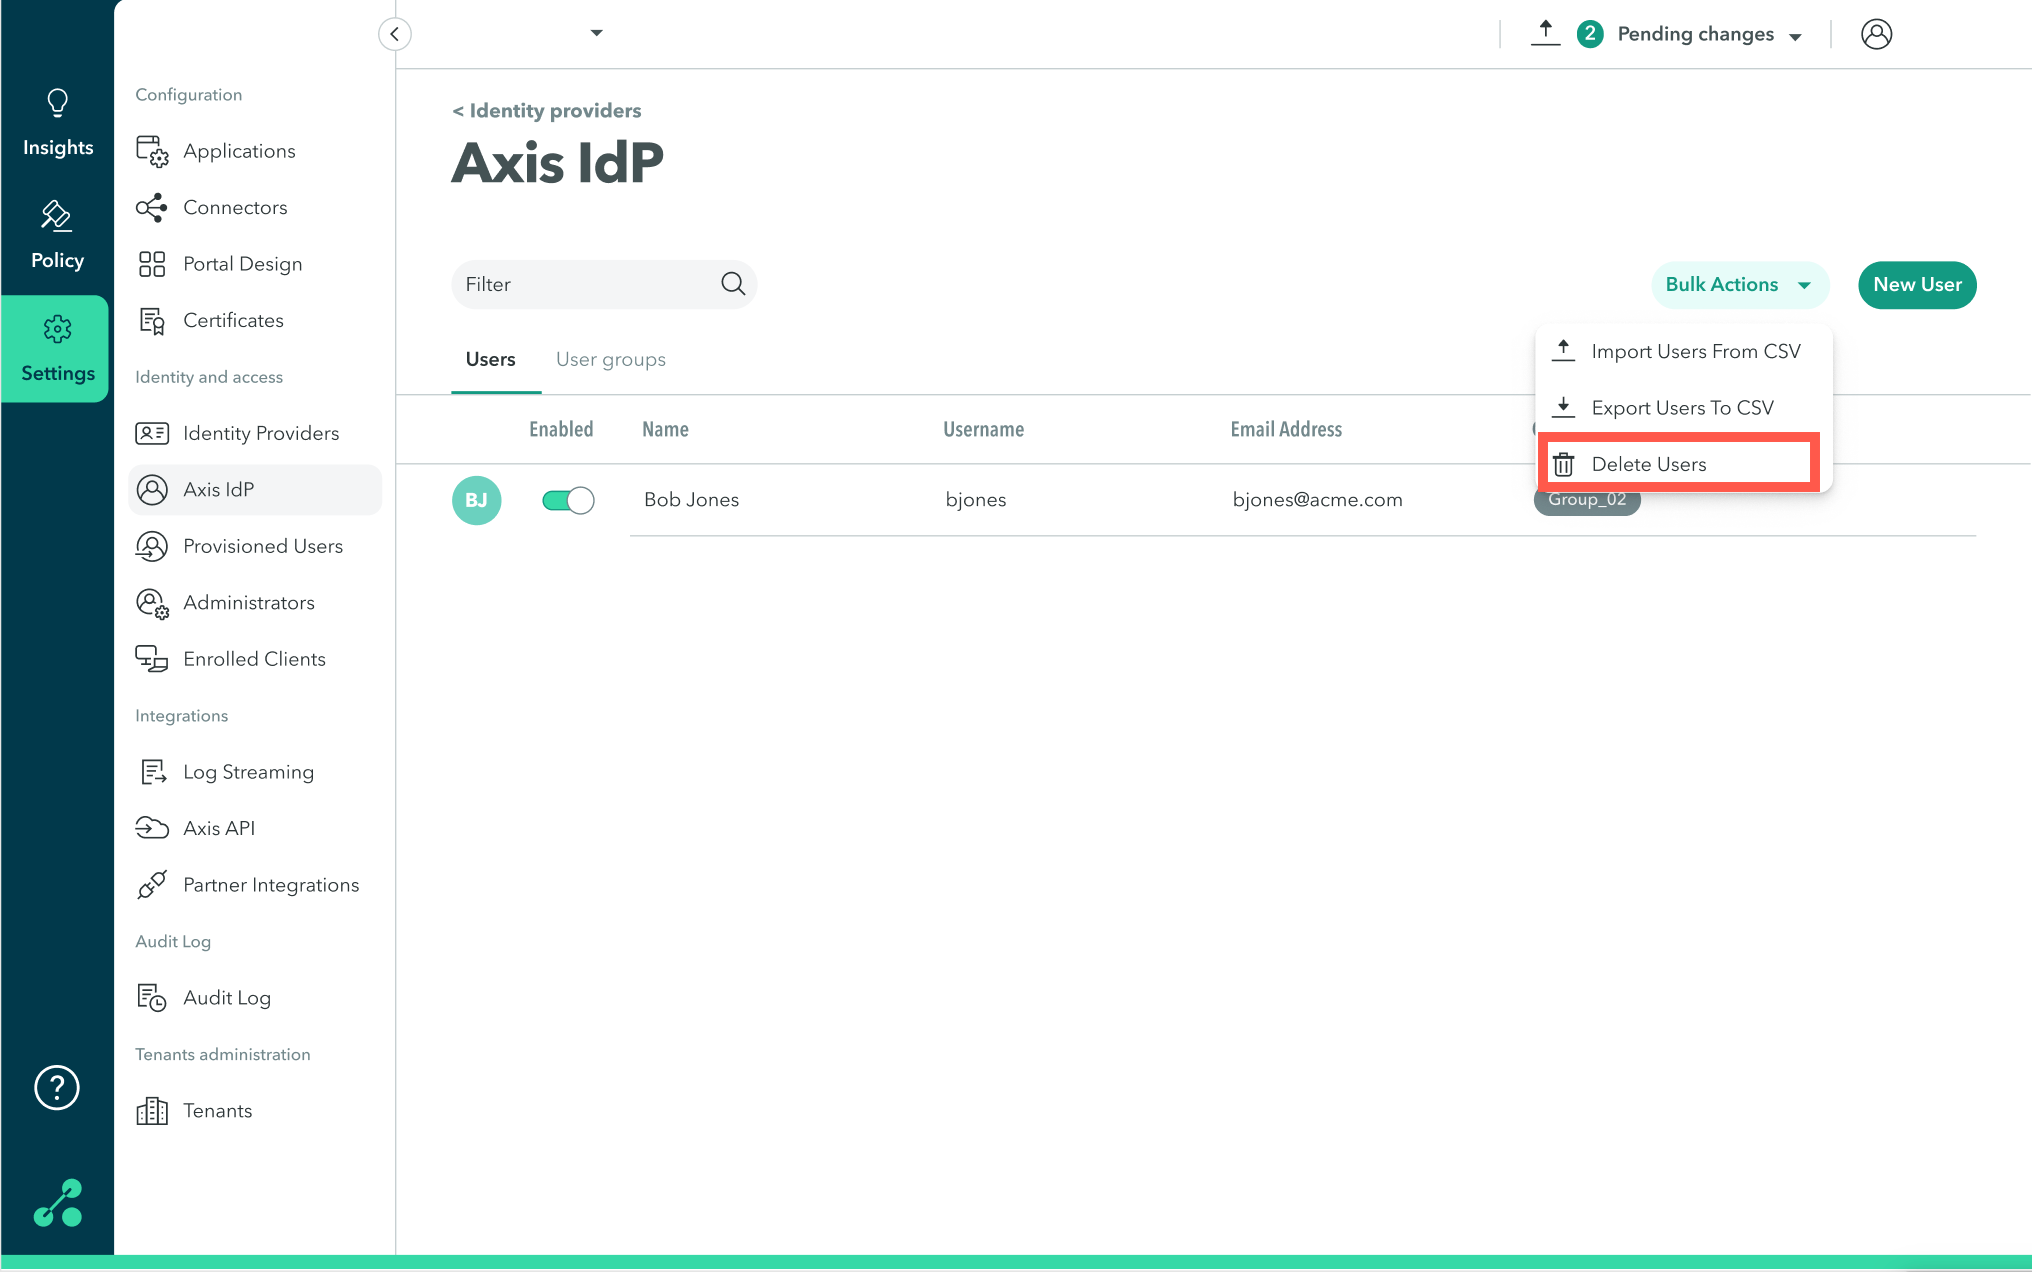
The Delete Users dialog appears.
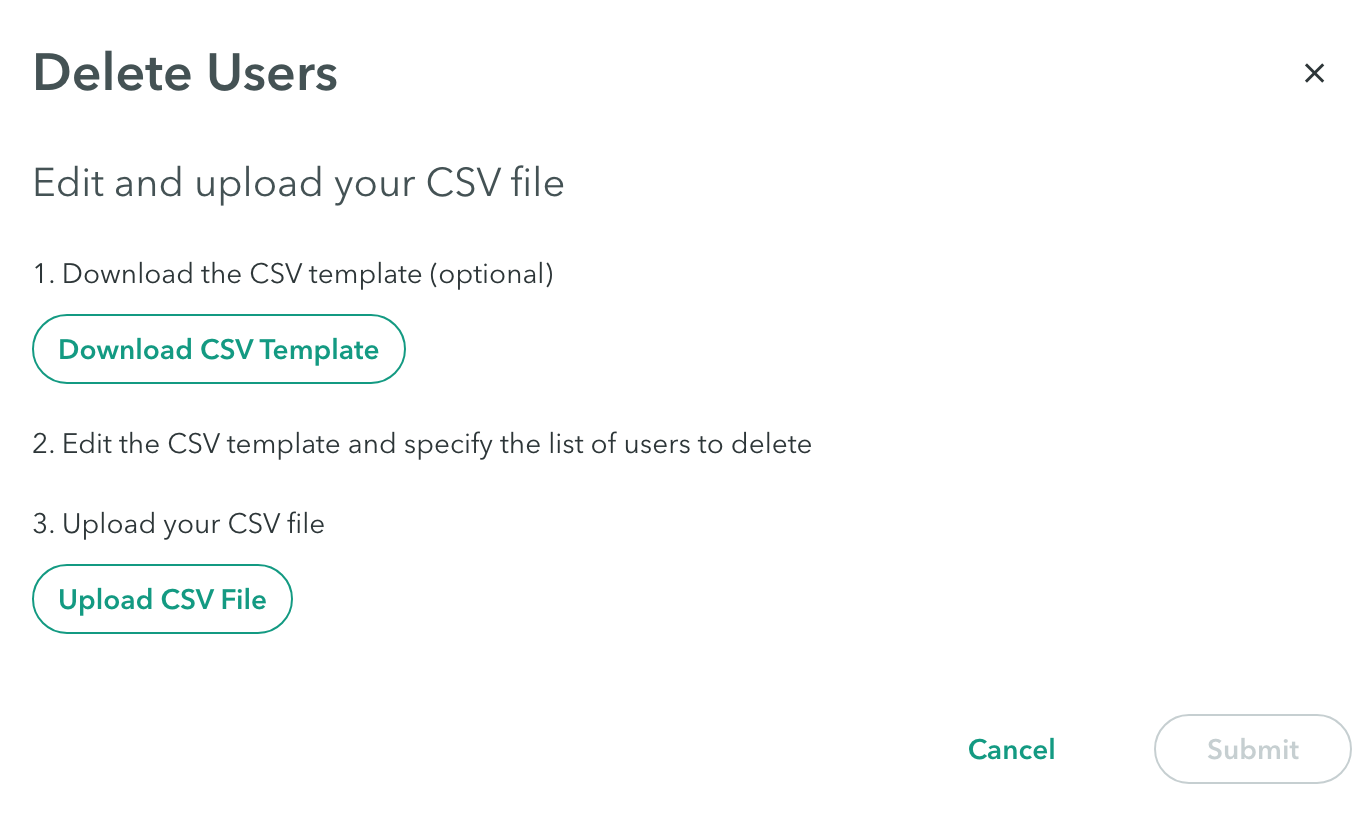
- Click Download CSV Template or use your own CSV file.
- Open the downloaded CSV file.
- Delete the example row as shown in the following screenshot:

- Enter the information as shown in the following table.
Note
Headers marked with an asterisk (*) are required for deleting the users.
| Field | Description | Example |
|---|---|---|
| Email* | Enter an email address for the user | [email protected] |
| First Name | Enter the user's first name | Bob |
| Last Name | Enter the user's last name | Jones |
| Username* | Enter a username for the user | BJones |
| Password (Optional) | Enter a password for the user, You can leave this field empty | Password1 |
| Groups | Enter the names of the groups the user belongs to separated by a semicolon ";" | Admins; Sales |
Step 2: Upload the CSV file to Axis Security
To upload the CSV file:
- In the Management Console, go to Settings > Axis IdP-> Users
- Click Bulk Actions-> Delete Users
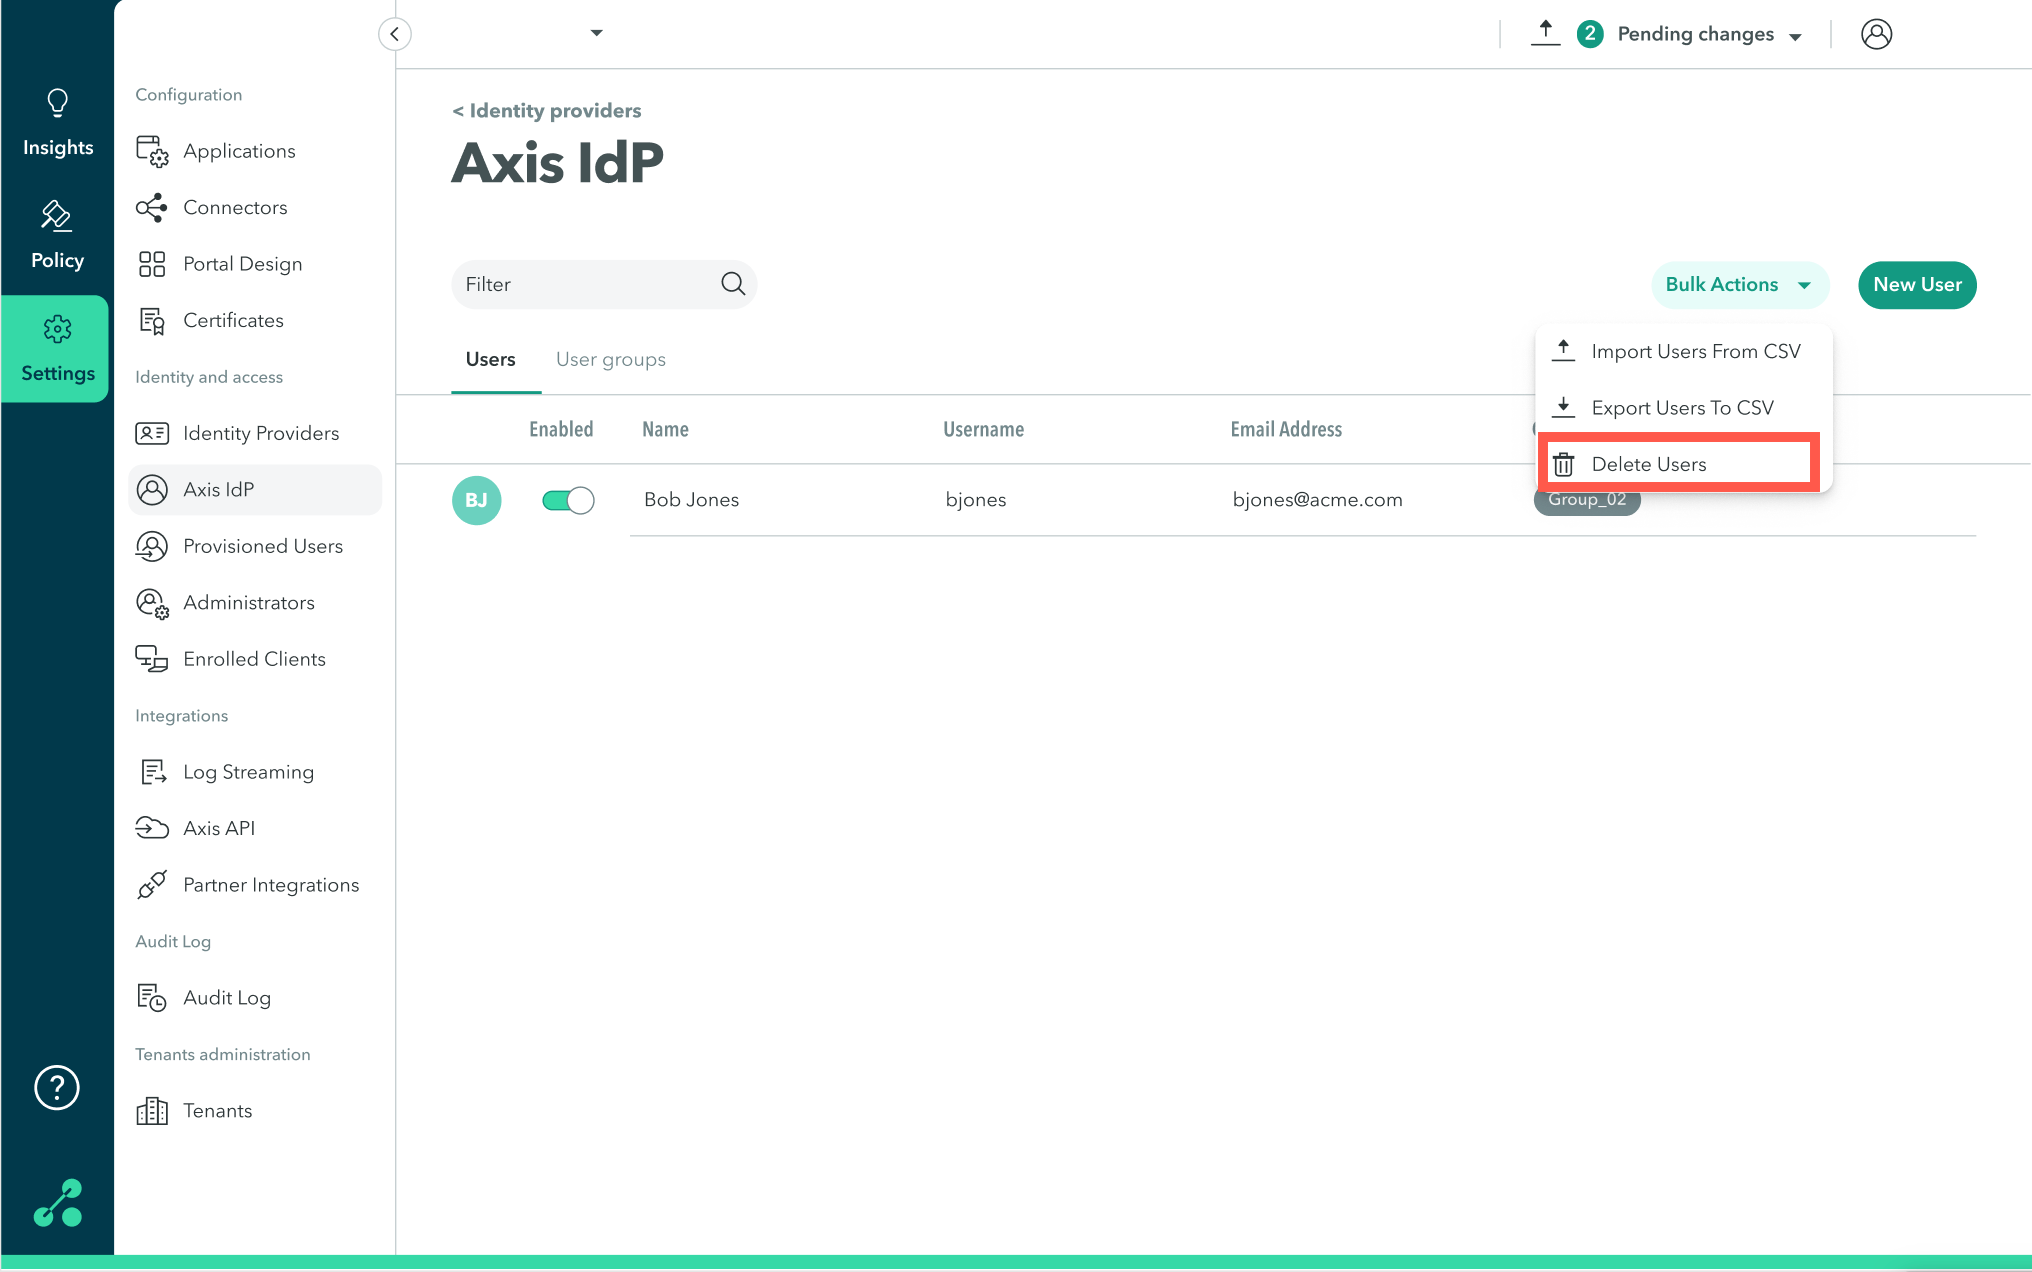
The Delete Users dialog appears.
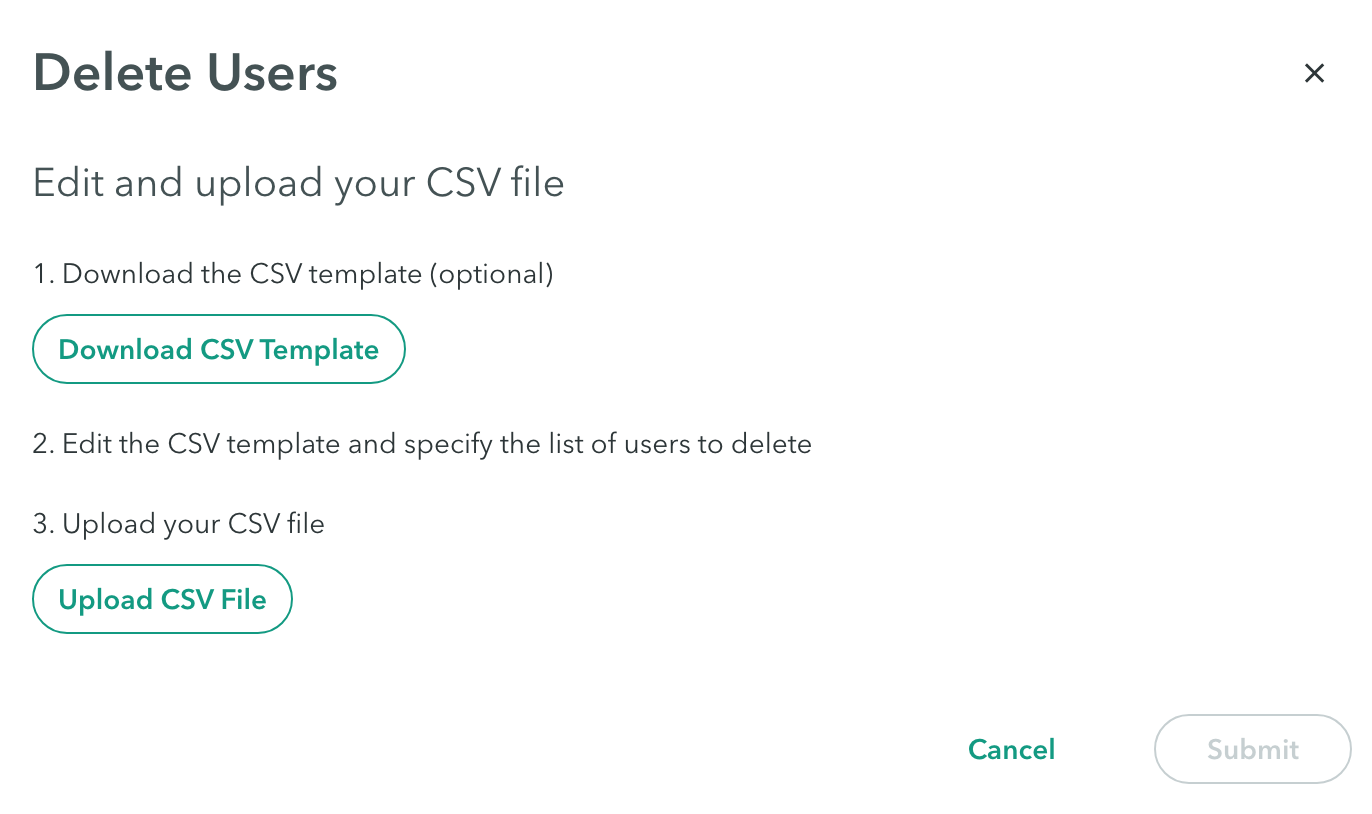
- Click Upload CSV File and attach the complete CSV file.
Step 3: Finalize deletion
- Click Submit.
- Click Apply changes-> Commit changes.
Troubleshooting Bulk Actions
The following table describes errors in bulk actions and how to manage them.
| Error | Solution |
|---|---|
| Invalid CSV | Make sure that all the headers (Email, First Name, Last Name, Username, Password, Groups) appear in the file. |
| The file exceeds the maximum size of 1MB | Reduce CSV file size or divide it into two or more separate files. |
| The CSV file is empty | Make sure that all the required fields are populated |
| The file exceeds the maximum number of 2000 rows | Divide the file into two or more files and upload each one separately |
| Error: No user was found with the email “” and the username “” | Make sure the spelling is correct |
| Error: Missing Information - Email field can’t be empty | Make sure the Email field is populated for all users |
| Error: Missing Information - Username field can’t be empty | Make sure the Username field is populated for all users |
| Error: Invalid username “” - Username must be at least 3 characters | Make sure Usernames contain at least 3 characters |
| Error: A user with the same username ““ already exists in the CSV - First appearance will be used | Change the Username and upload the file. |
| Error: A user with the same username already exists with a different email. Email can only be changed manually | Change the Email and upload the file. |
| Error: Invalid email “” | Make sure Emails are valid and adhere to the structure "[email protected]" |
| Error: A user with the same email already exists with a different username. Username can only be changed manually | Change the Username and upload the file |
| Error: A user with the same email “” already exists in the CSV - First appearance will be used | Change the Email and upload the file |
| Error: Password must be at least 8 characters long, use both upper case and lower case letters, and must include one or more digits | Change the password to adhere to requirements |
Updated over 3 years ago
