Customizing User Portal, Block Pages and Error Pages
Tailoring the design of your portal is a crucial step in cultivating a distinctive and personalized atmosphere that mirrors your organization's unique character. In this guide, we'll take you through the process of making your user portal, block pages, and error pages genuinely yours while harmonizing with your organization's identity.
Accessing Your Design Settings
Achieving a personalized design begins with customizing the design. Follow these steps:
- Navigate to Settings > Customization.
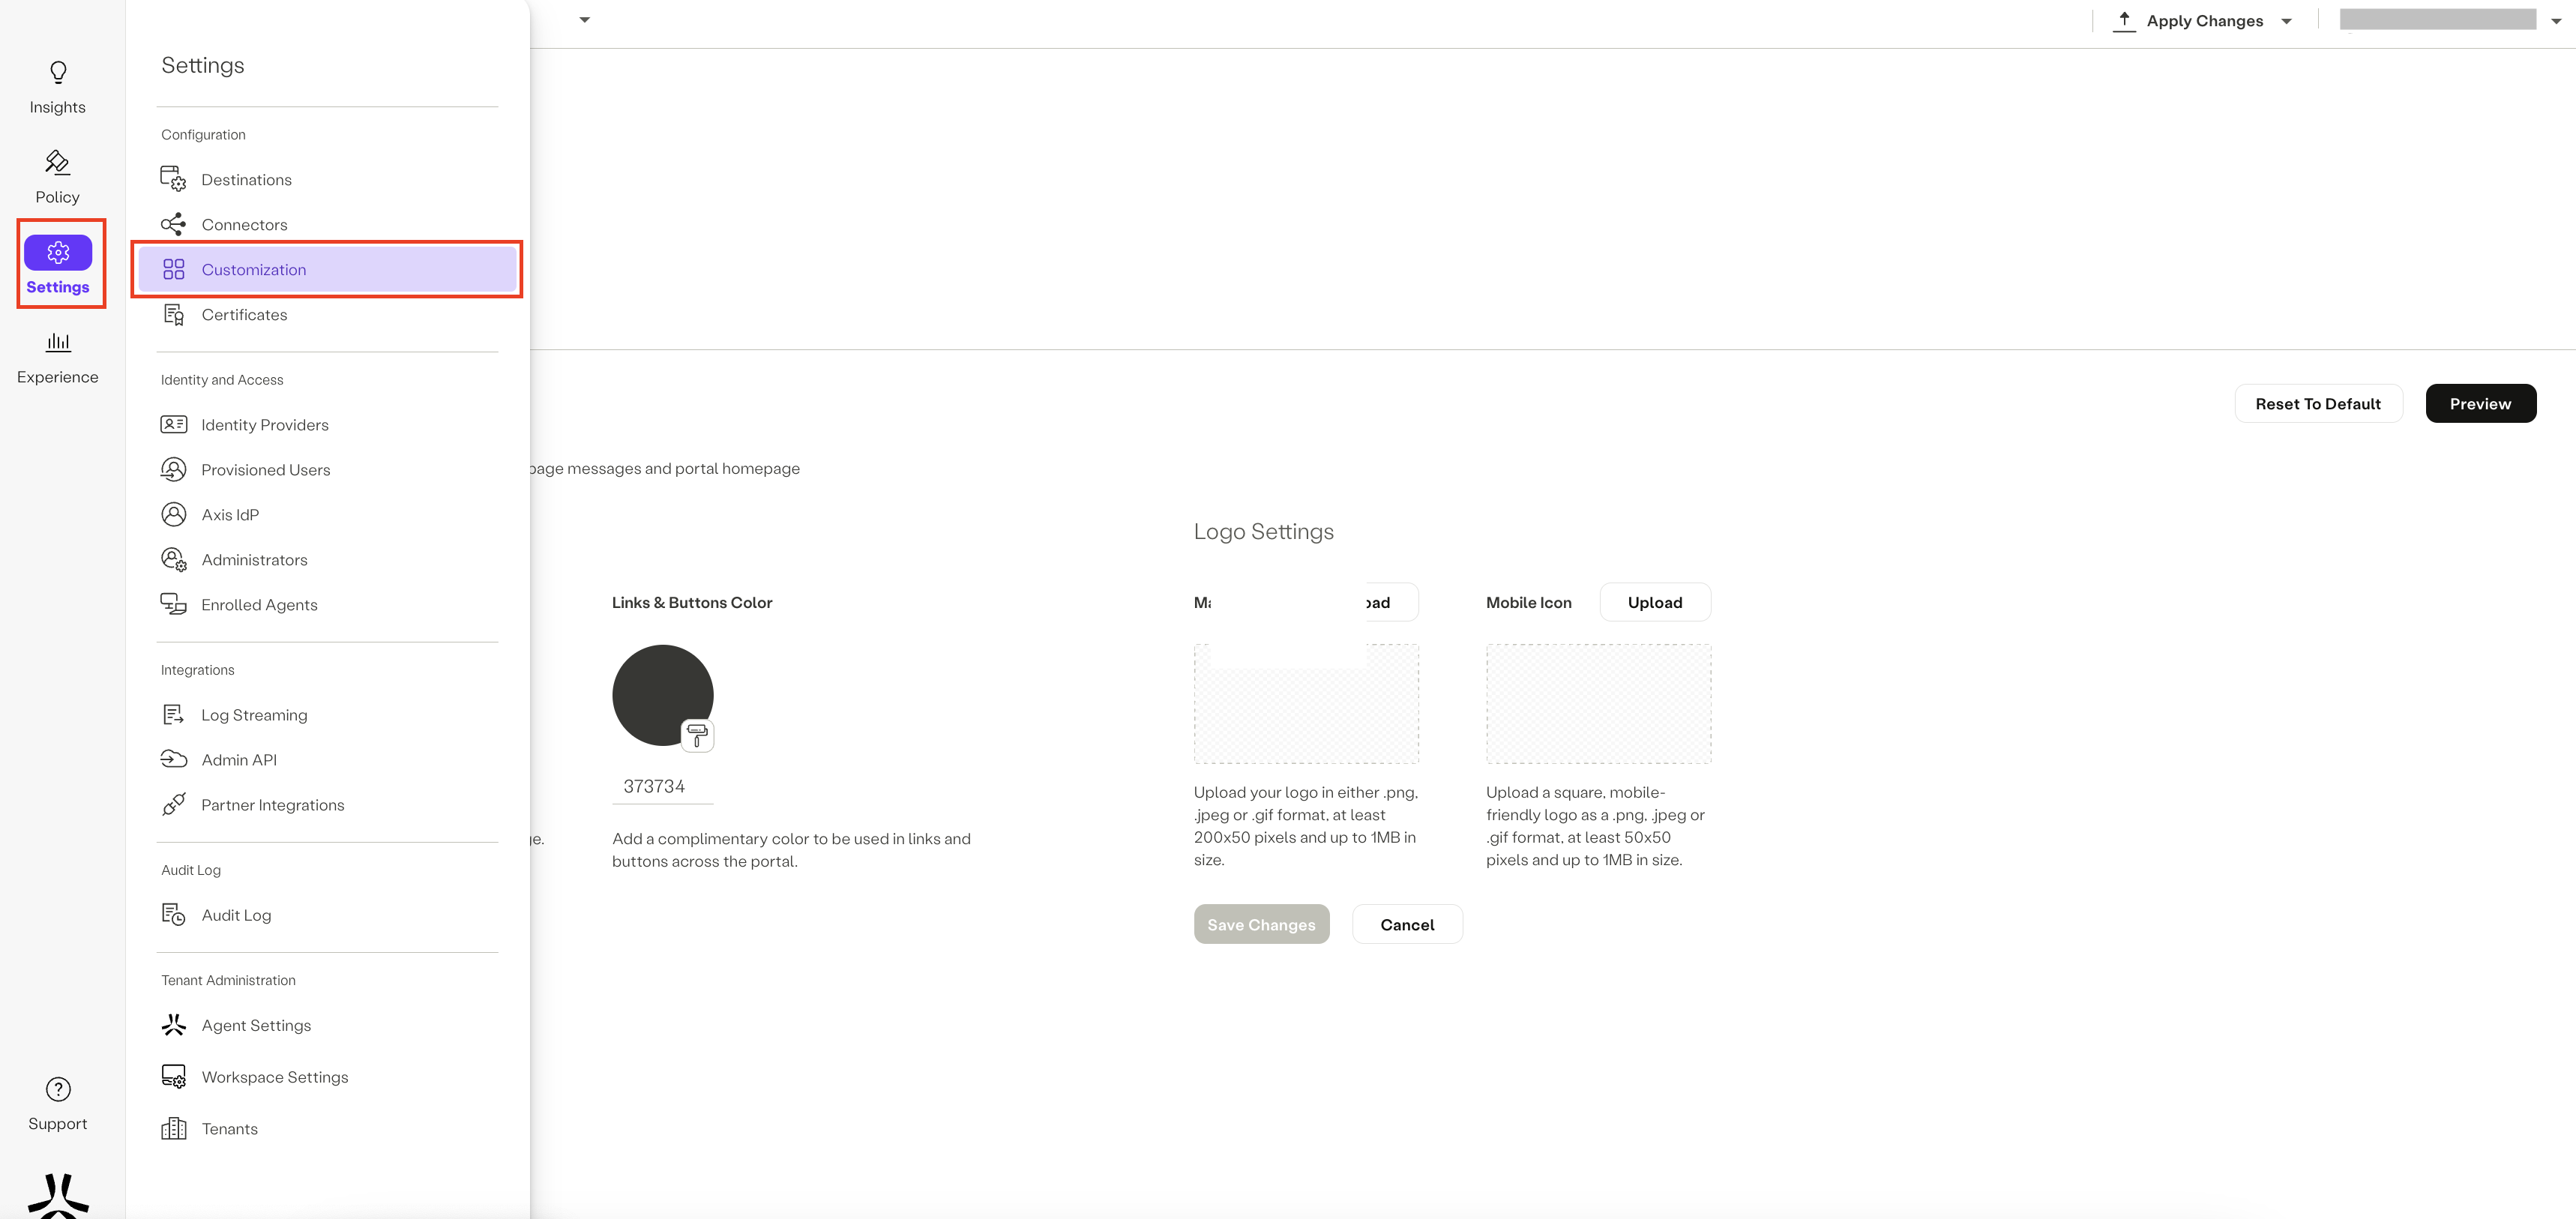
- Click on the Design tab.
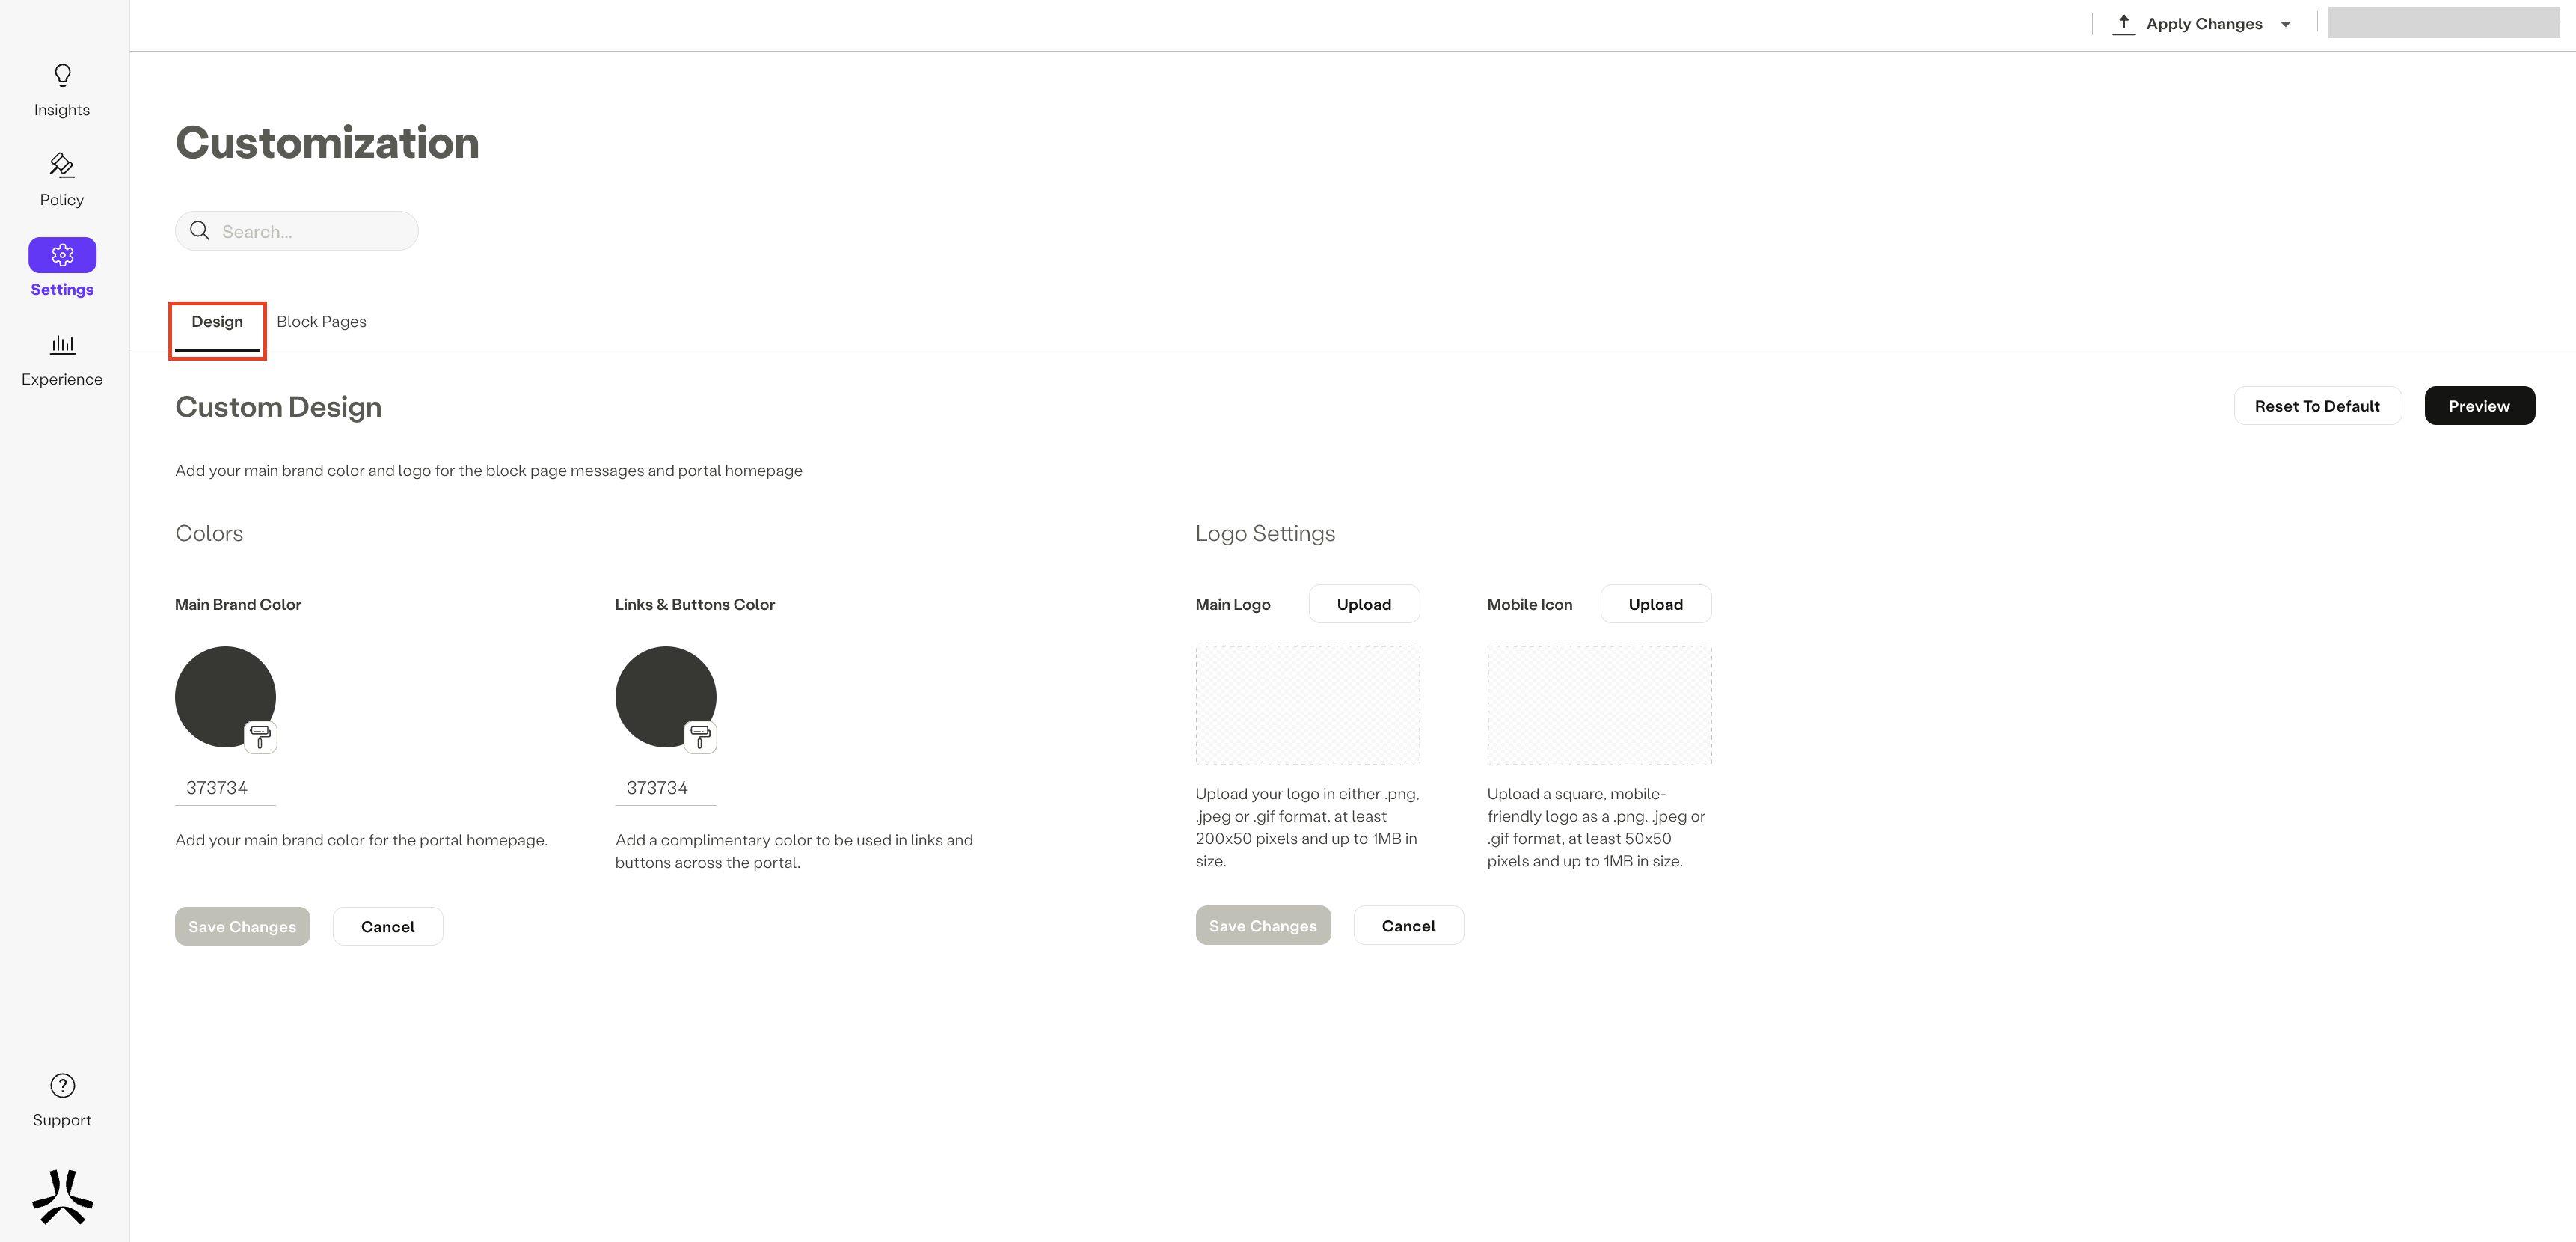
Configuring Your Custom Design
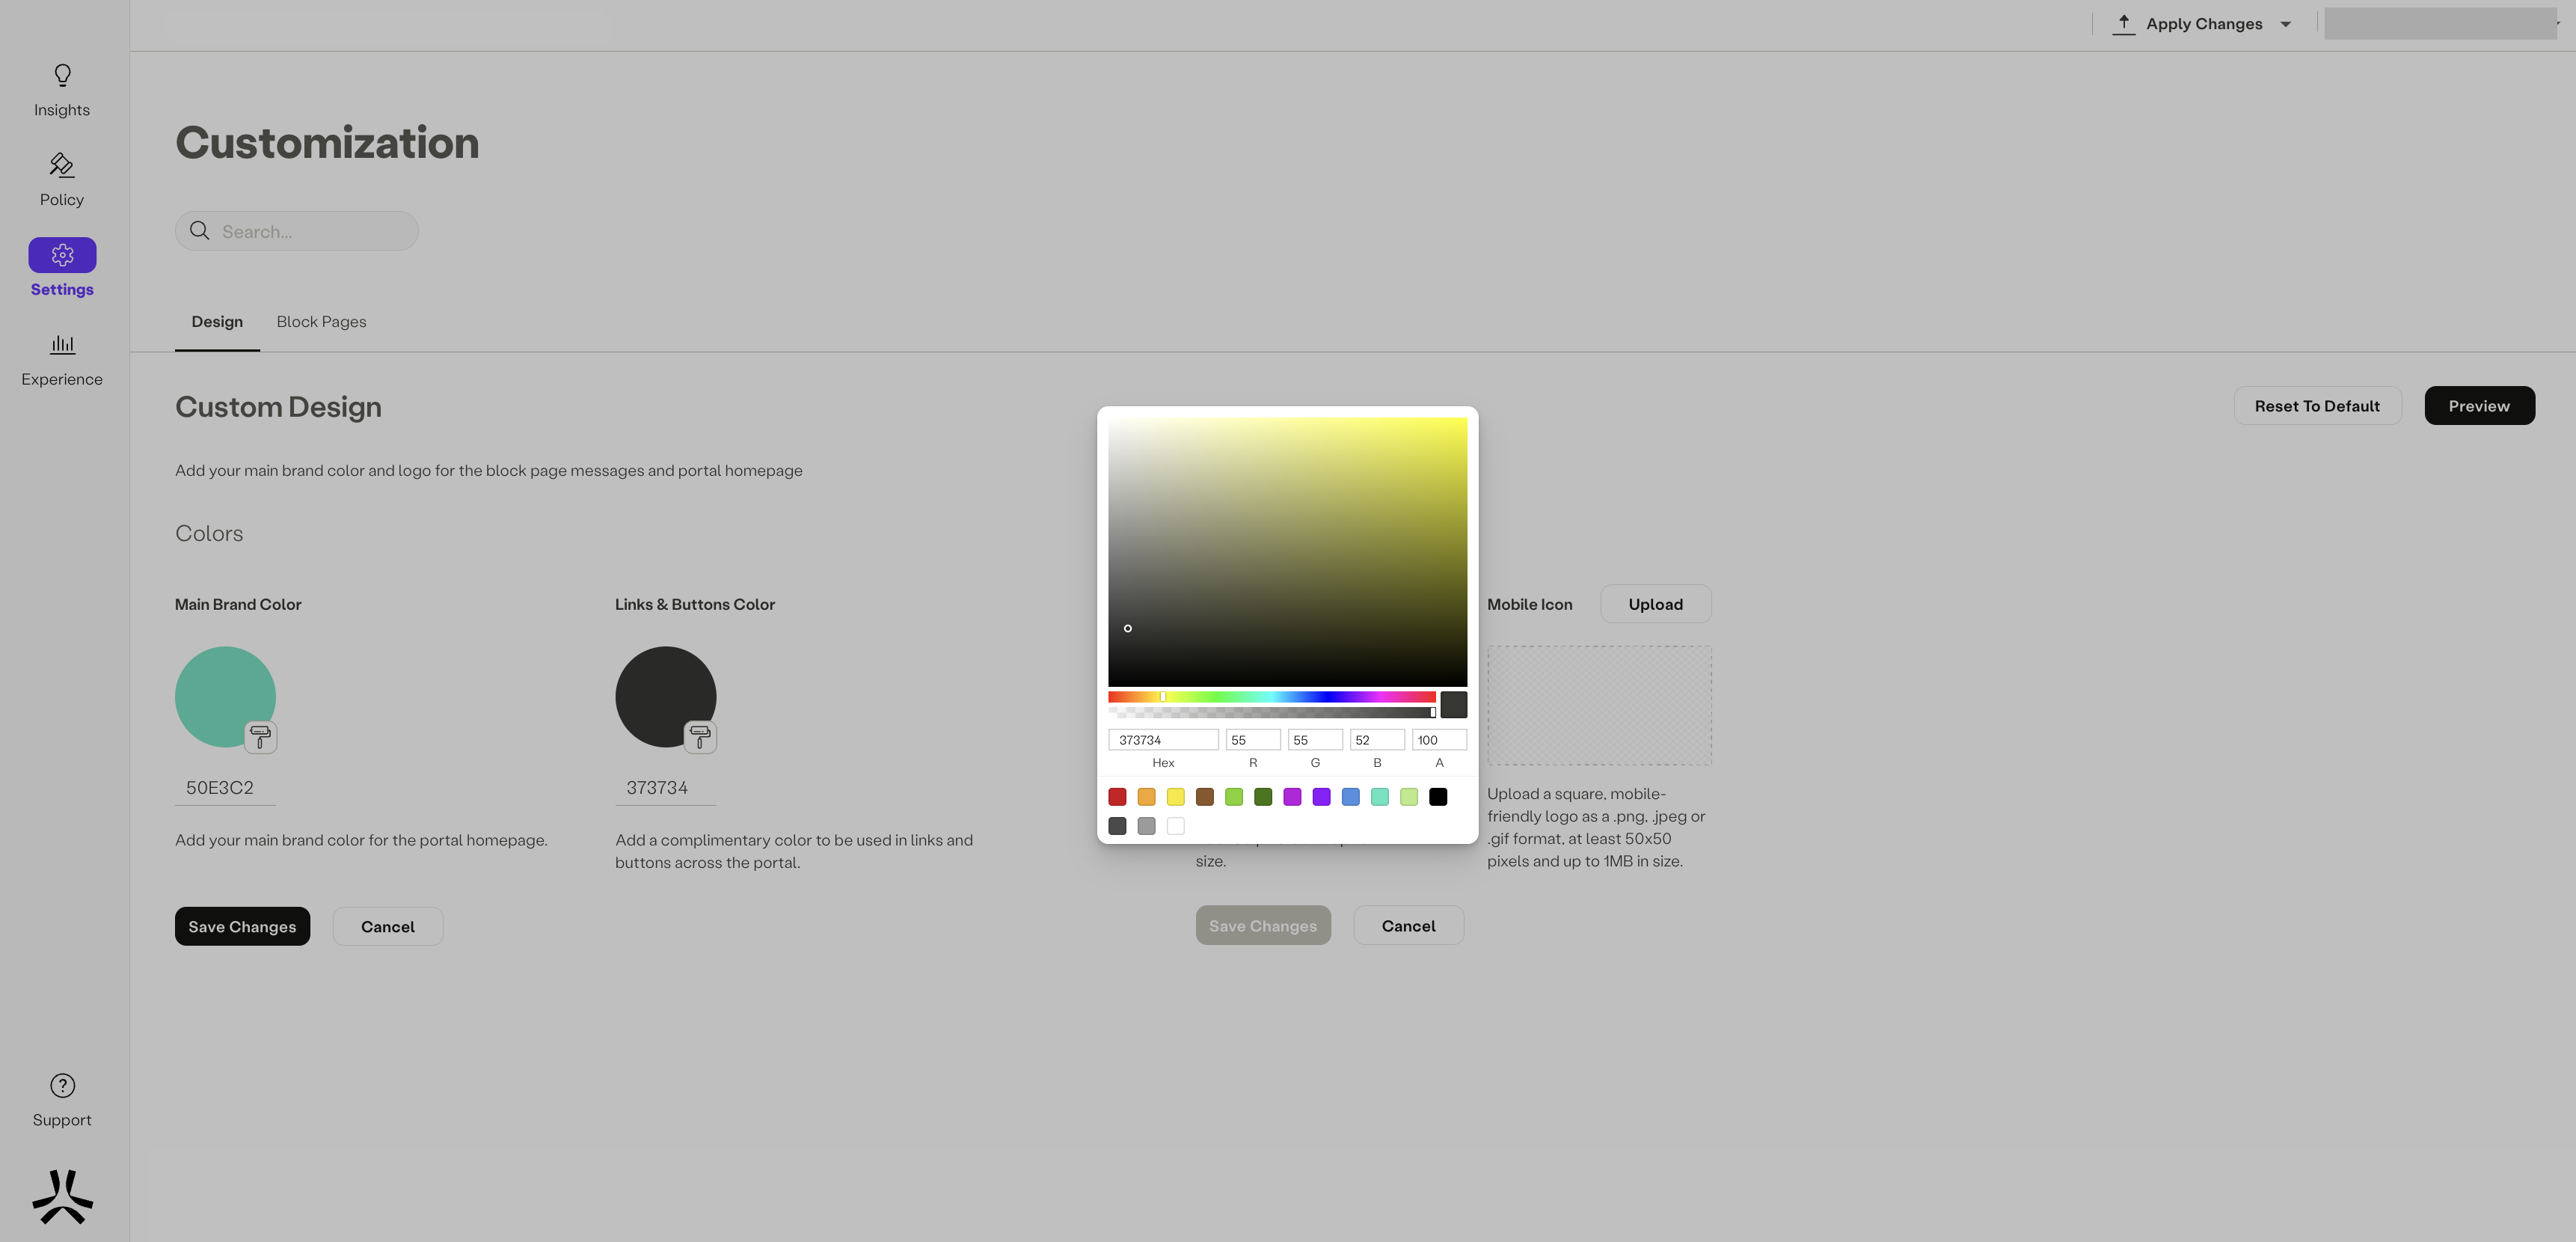
Configure Colors
The colors you choose will be applied throughout your user portal, block pages, and error pages, ensuring a consistent and personalized experience that perfectly aligns with your organization's identity.
Main Brand Color
Customize the main logo by following these steps:
- Click the paintbrush icon
 in the Main Brand Color to open a color picker or enter the hex color.

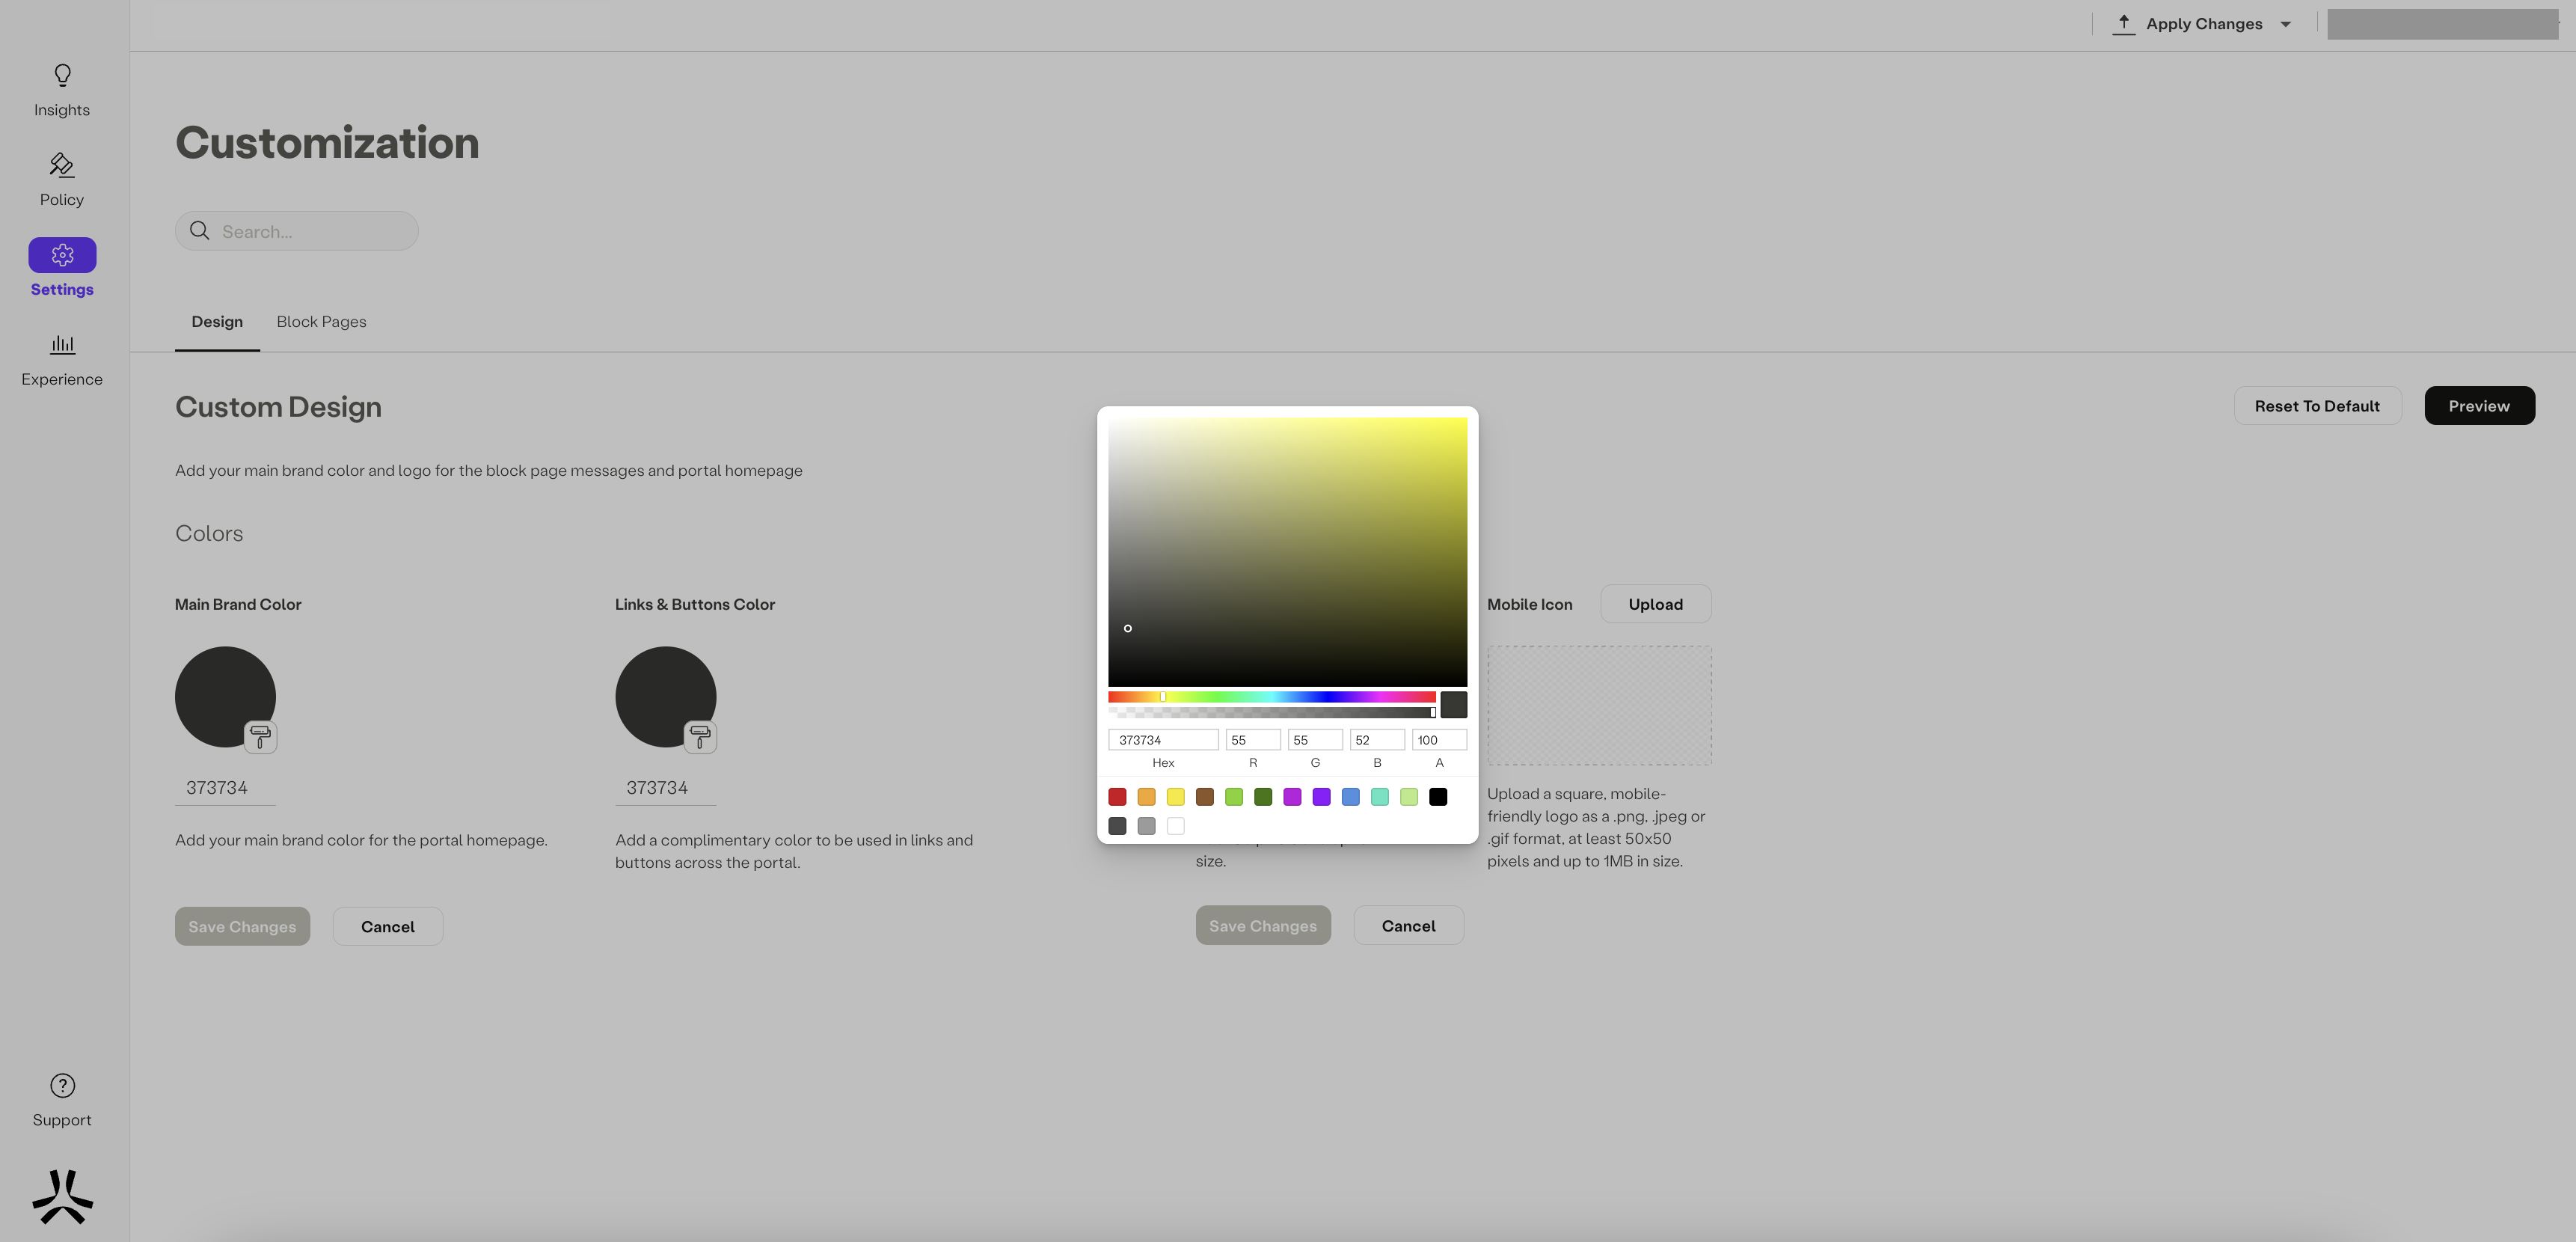
- Click Save Changes.
Links and Buttons Color
Customize the color of links and buttons by following these steps:
- Click the paintbrush icon in the Links and Buttons Color to open a color picker or enter the hex color.
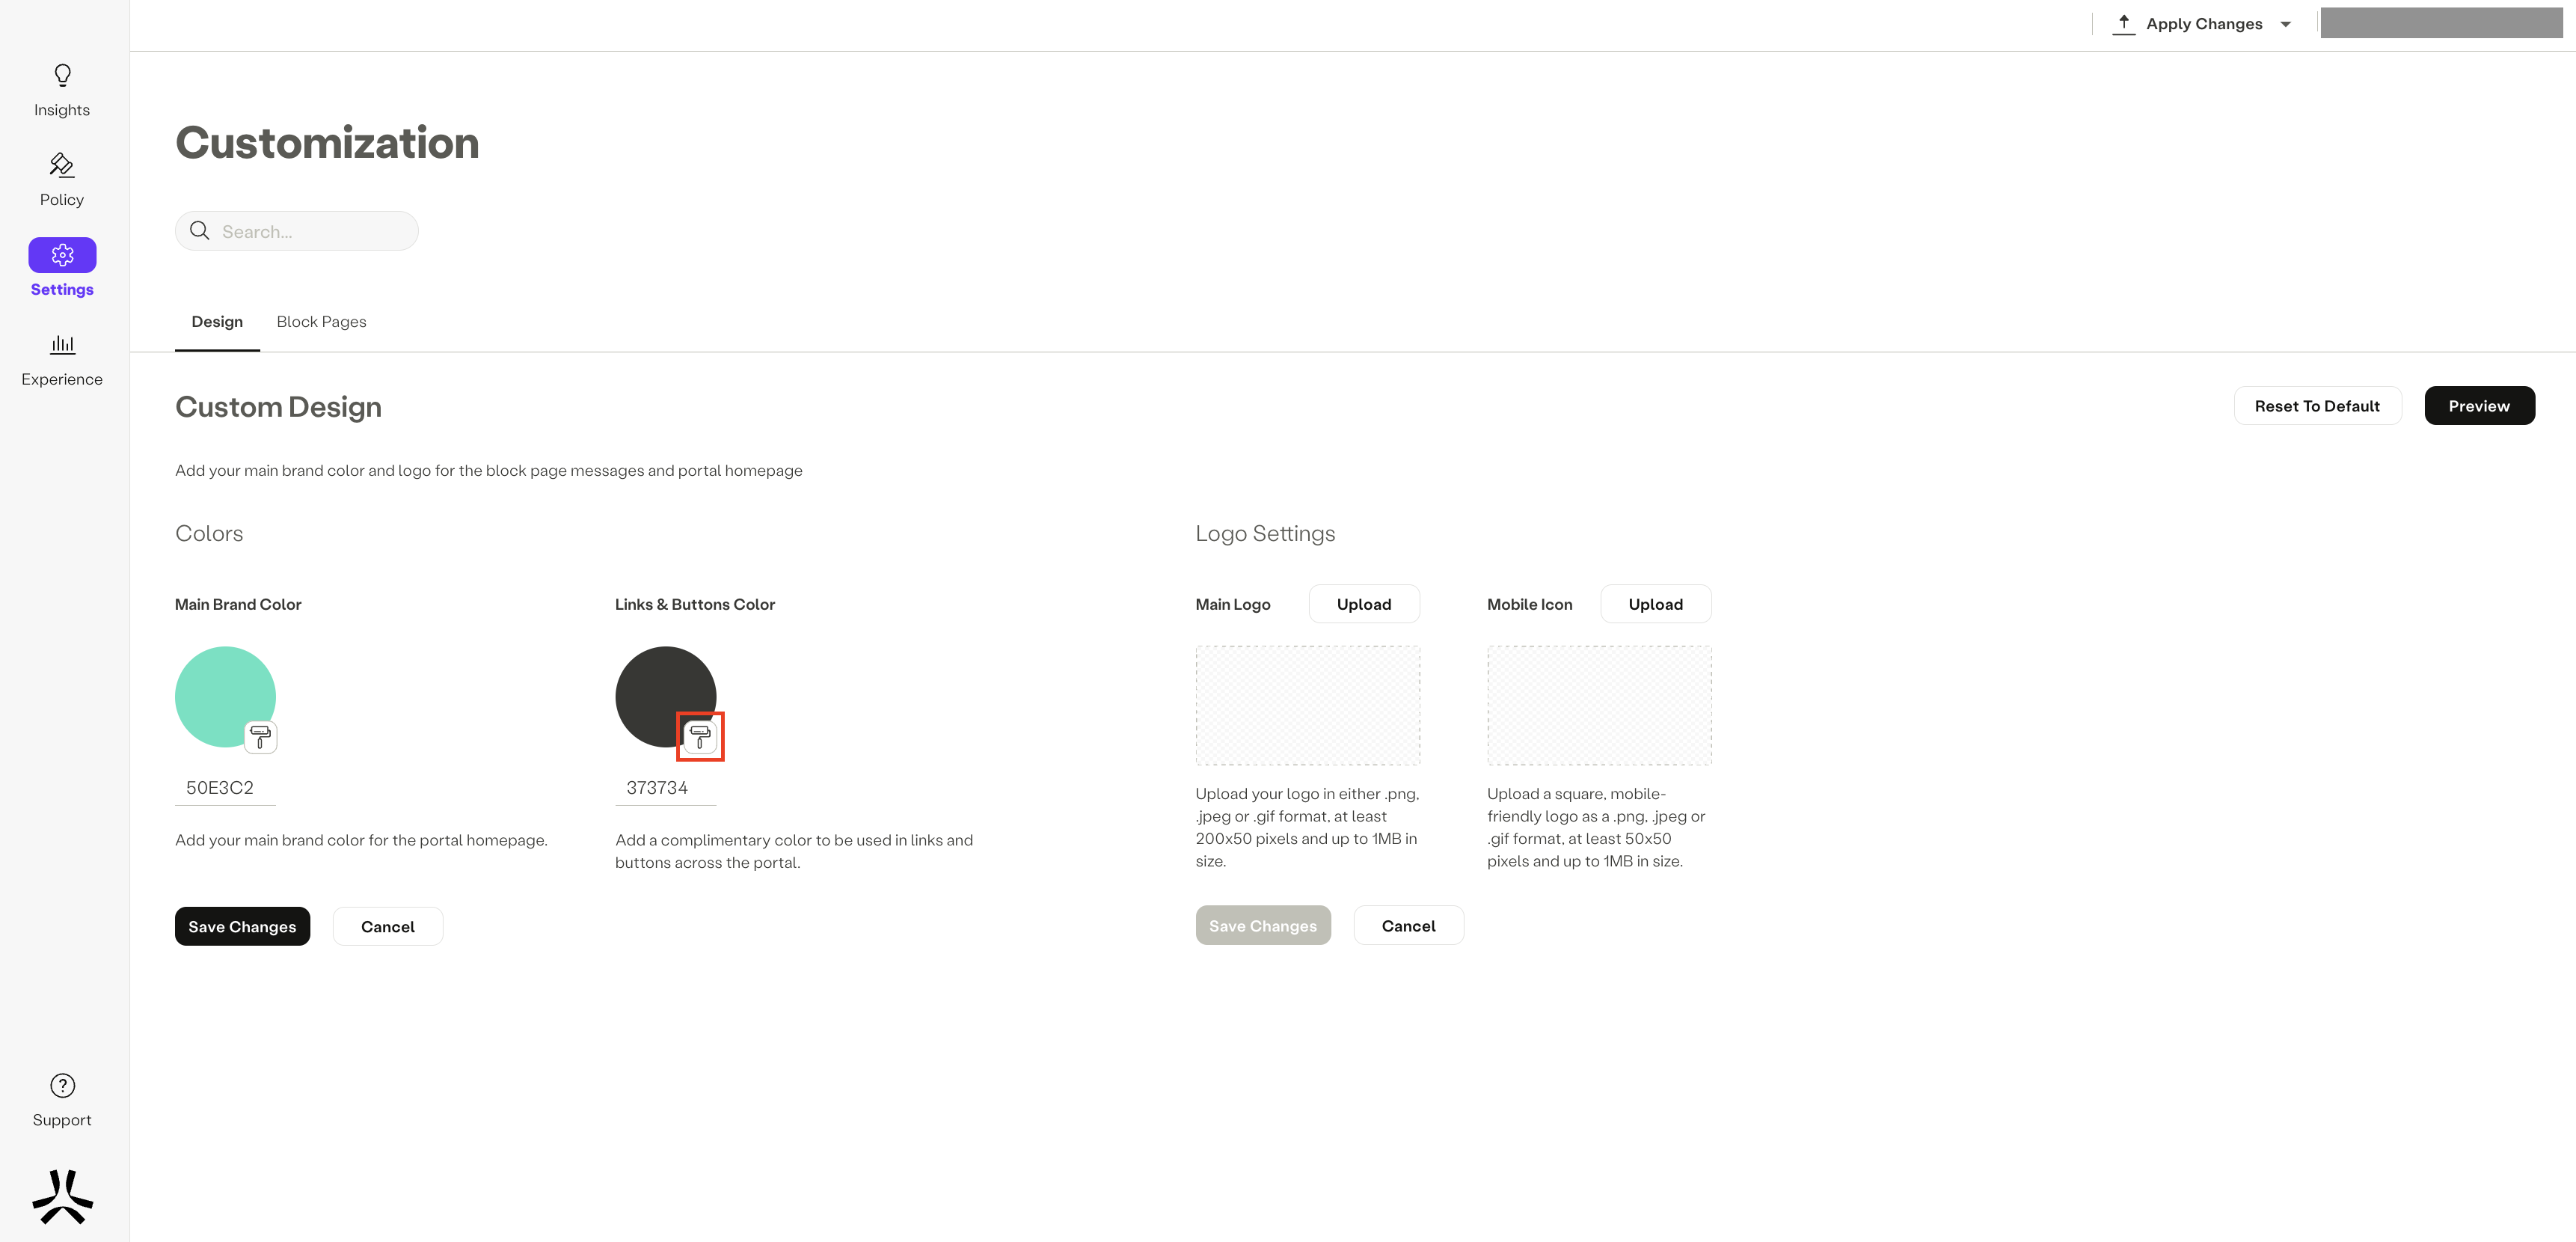
- Click Save Changes.
Configure Logo
Logos play a significant role in enhancing the visual appeal of your user portal, block pages, and error pages, ensuring consistent and distinctive branding that perfectly aligns with your organization's identity.
Main Logo
Customize the main logo by following these steps:
- Click Upload next to Main Logo to add your custom logo.
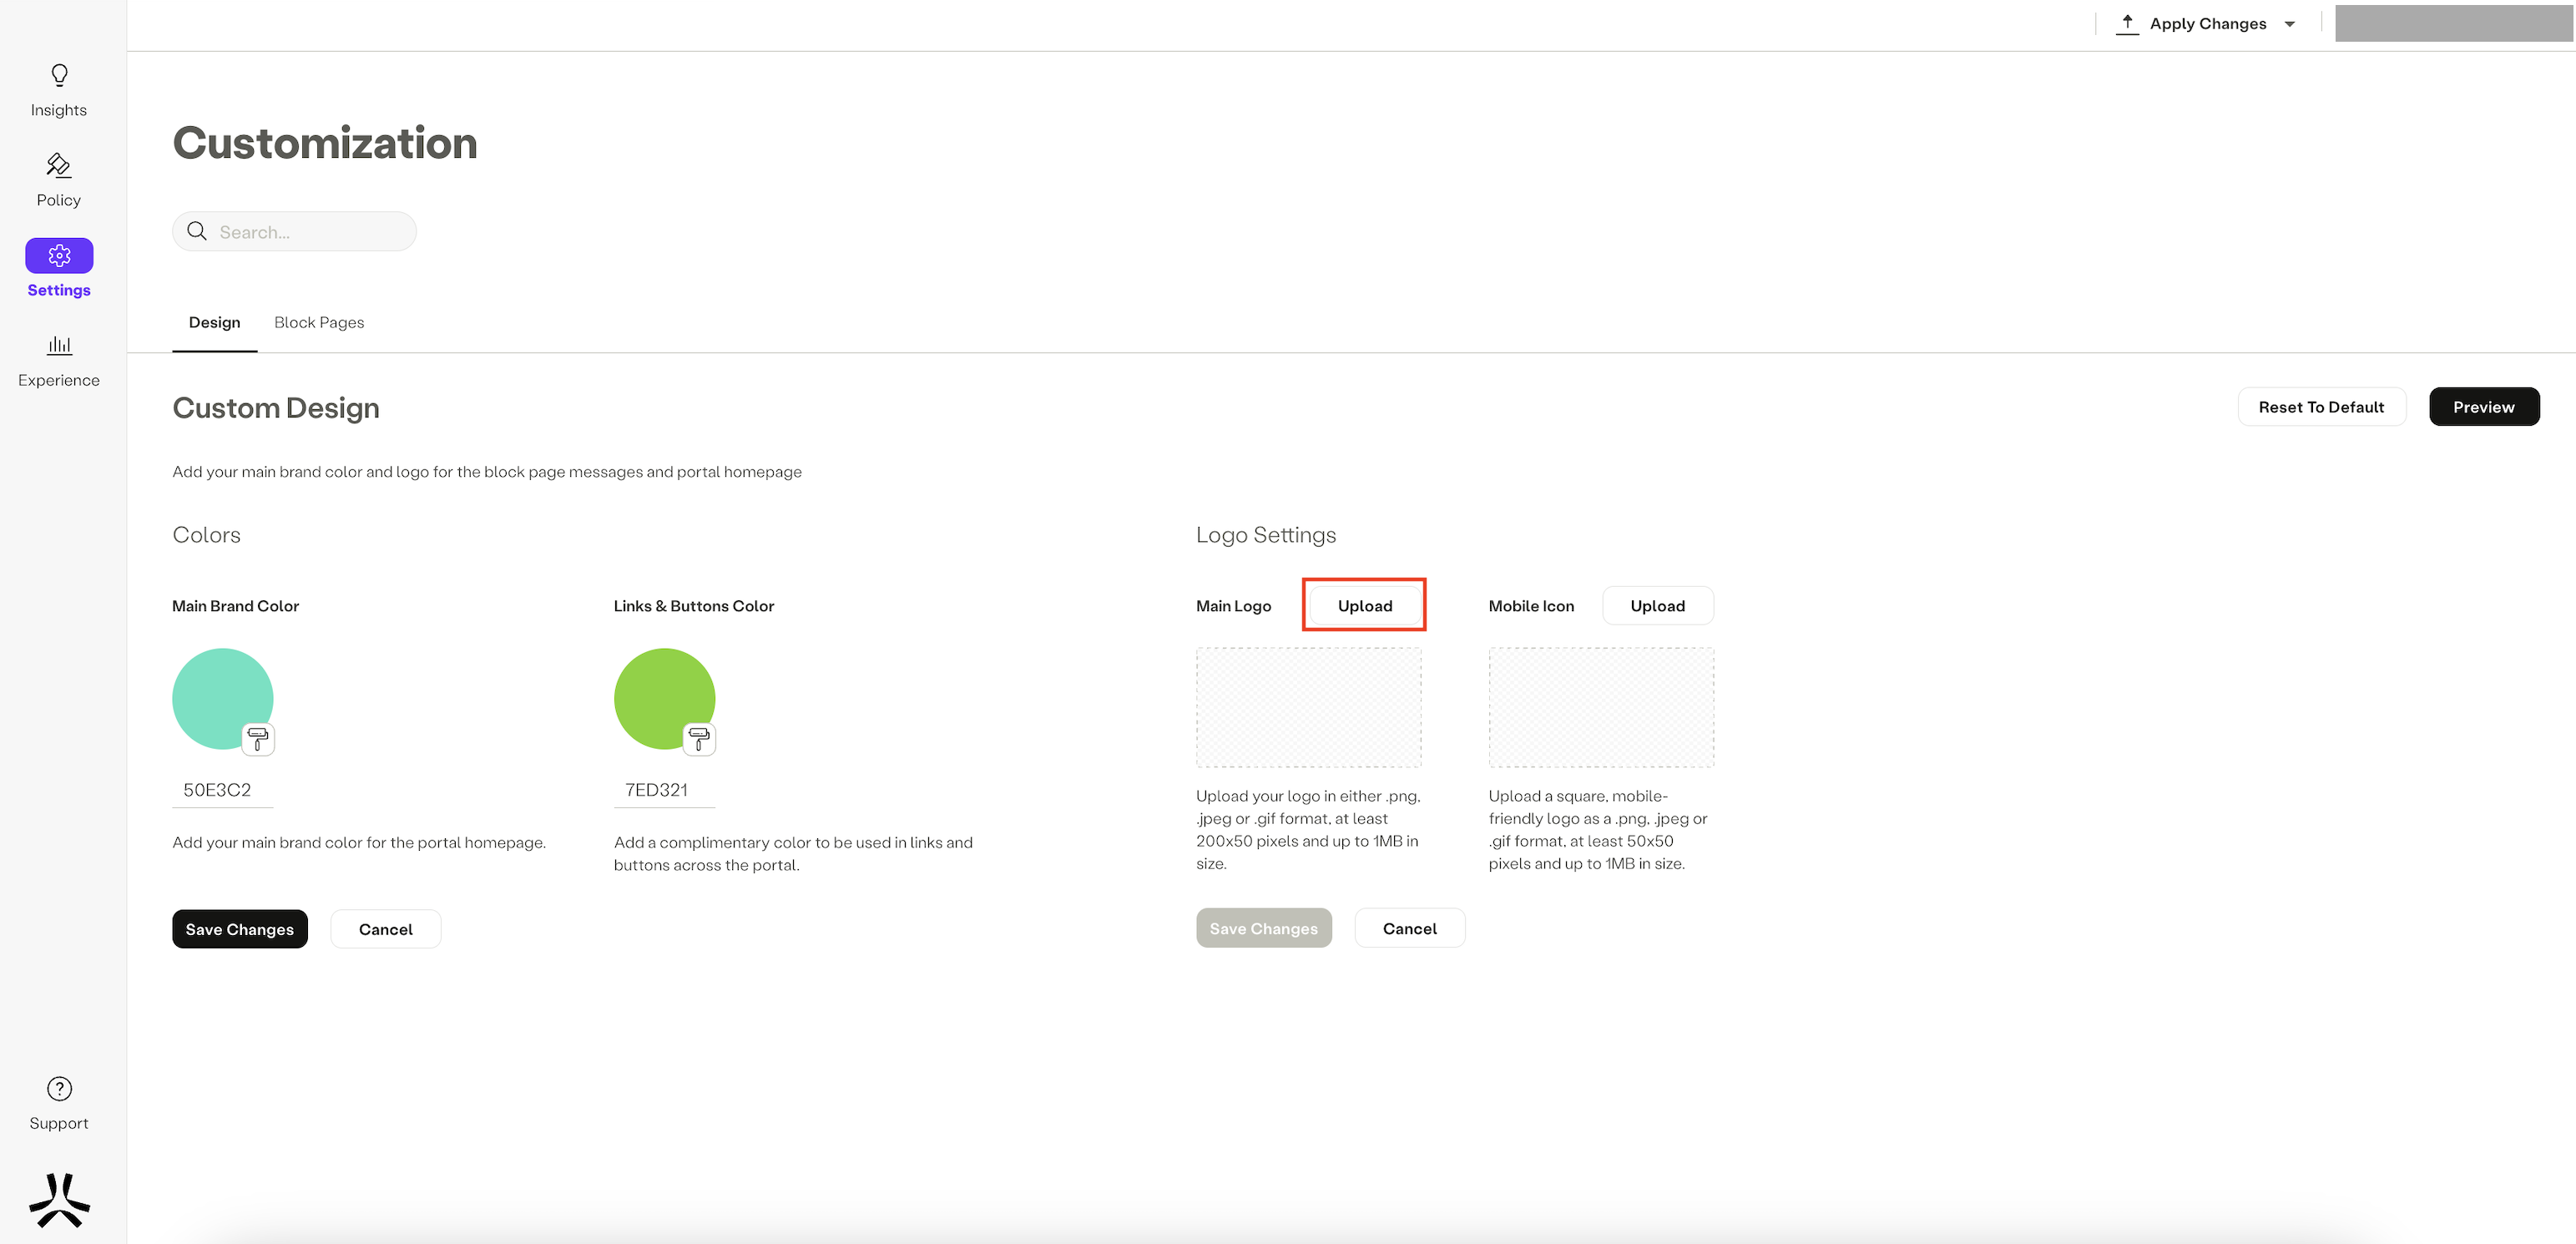
- Click Save Changes.
Mobile-Friendly Logo
Customize the mobile-friendly logo by following these steps:
- Click Upload next to Square Logo. Ensure this logo fits well on a light background and preferably use a .png file with a transparent background.
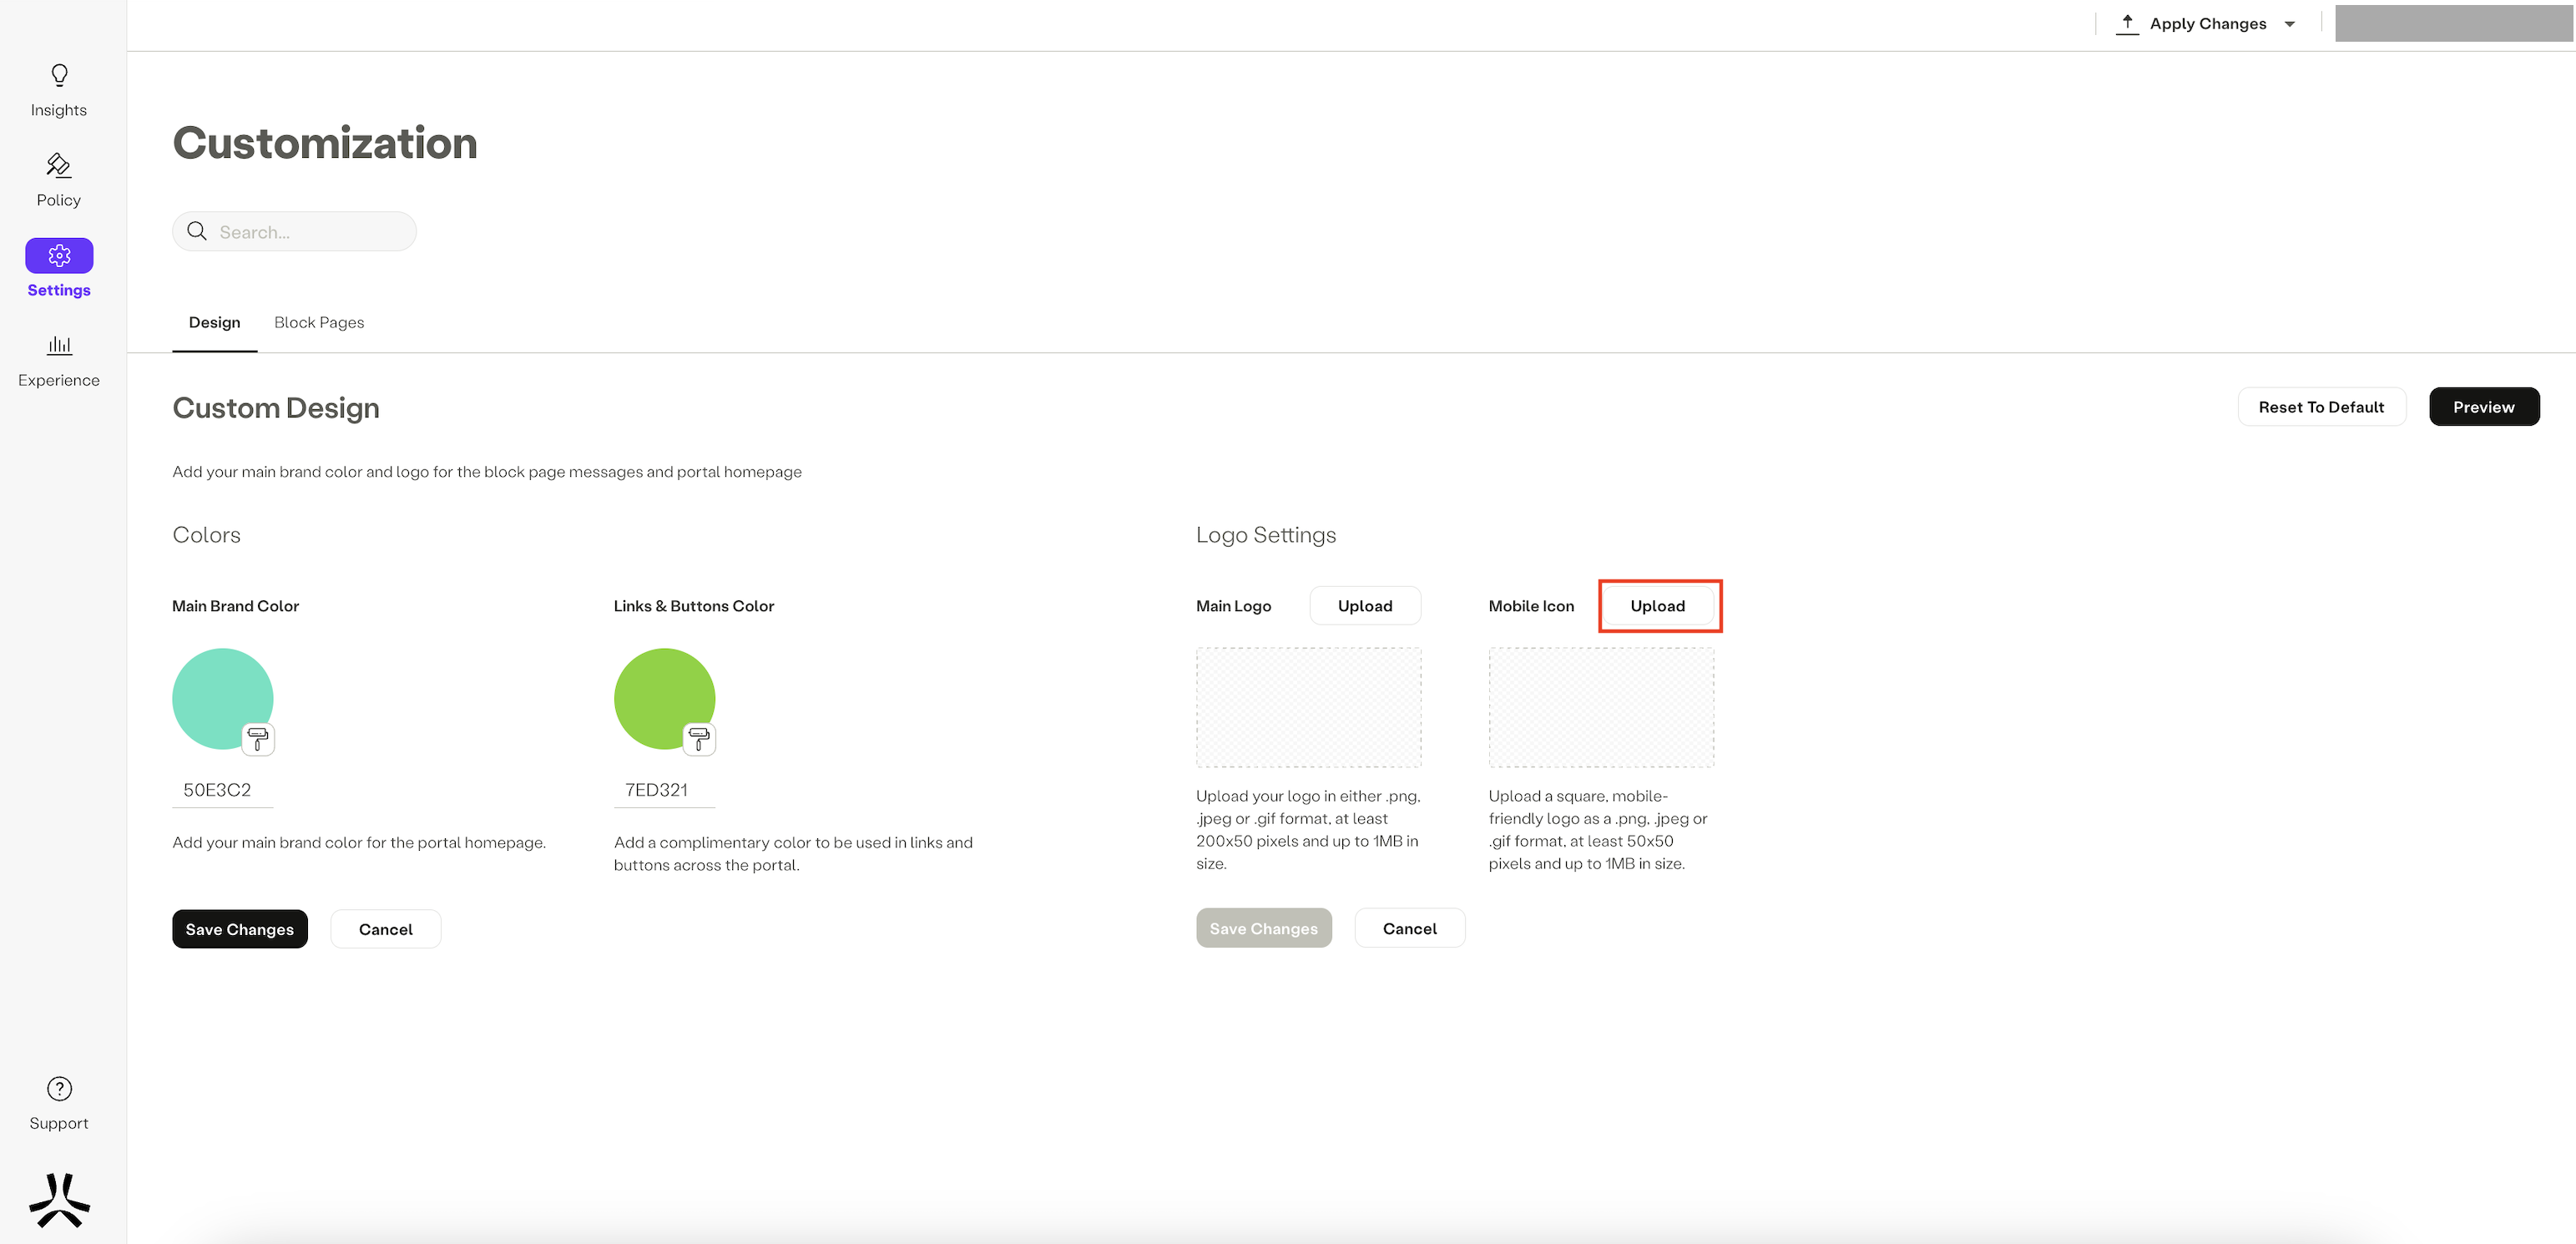
- Click Save Changes.
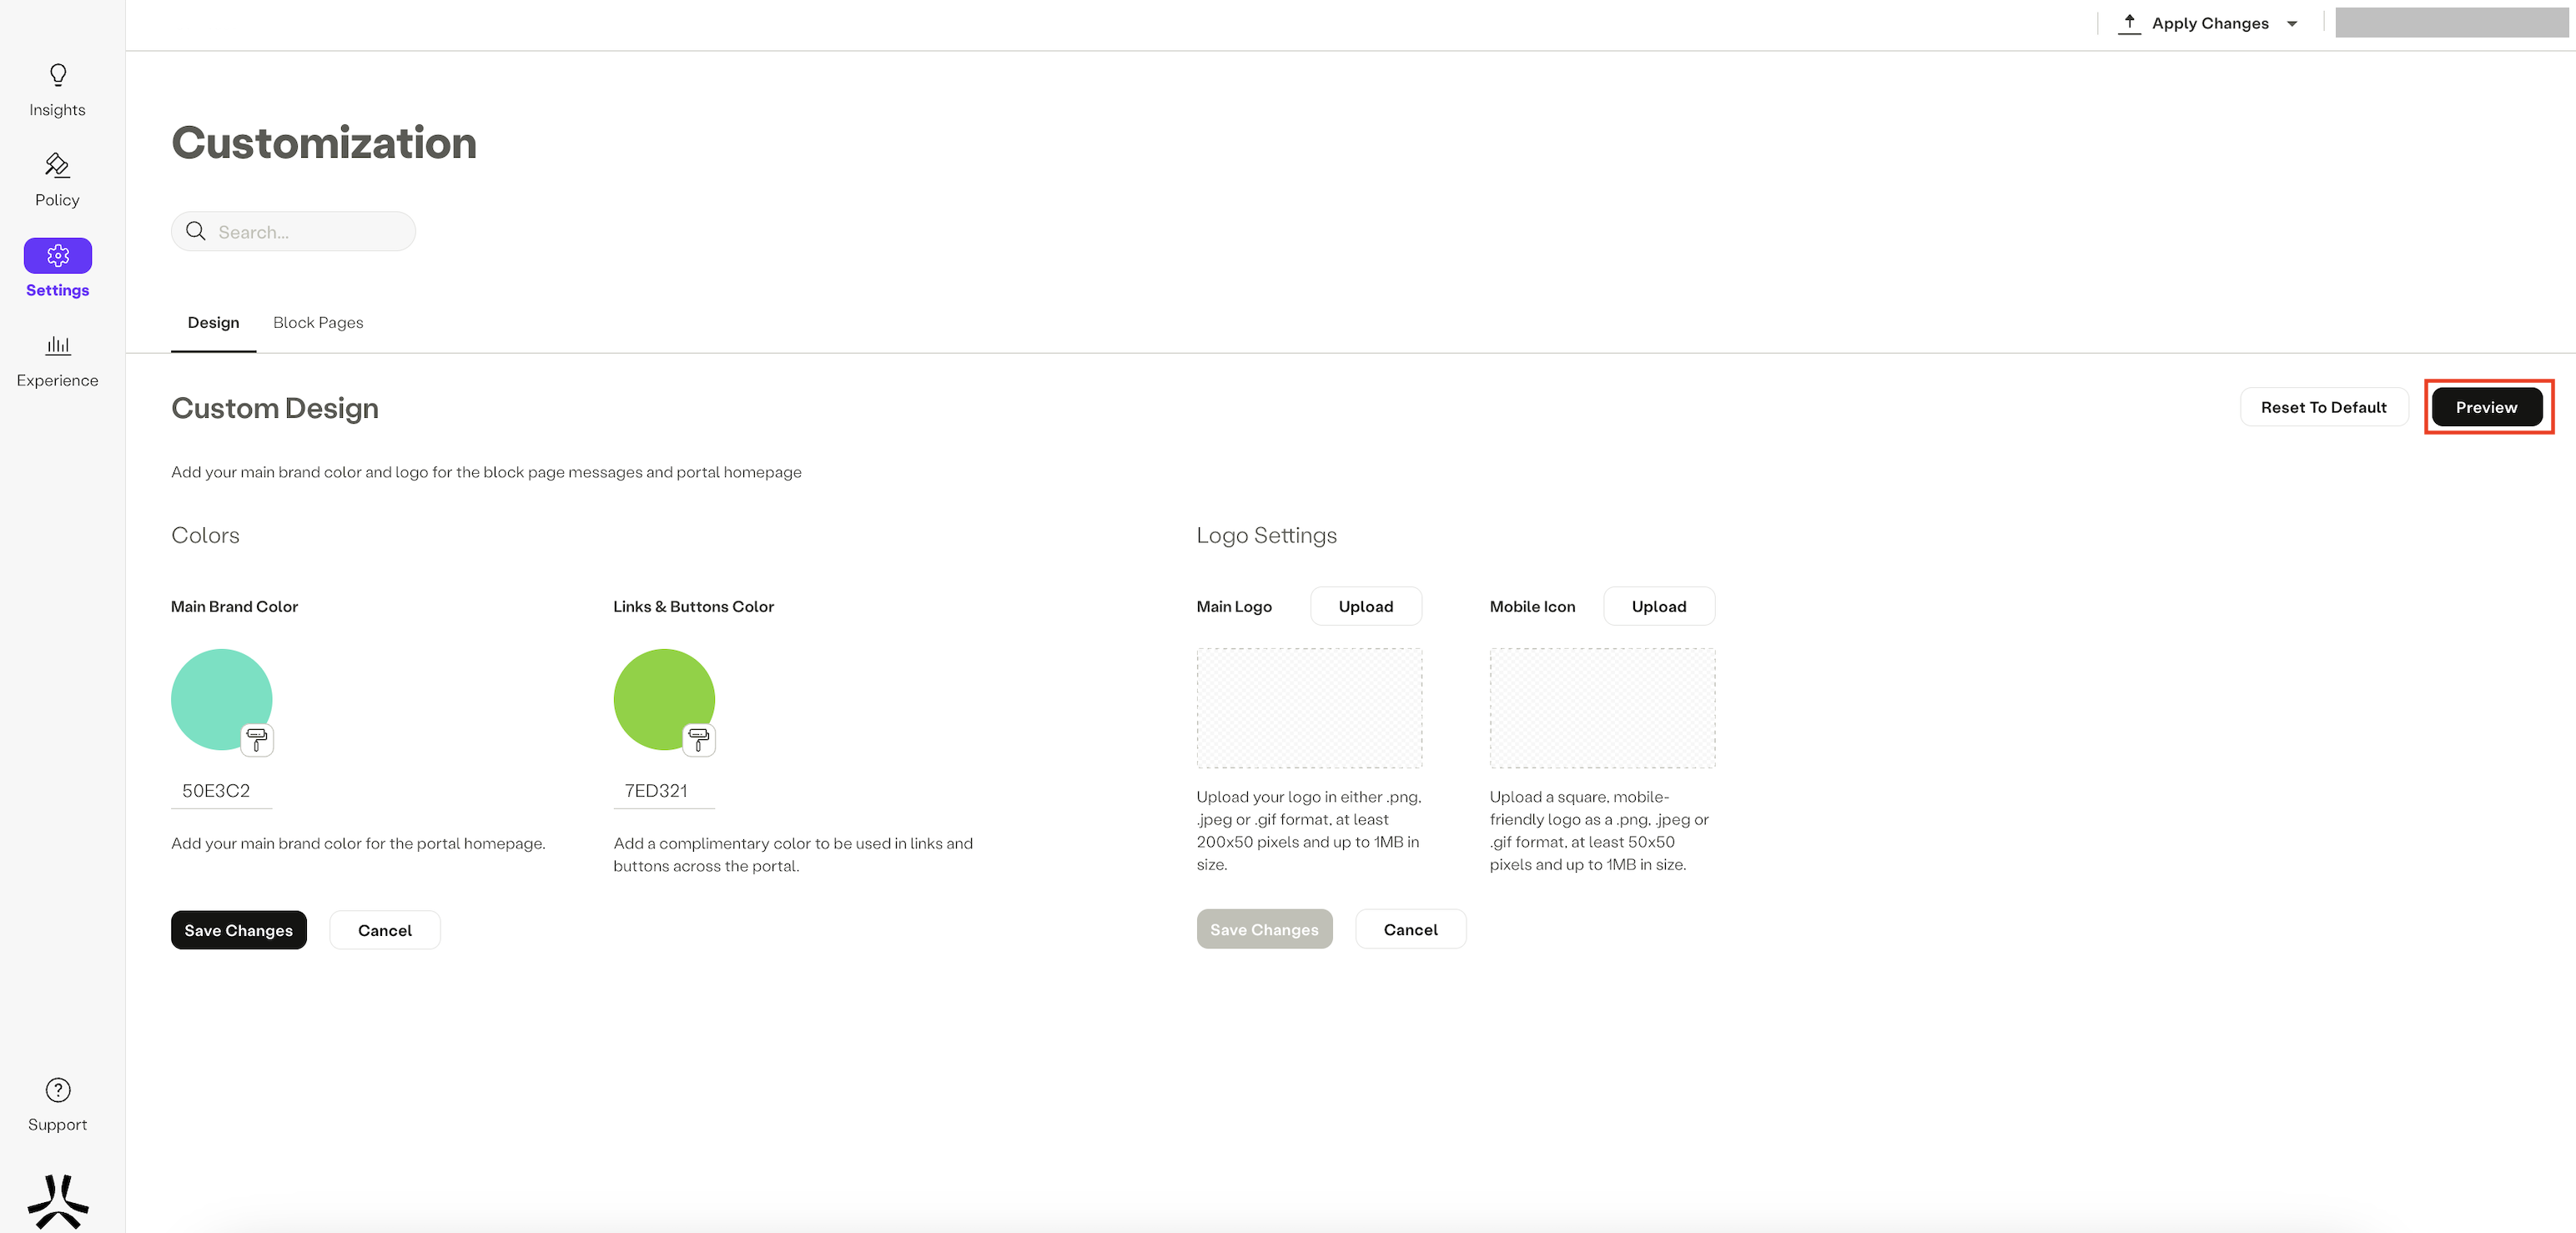
Previewing Your Custom Design
As you fine-tune your portal's design to align with your organization's identity, it's important to see the changes in action.
Here's how to preview, reset to default, or apply your custom design:
- Click Preview: This action allows you to experience a real-time preview of how your portal will appear with your non-commercial branding. It's your chance to ensure that the design captures the essence of your organization.
- Revert to Default if Needed: If, during the preview, you feel the need to return to the default design, simply click Reset to Default.

- Finalize Your Design: Once you're completely satisfied with your customized design, proceed by clicking Apply Changes located at the top right of the menu. Take a moment to review your changes, and when you're ready, click Commit Changes to make your non-commercial organization's unique design permanent.
Updated 4 months ago