Deploying an OVA using vSphere
An OVA (Open Virtual Appliance) is an image or a template of a connector machine. Administrators can use an OVA file for deploying a connector. A connector can be installed using an installation script and an OVA on any hypervisor, including AWS, GCP, Azure, OnPrem VShpere, and more. The OVA file contains the latest versions of the Axis Connector components and dependencies as well as the Operating System and its required configurations applied for successfully deploying a connector.
The OVA is a newer version of the OVF format. Axis Security supports both OVA and OVF formats. The main difference is that OVF is built from several files while OVA is composed of files that were bundled together. Some virtualization environments require the use of OVF instead of OVA. See also OVA and OVF in Axis Frequently Asked Questions.
Using the OVA file allows for a fast installation and activation process compared to the installation script because all of the dependencies and images are already available and pre-configured on the machine. It also allows you to install the OVA without an external internet connection (except for Axis's IPs).
Prerequisites
- Before you begin, review the deployment prerequisites.
- Download the OVA, click here
Step 1: Deploy a new OVF Template Using vSphere
- In vSphere, right-click the inventory object that is a valid parent object of a virtual machine and select Deploy OVF Template.
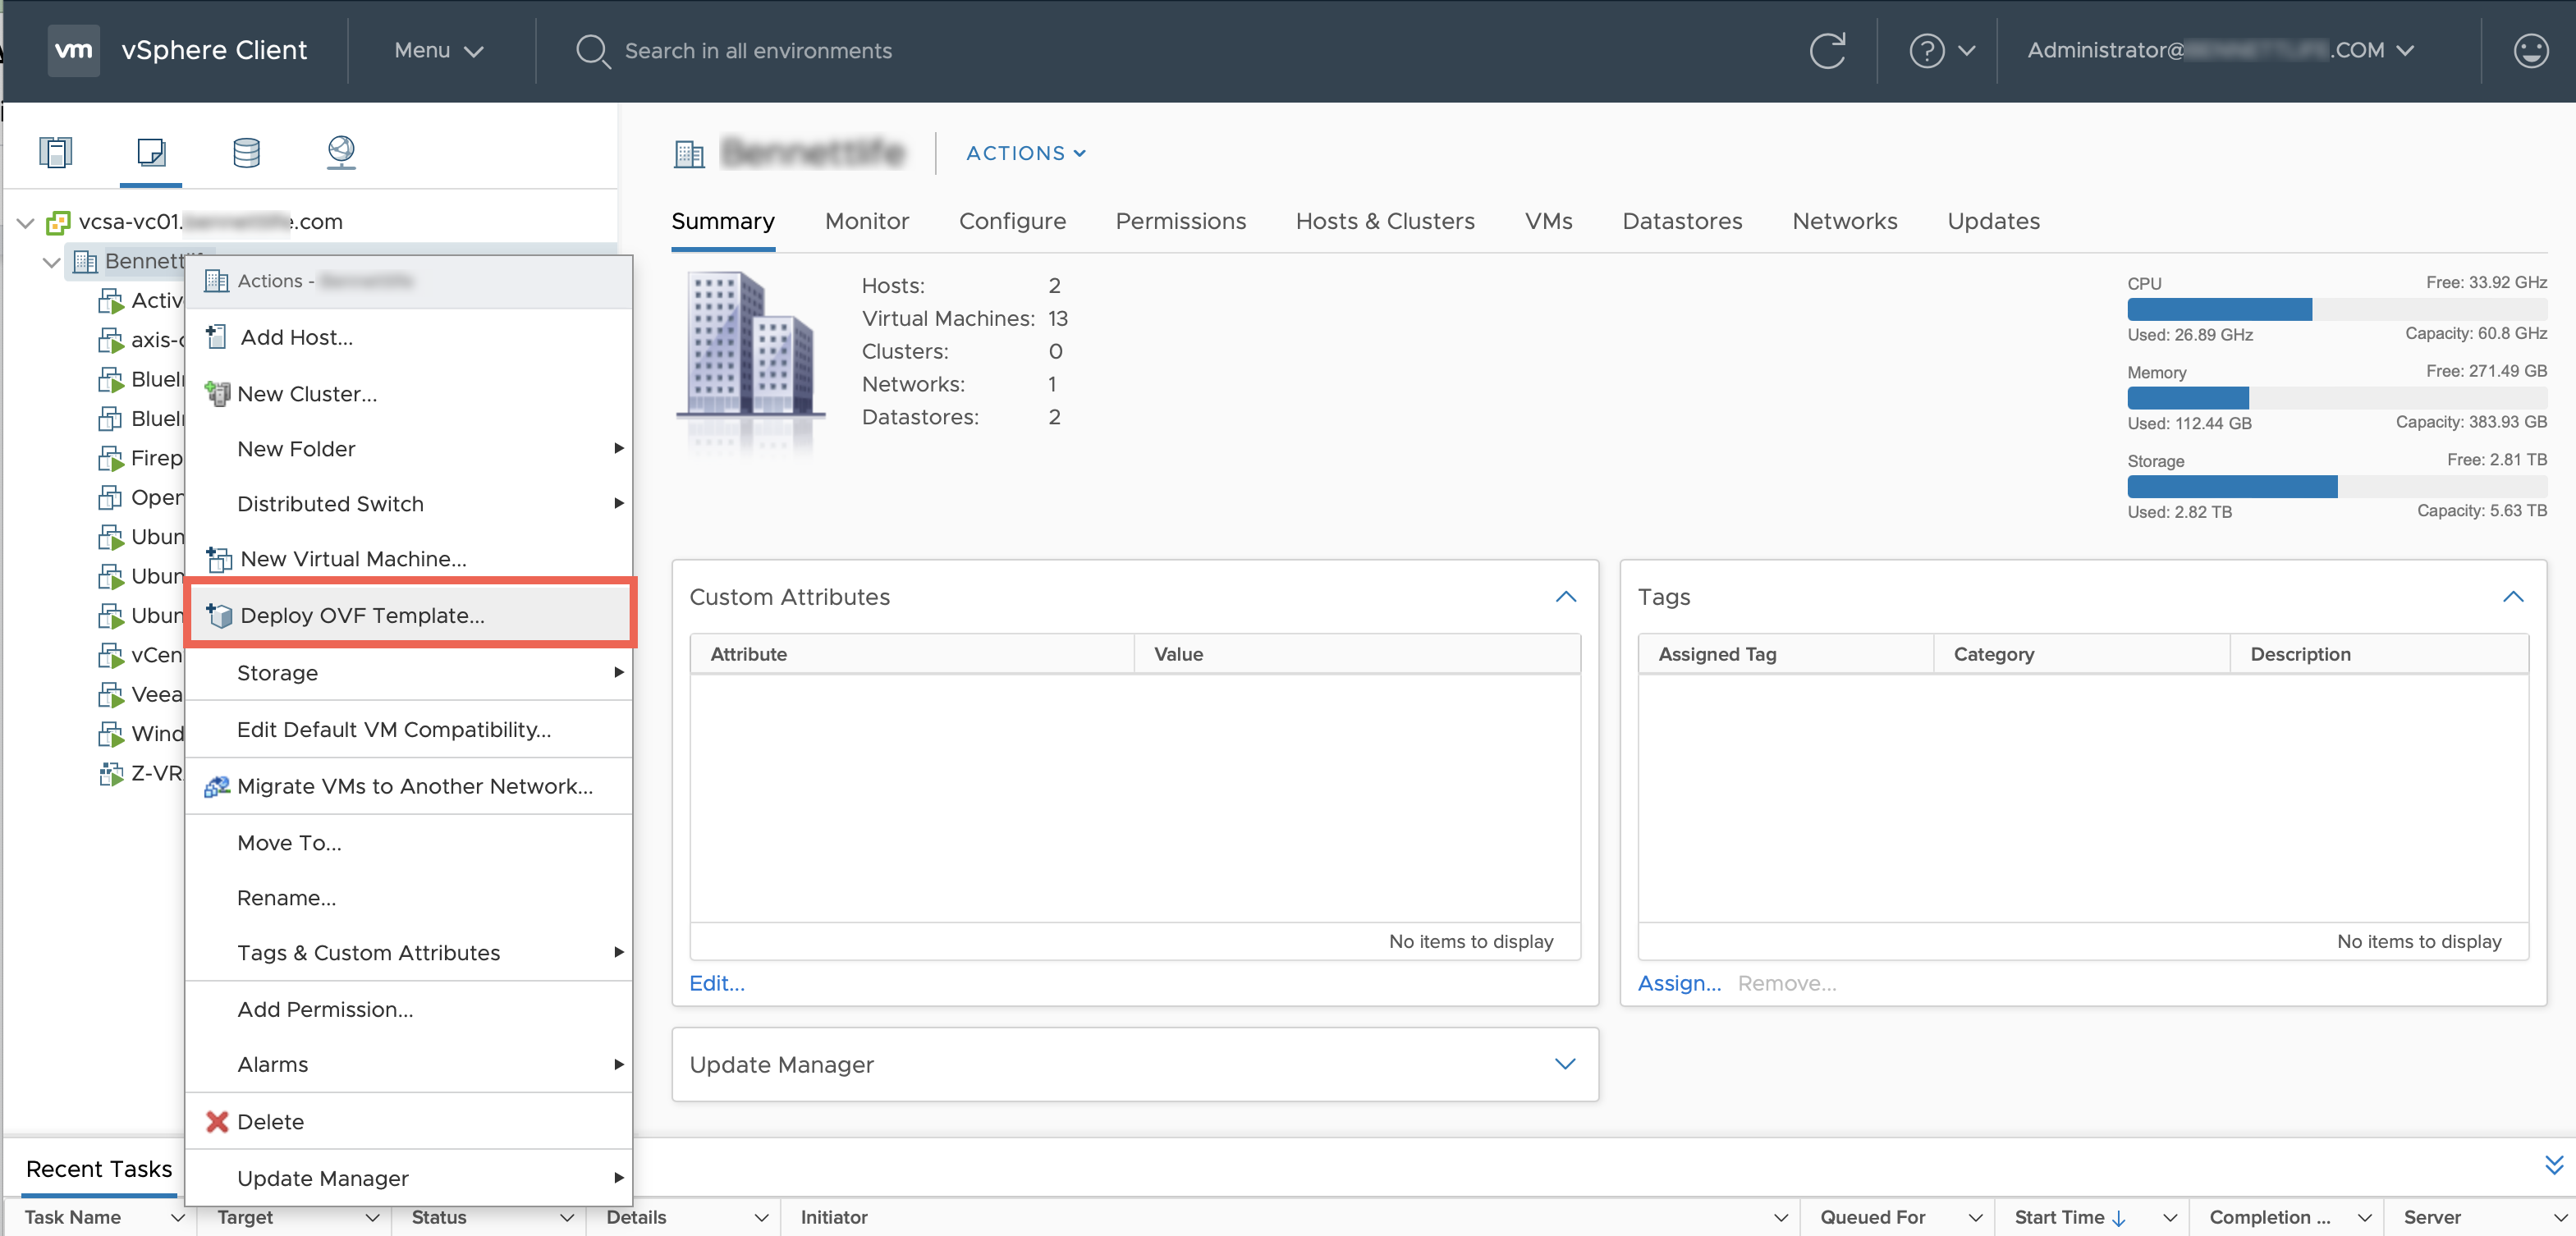
The Deploy OVF Template screen appears.
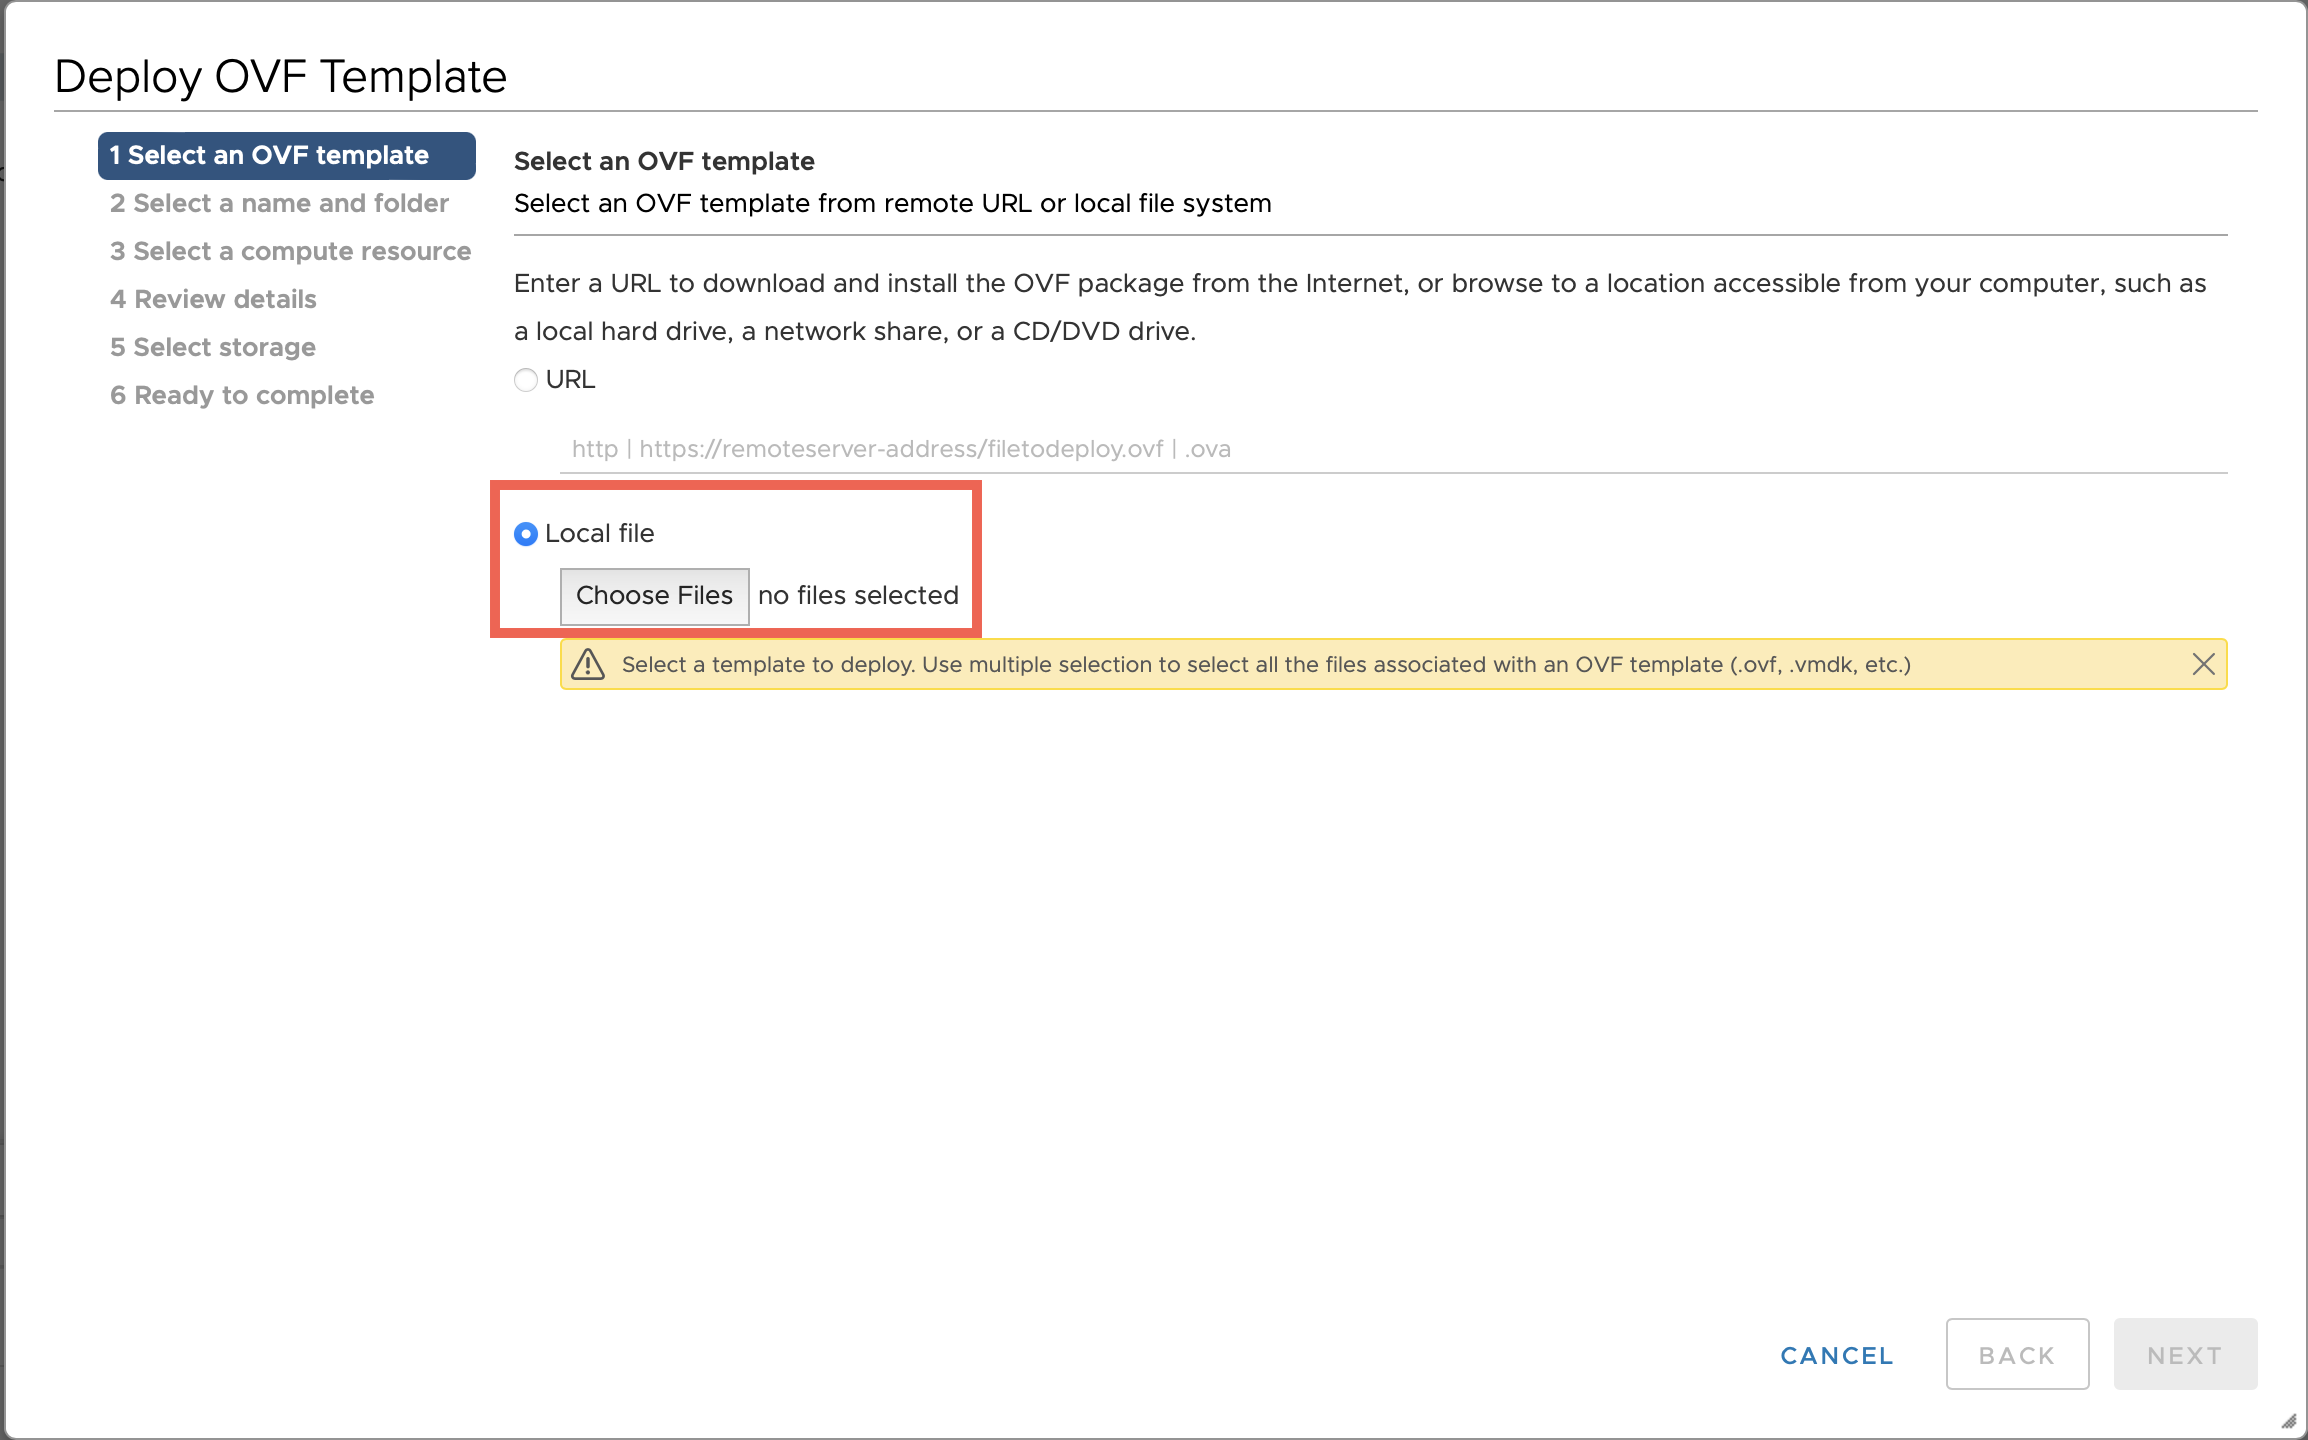
- In the Select an OVF template, select Local File
- Click Choose Files and choose the OVA file.
- Click NEXT.
Step 2: Select a Name and Folder
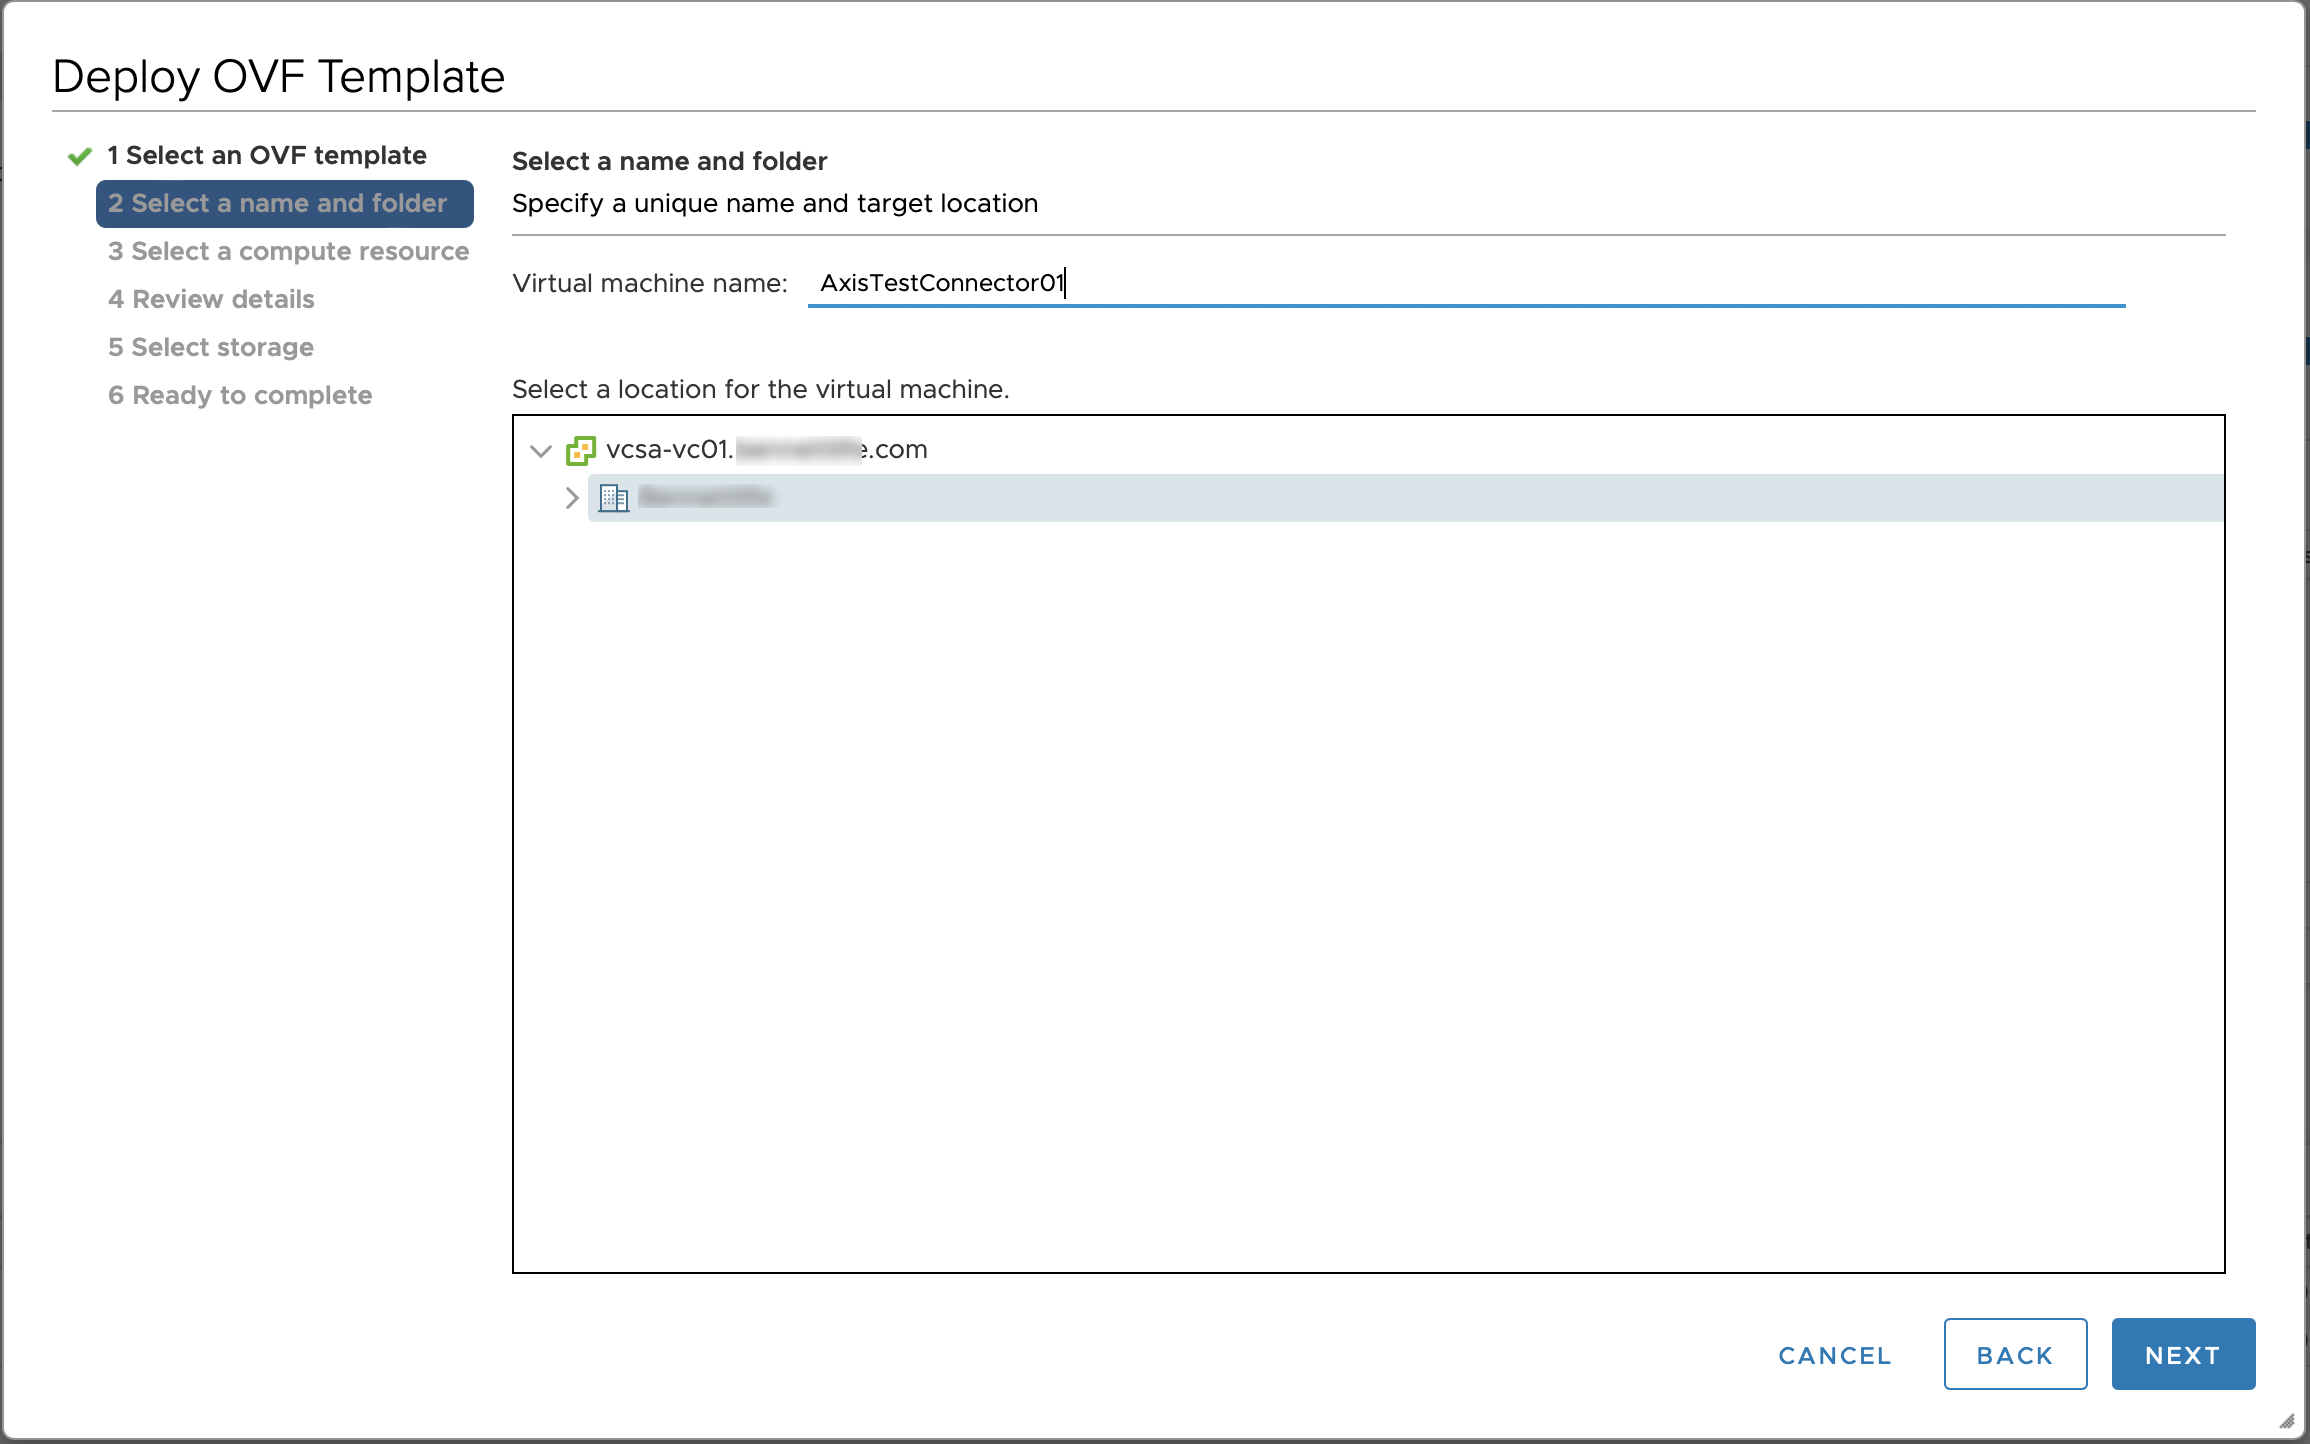
- Enter a virtual machine name to be identified in vSphere.
- Click NEXT.
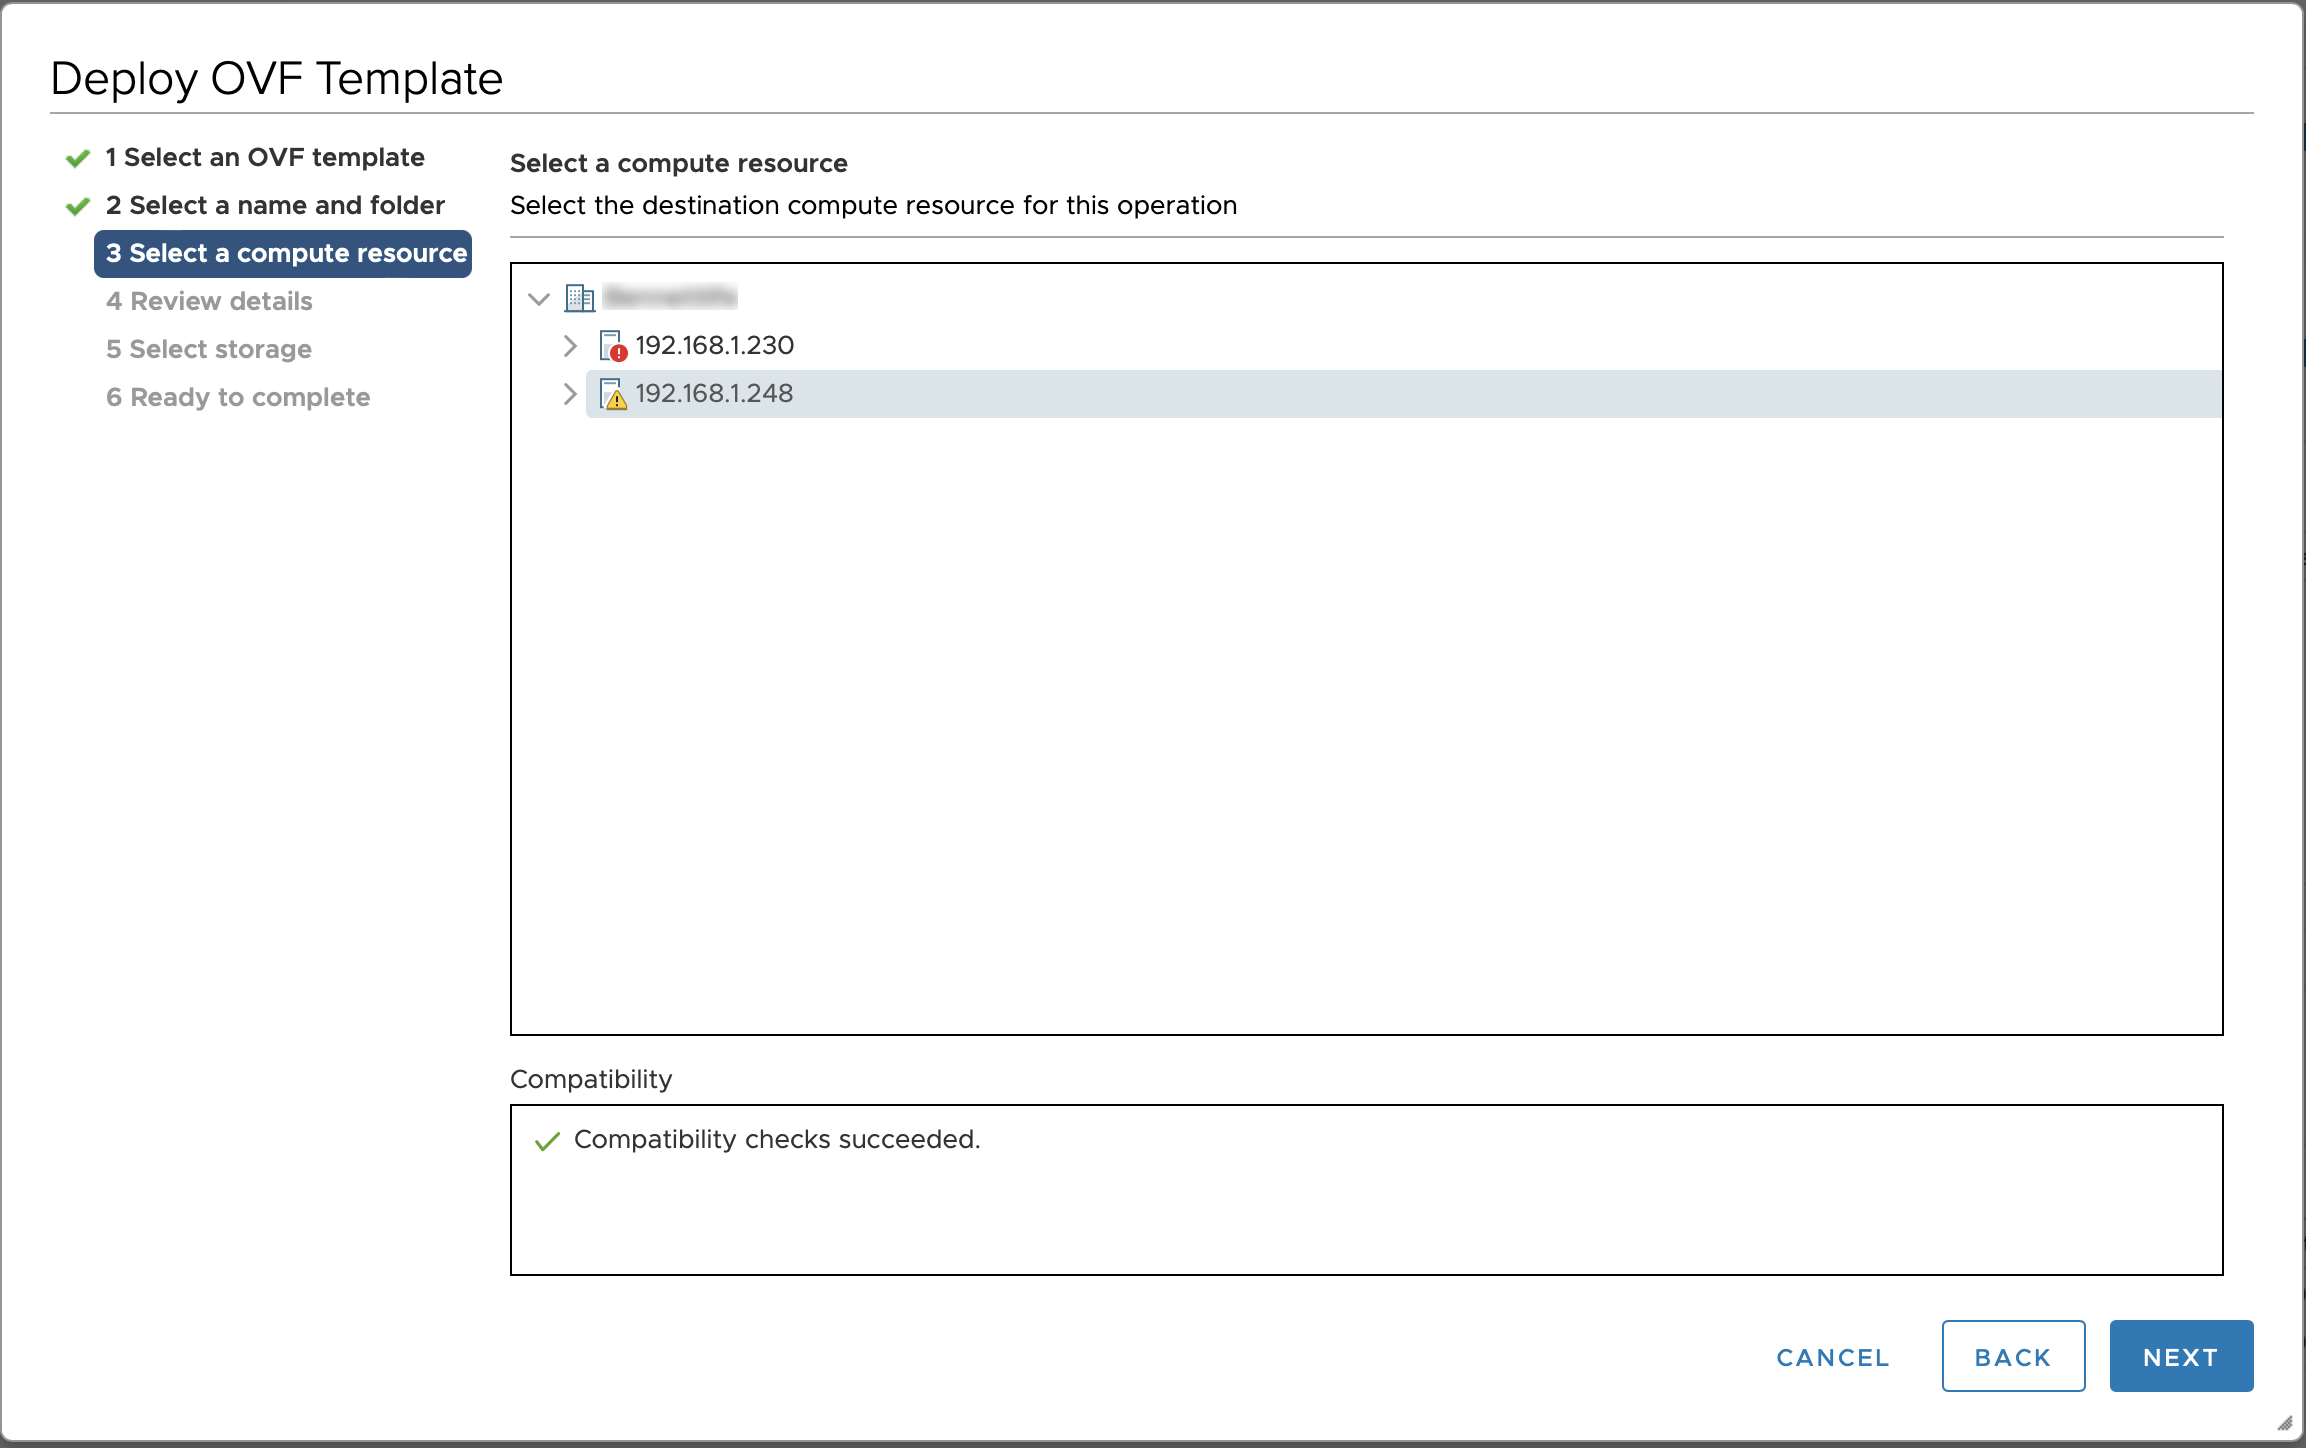
Step 3: Select a Compute Resource
- Select the host or cluster to put it on, depending on your vSphere configuration.
- Click NEXT.
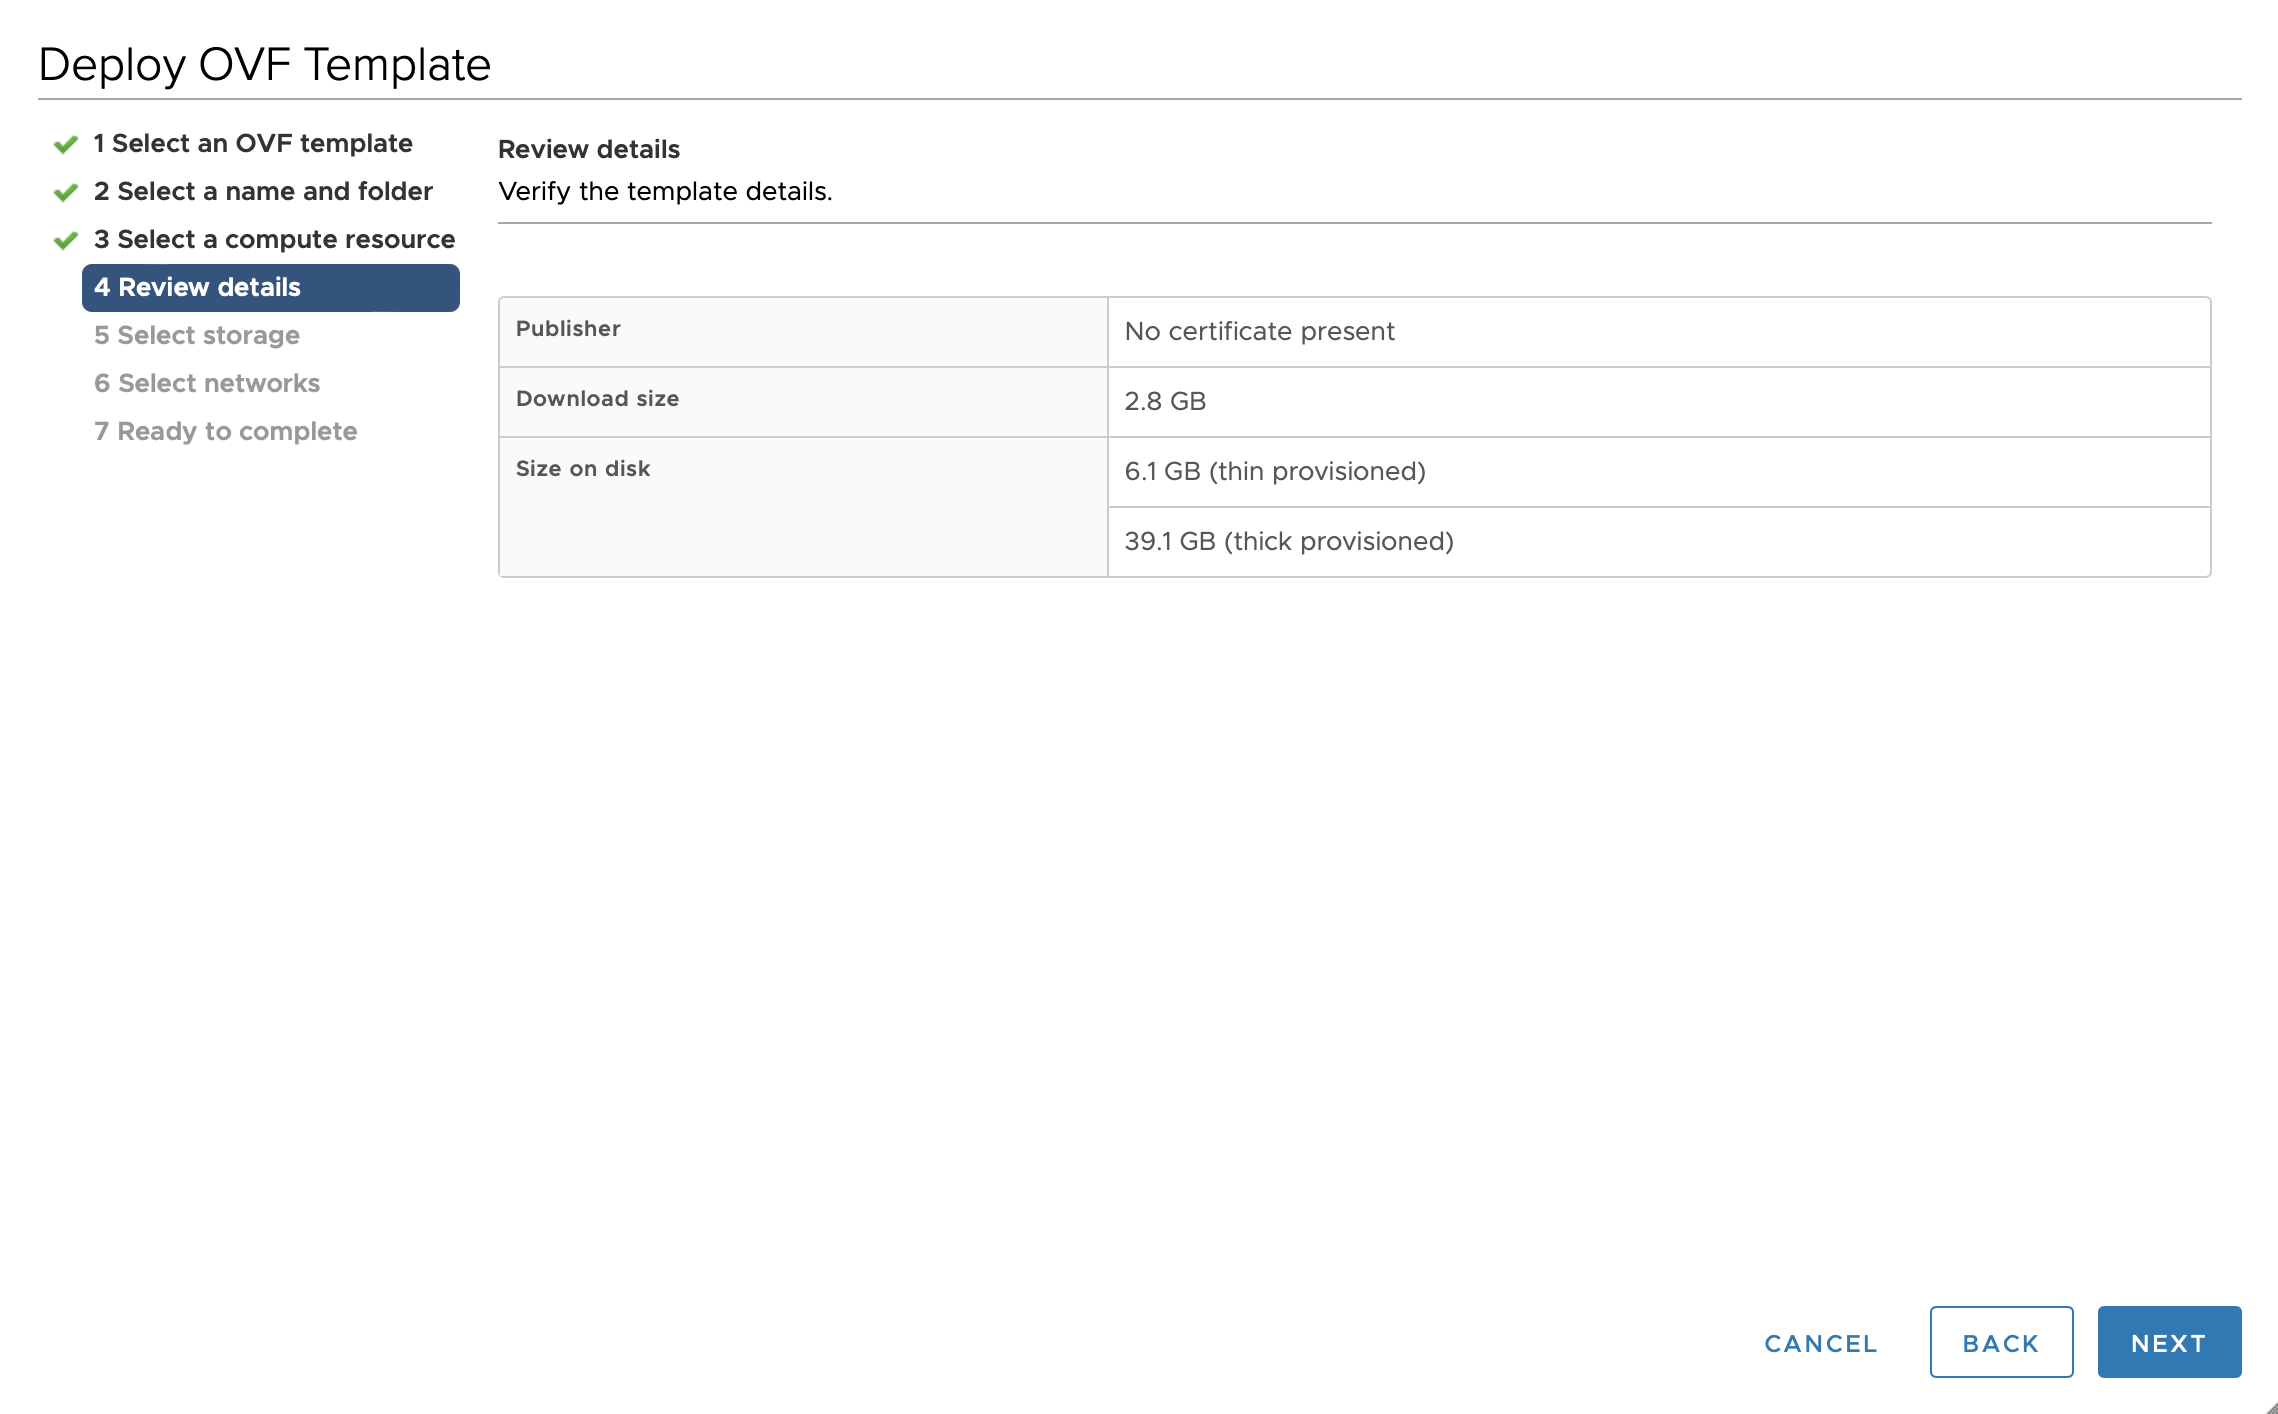
Step 4: Review Details (Resources)
- In the Review Details screen, review the resources that will be provisioned.
- Click NEXT.
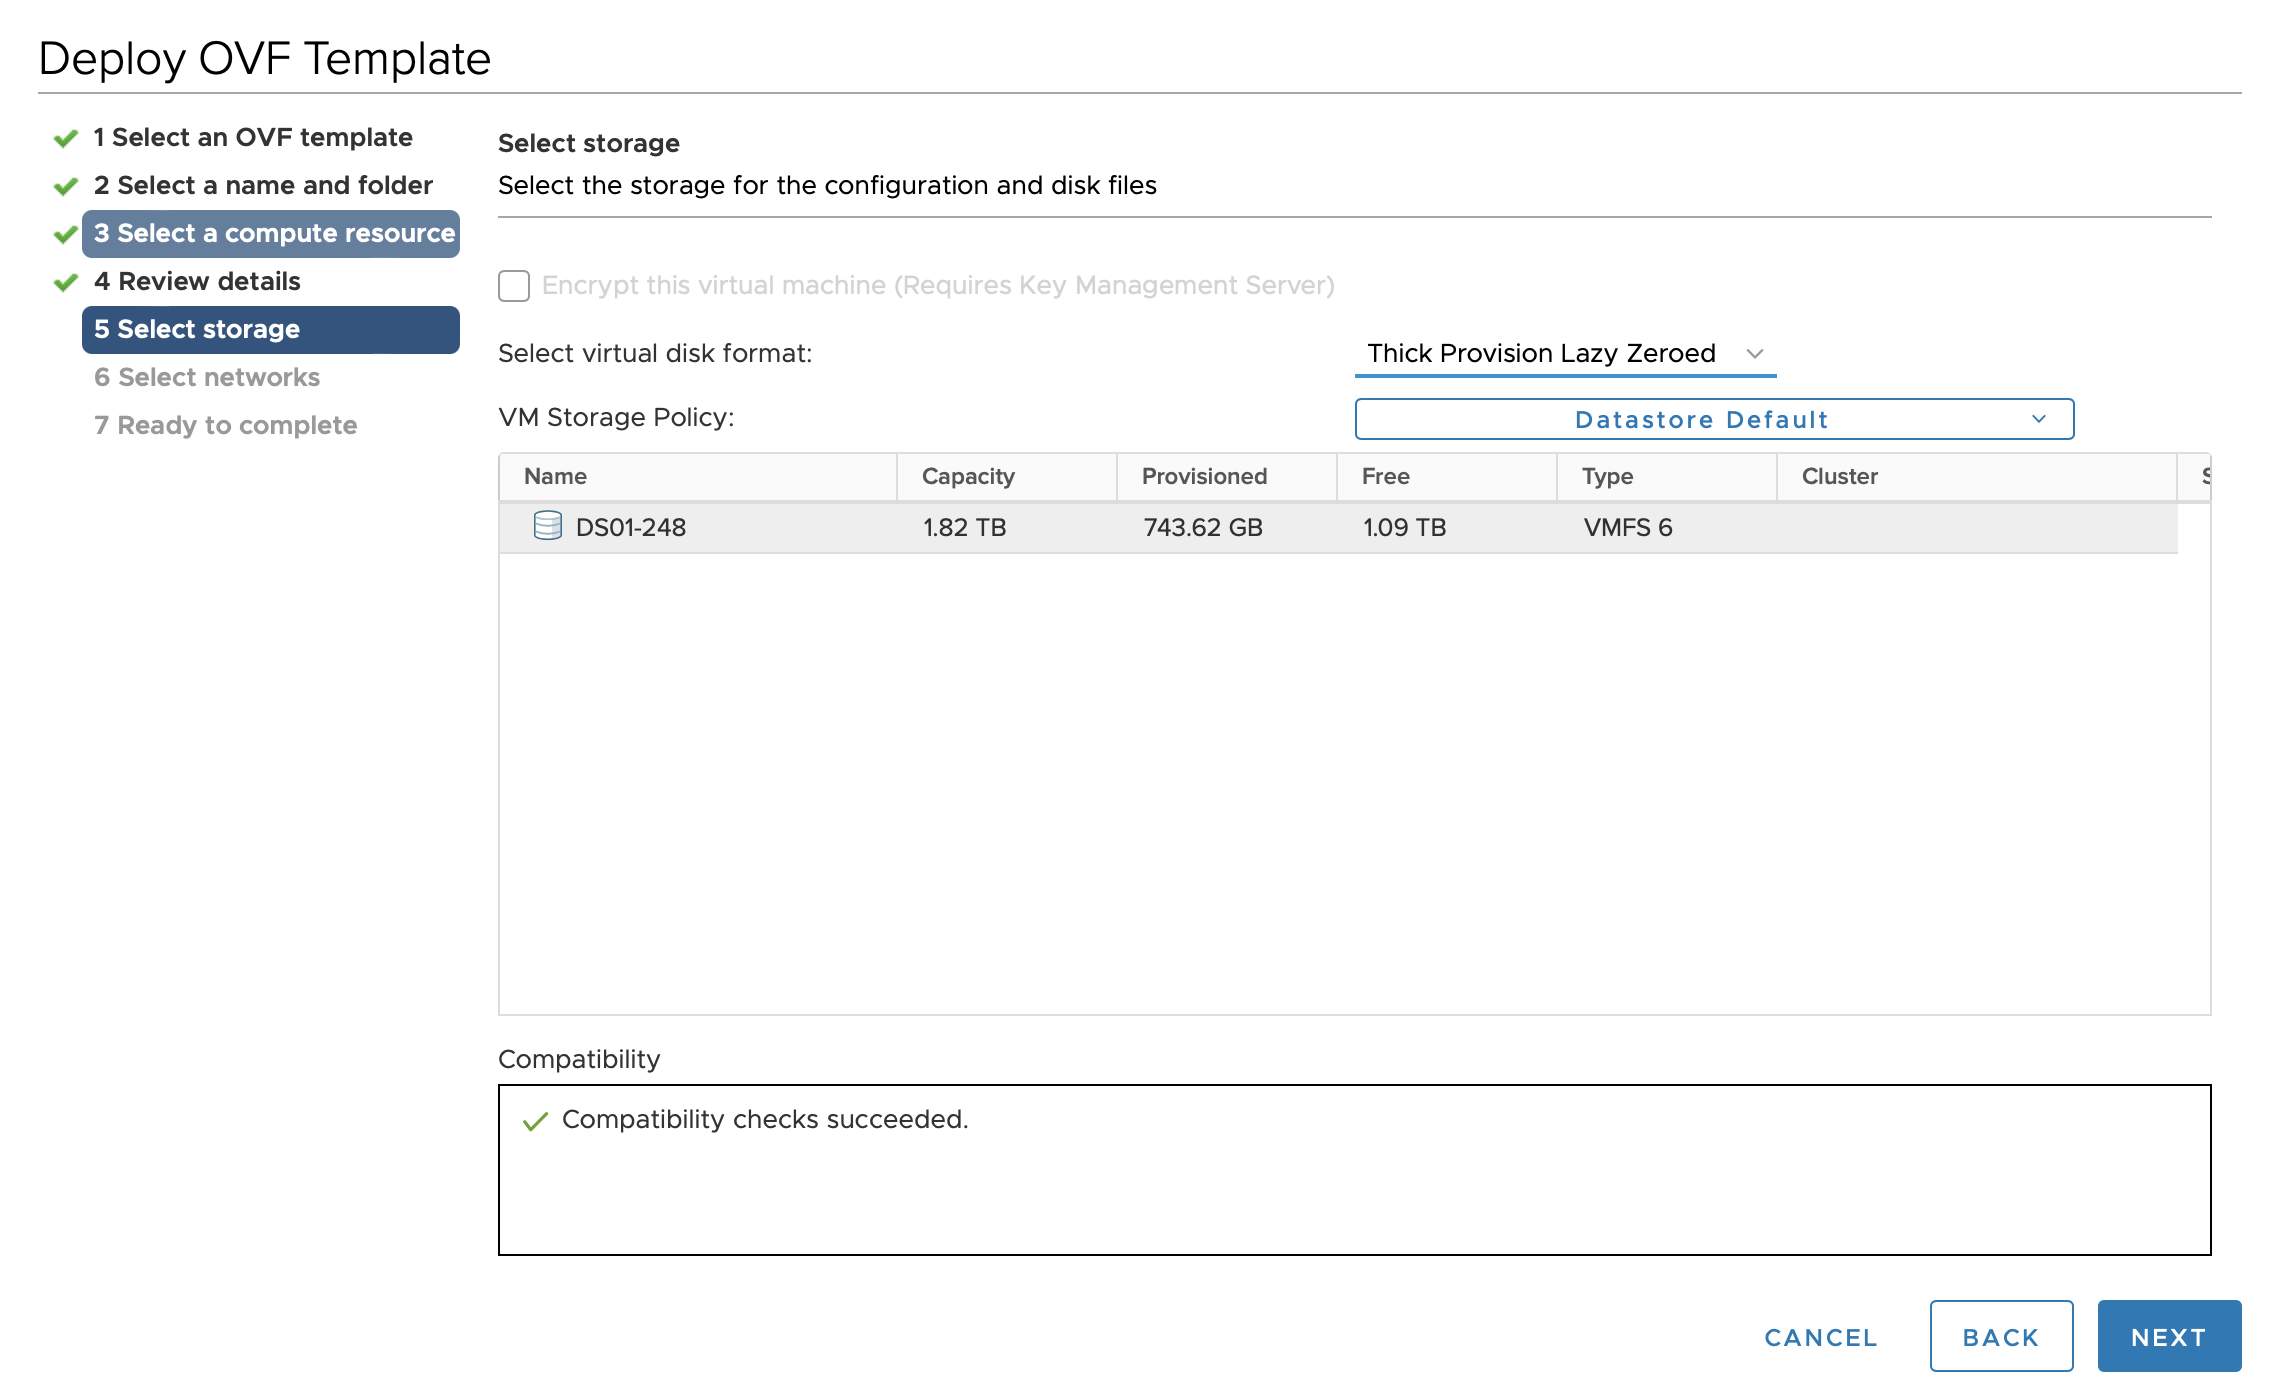
Step 5: Select Storage
- Select the storage unit or option. For the virtual disk format, thin provisioning is sufficient.
- Click NEXT.
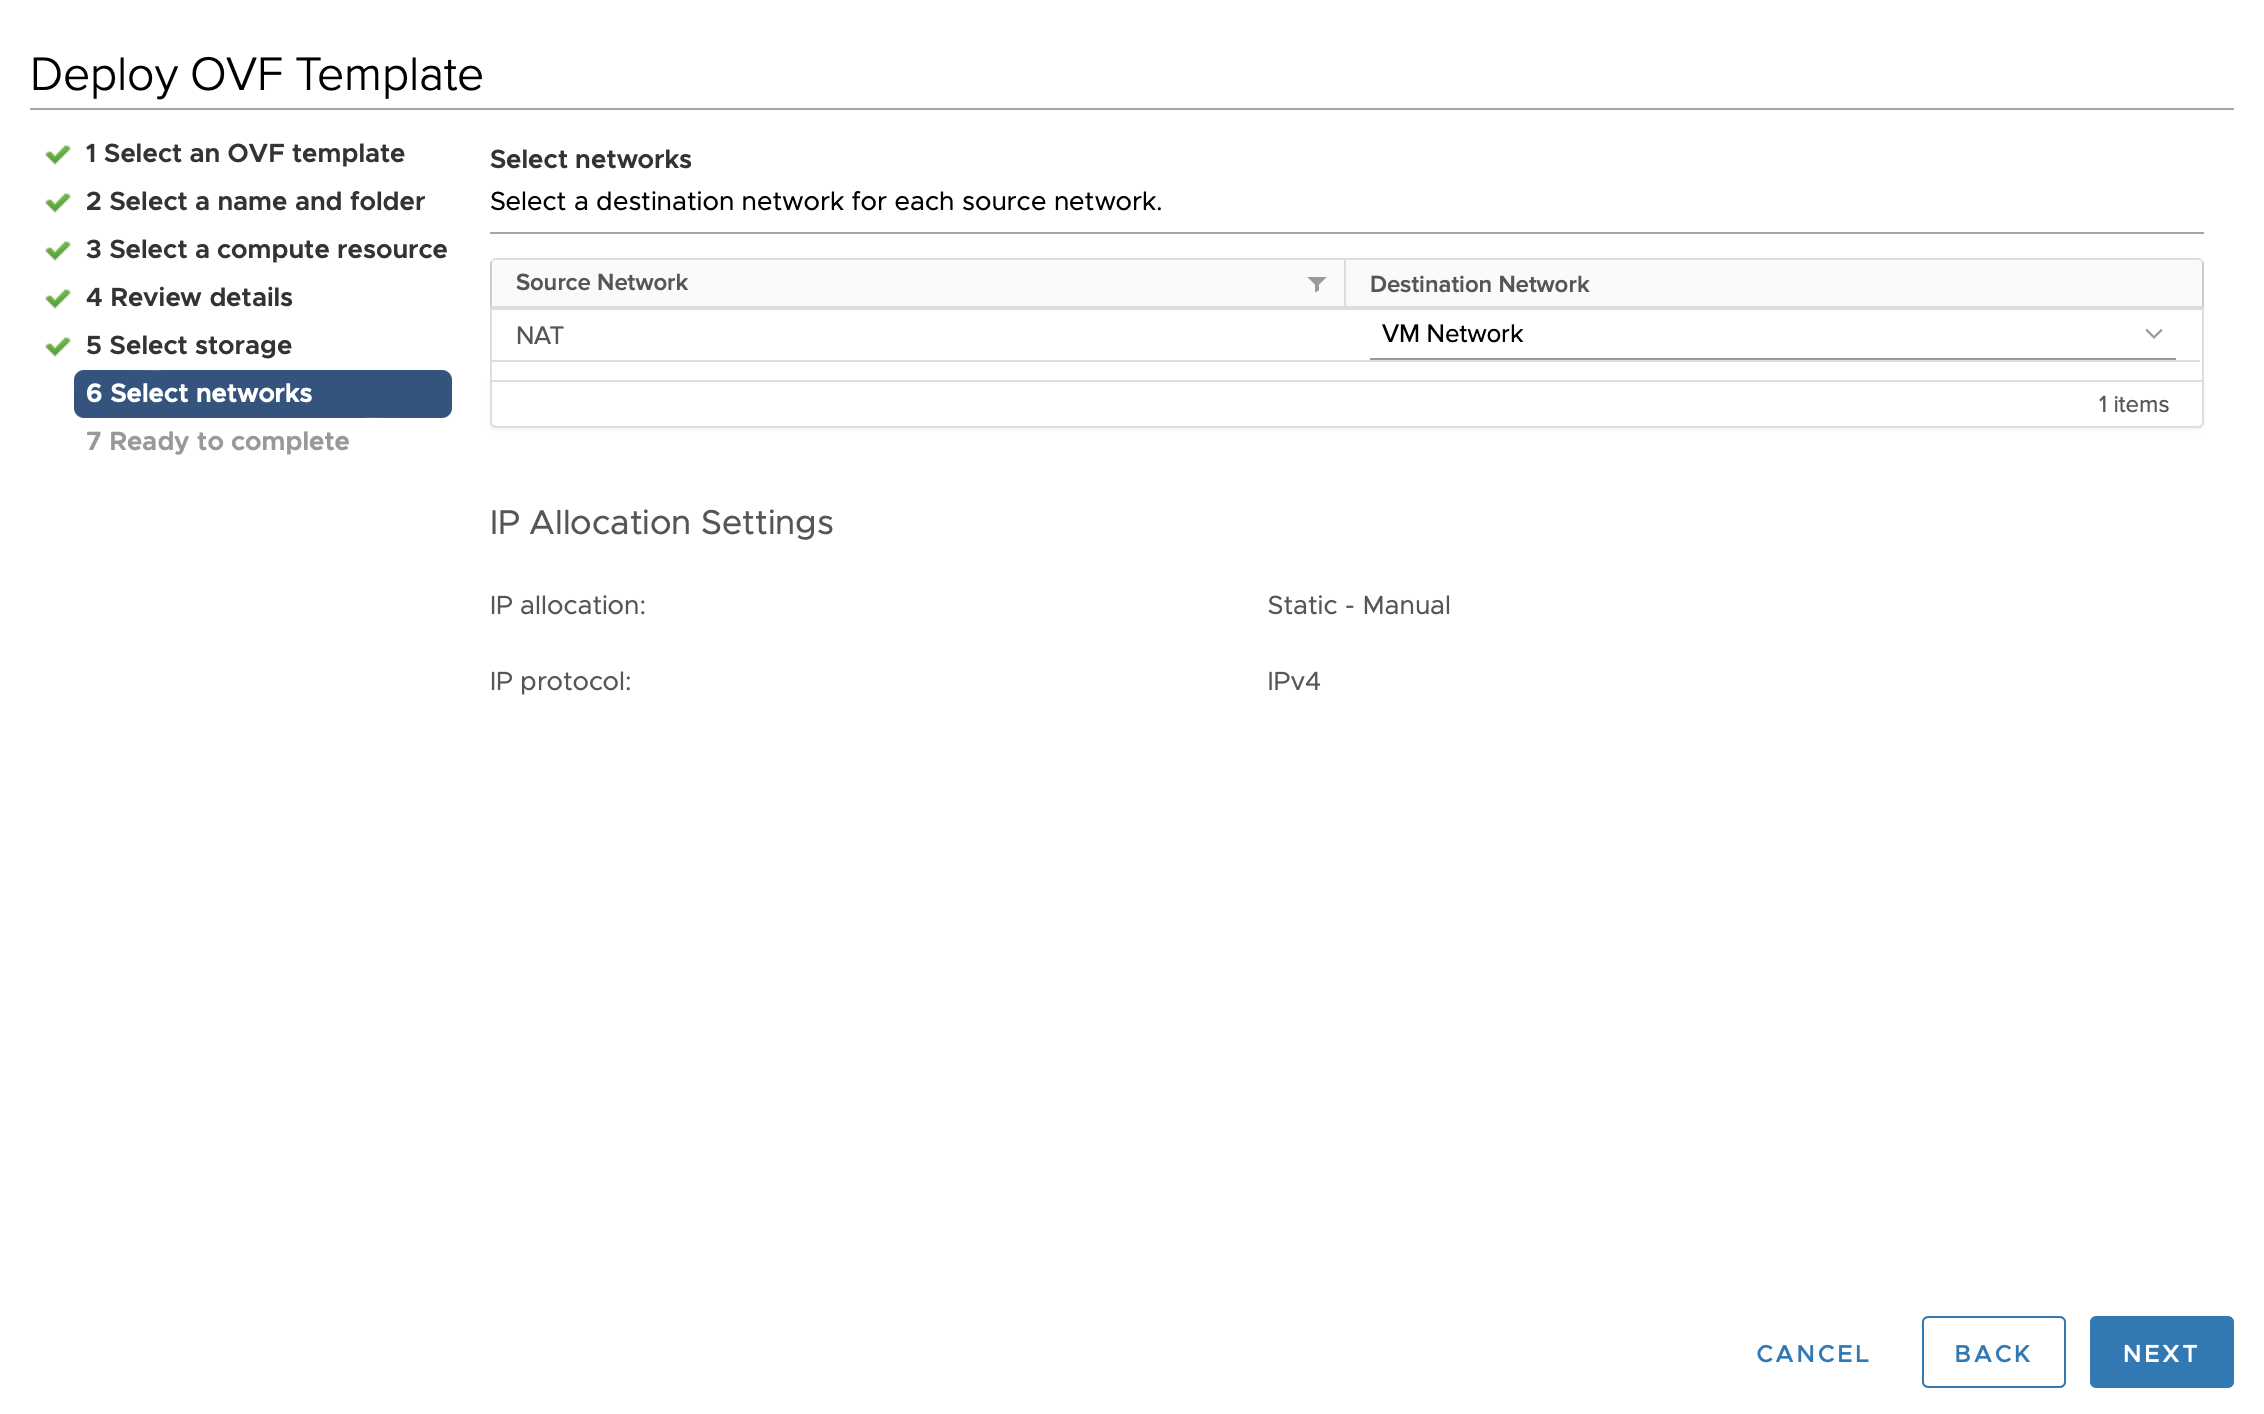
Step 6: Select Networks
- Select the relevant network.
- Click NEXT.
Step 7: Ready to complete
- In the Ready to complete screen, review your configuration.
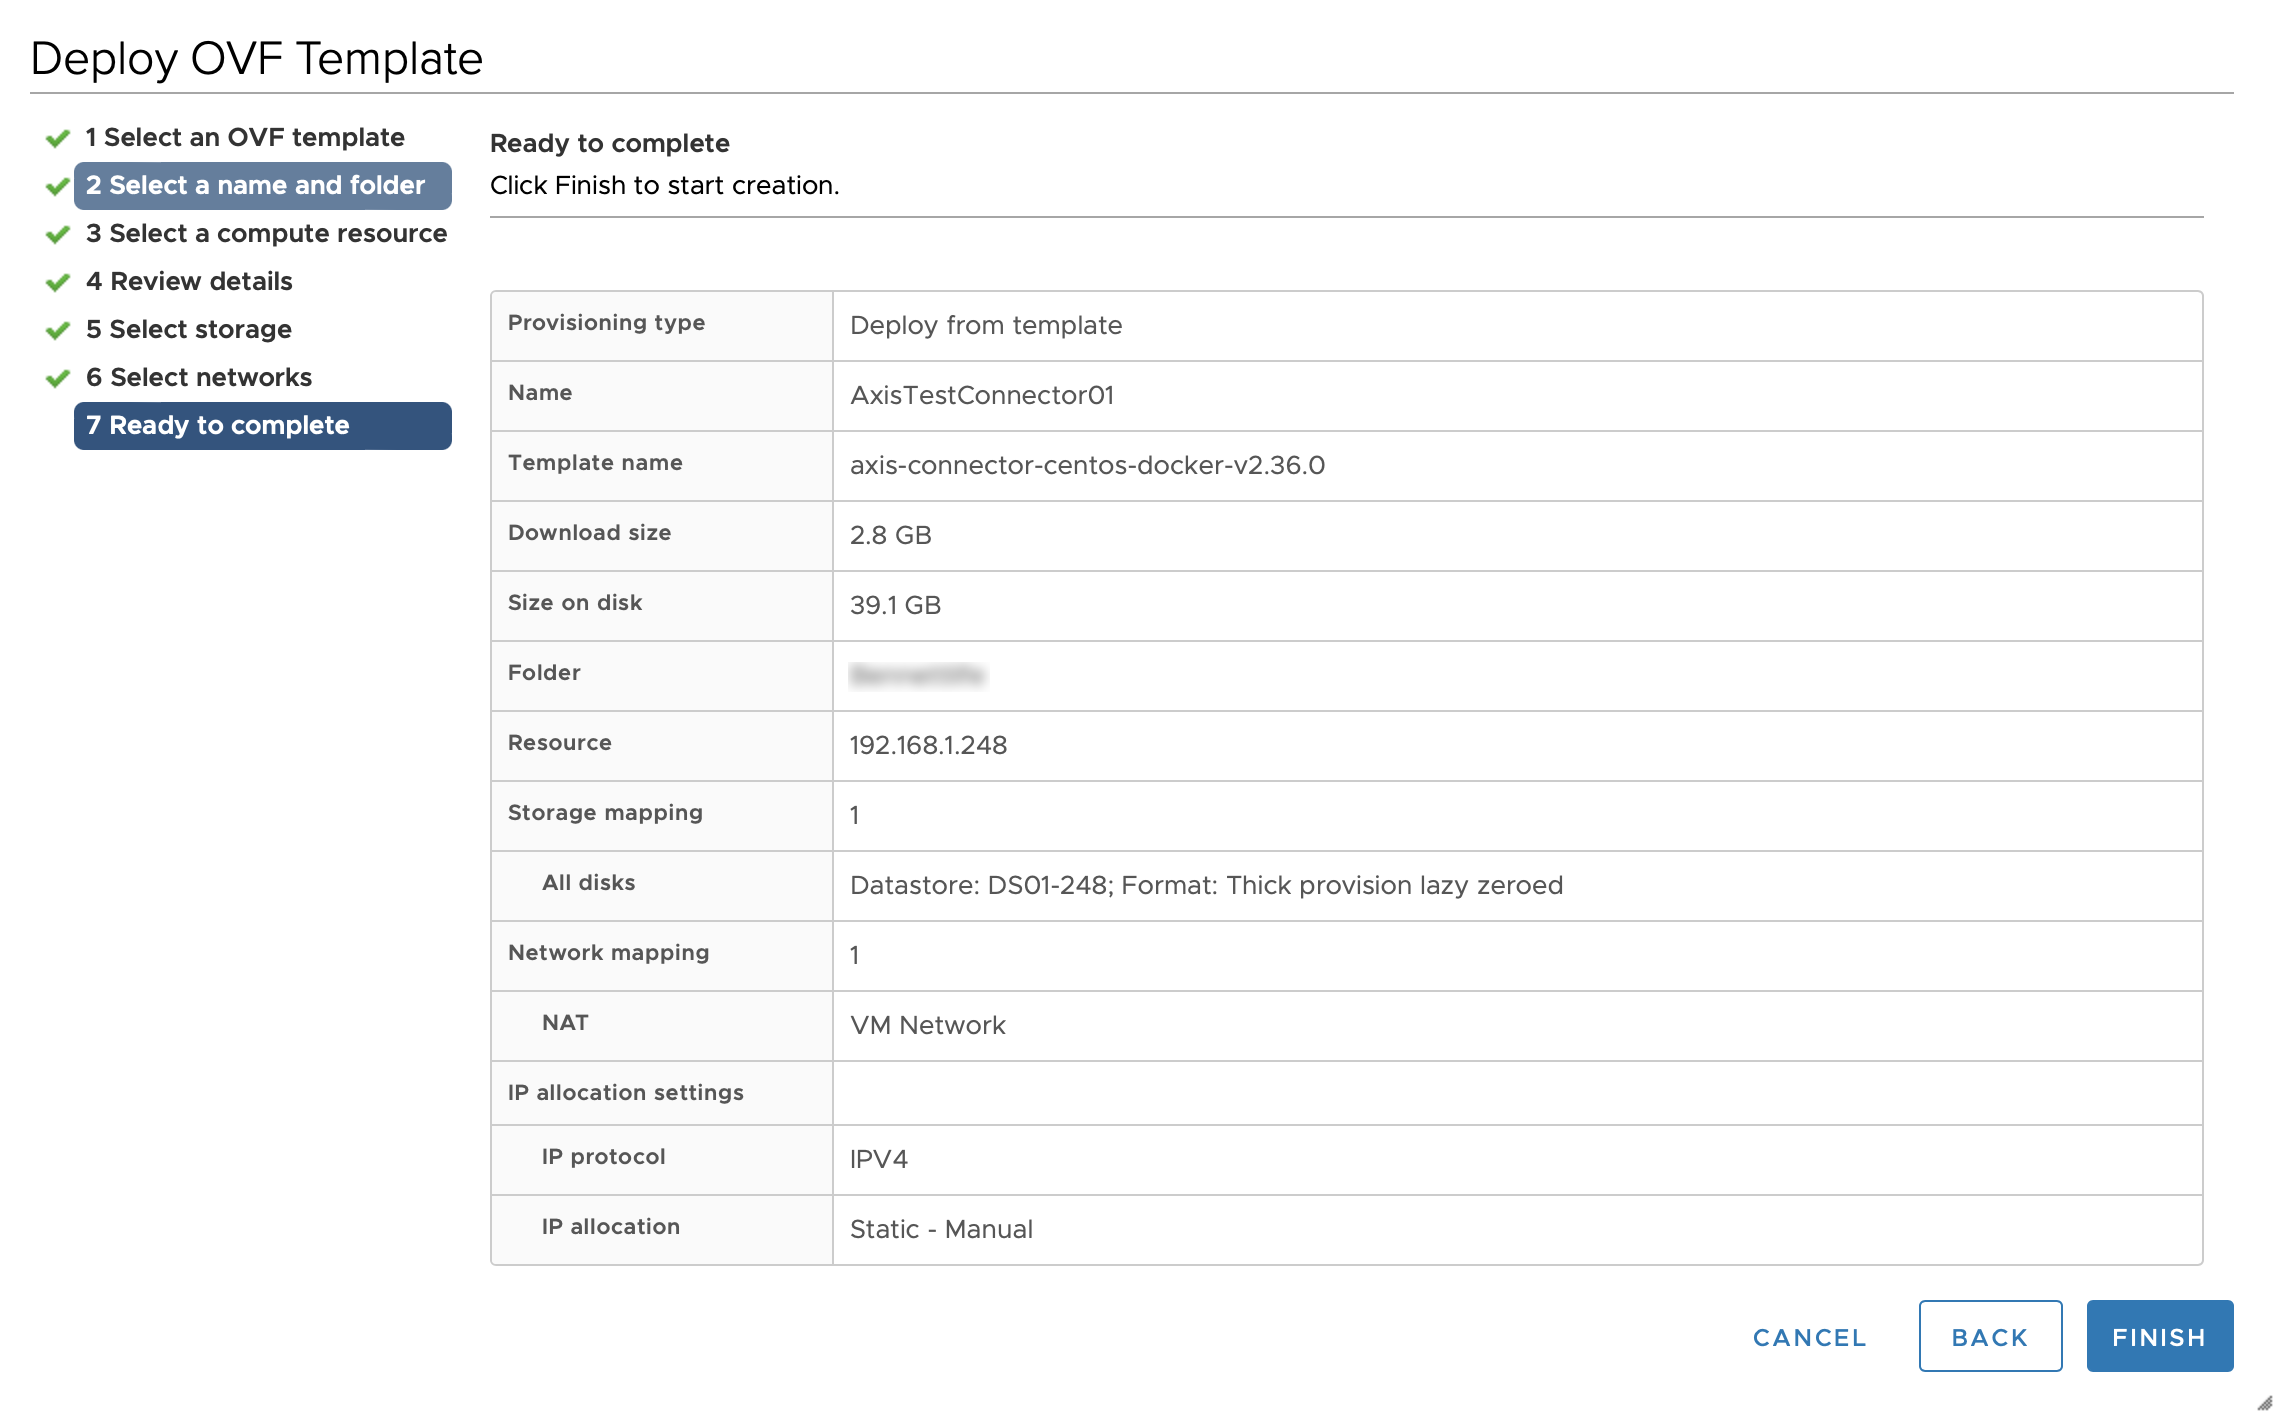
- Click FINISH.
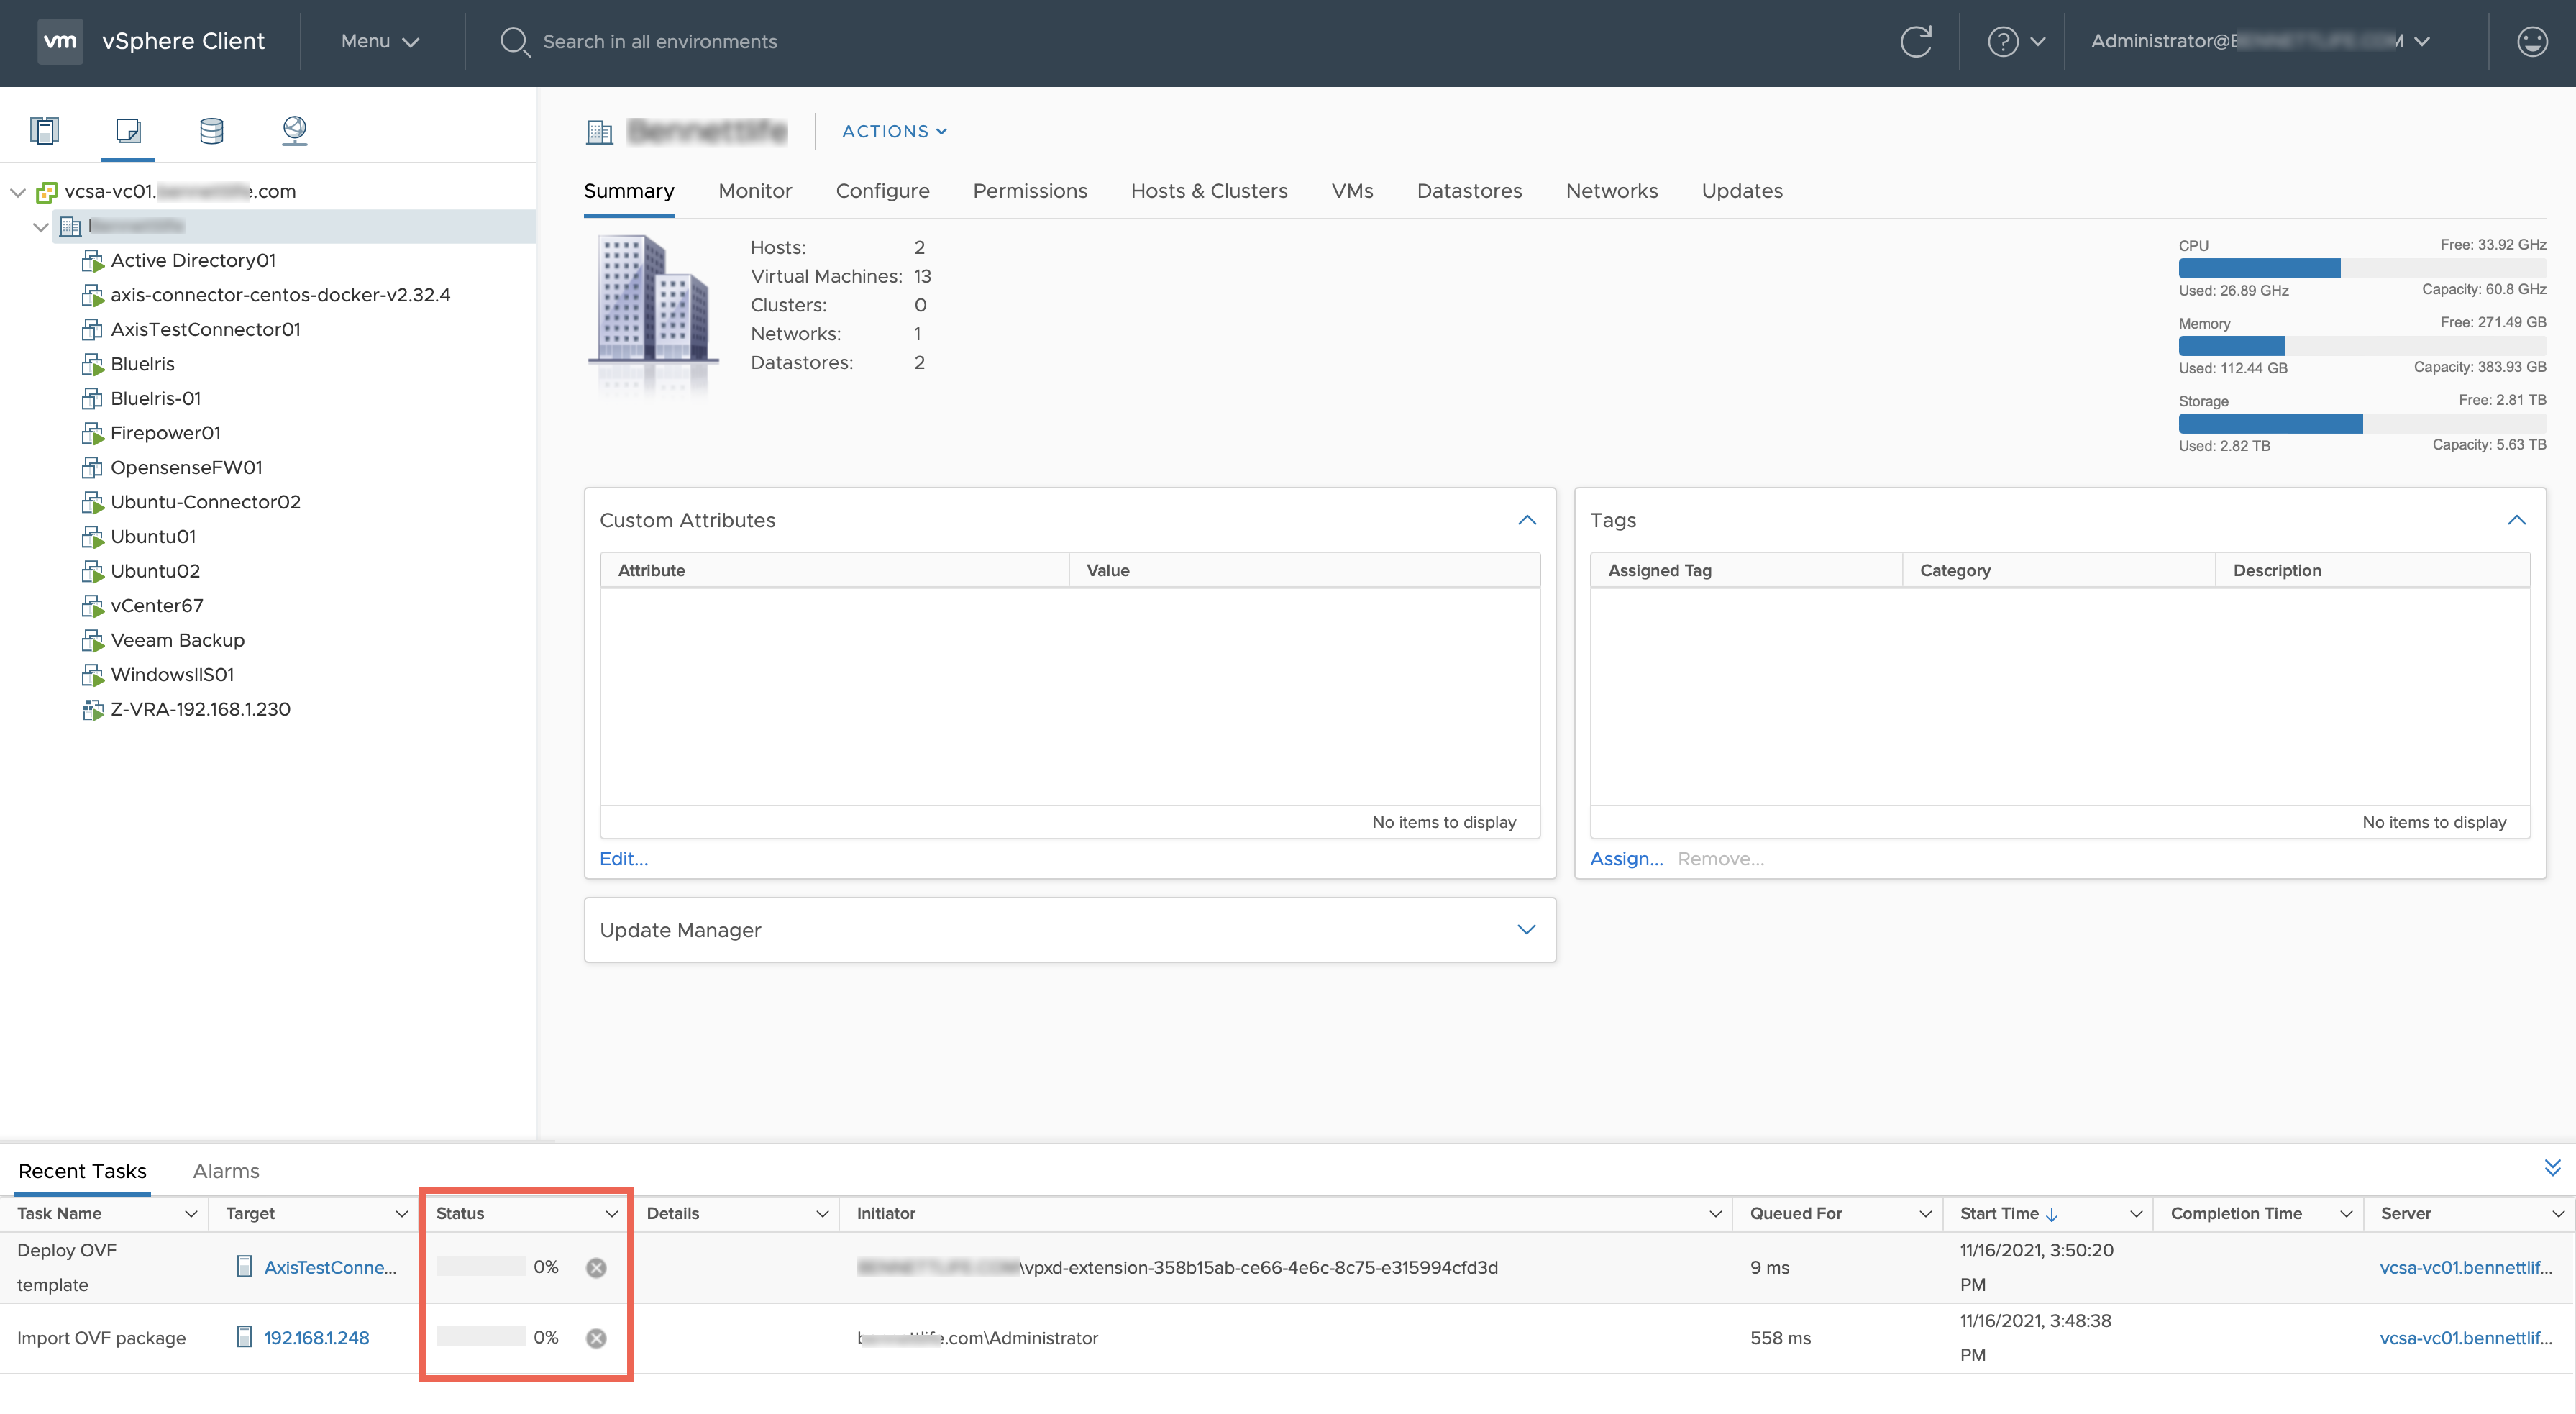
In the main menu, you can see the progress of the packages being deployed.
Step 8: Edit Settings and Power On the Machine
Use the Edit Settings screen to configure your virtual hardware options.
- In the vSphere main menu, right-click on the machine's name and select Edit Settings.
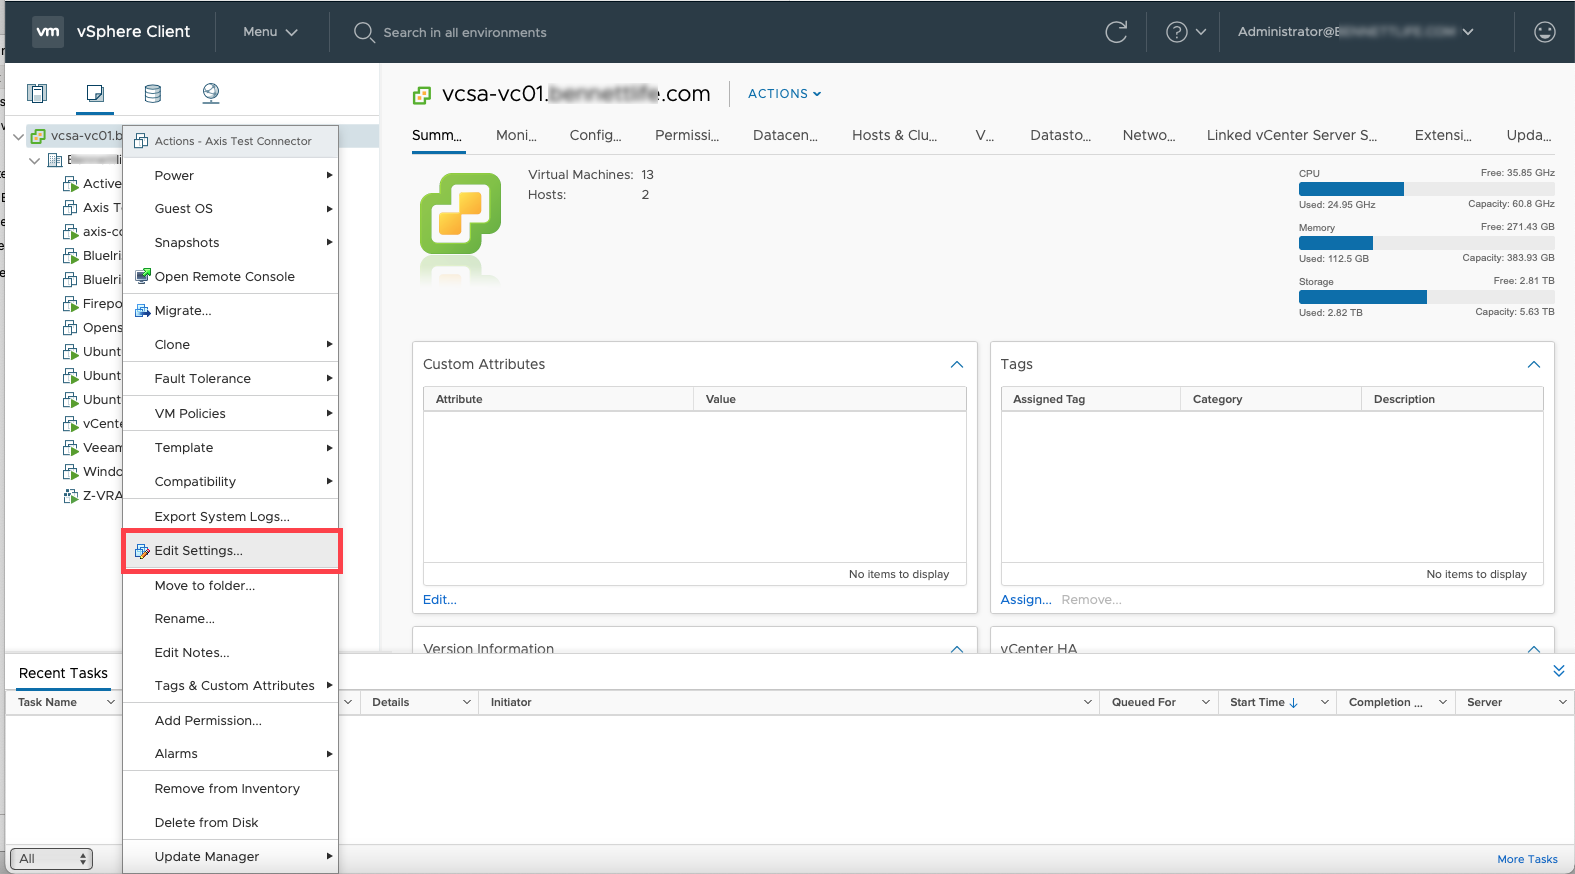
The Edit Settings window opens.
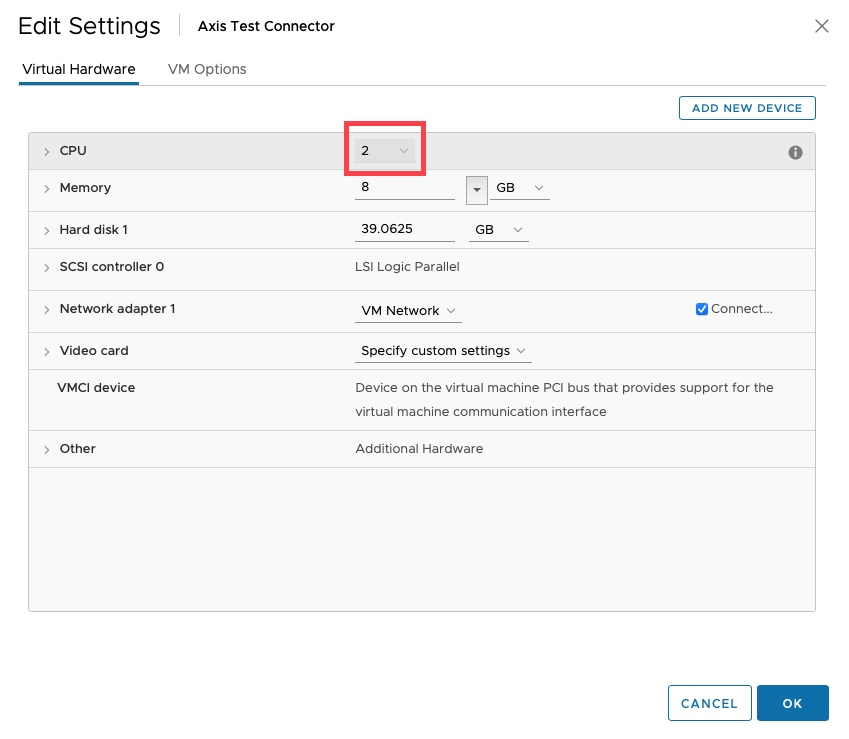
- Change the CPU storage from the default "2" to "4".
- Click OK.
The main menu appears.
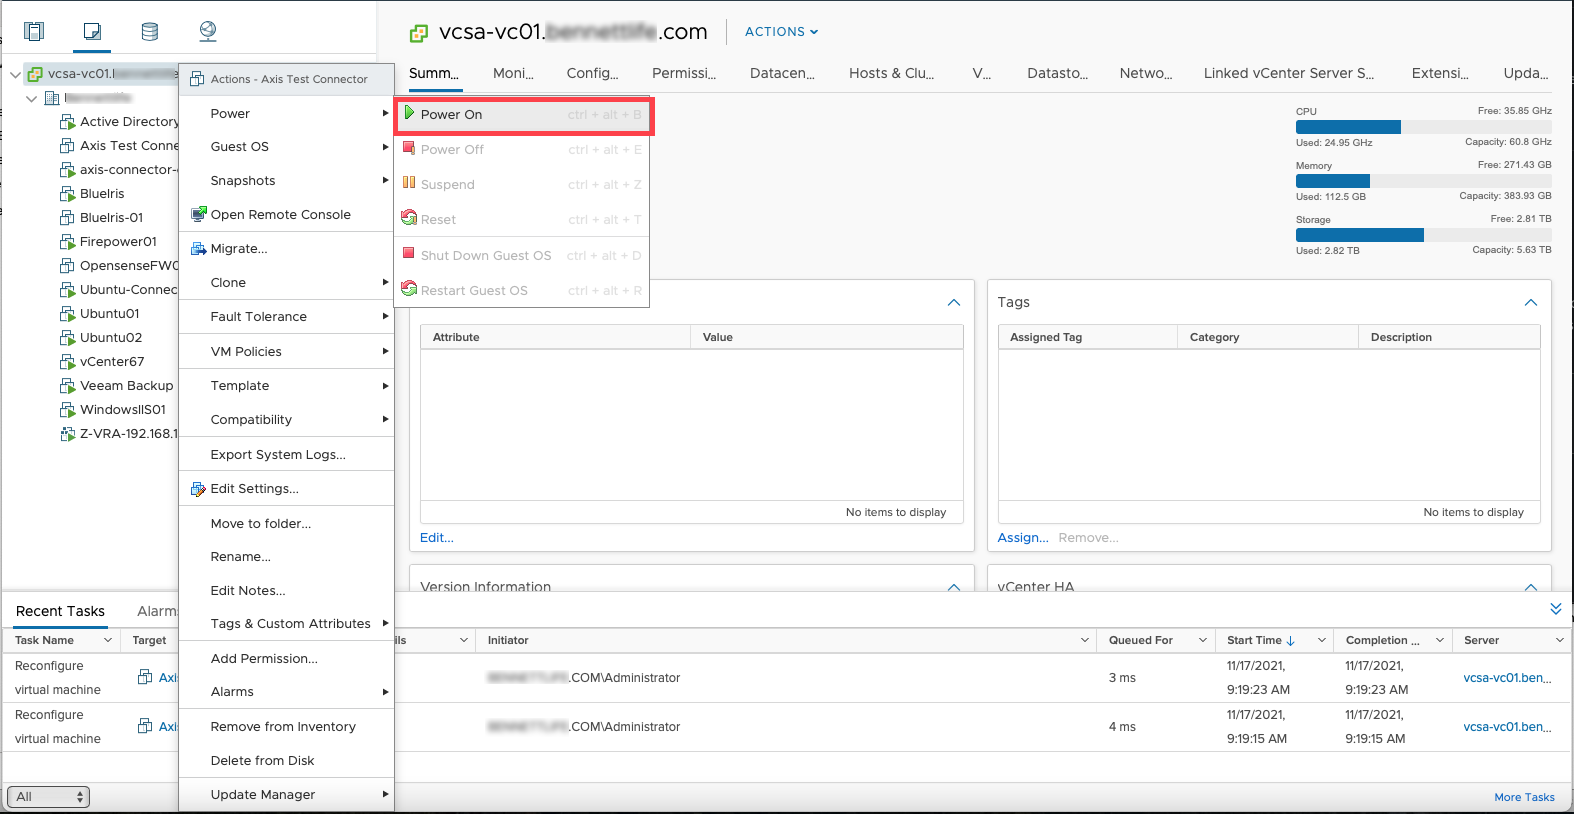
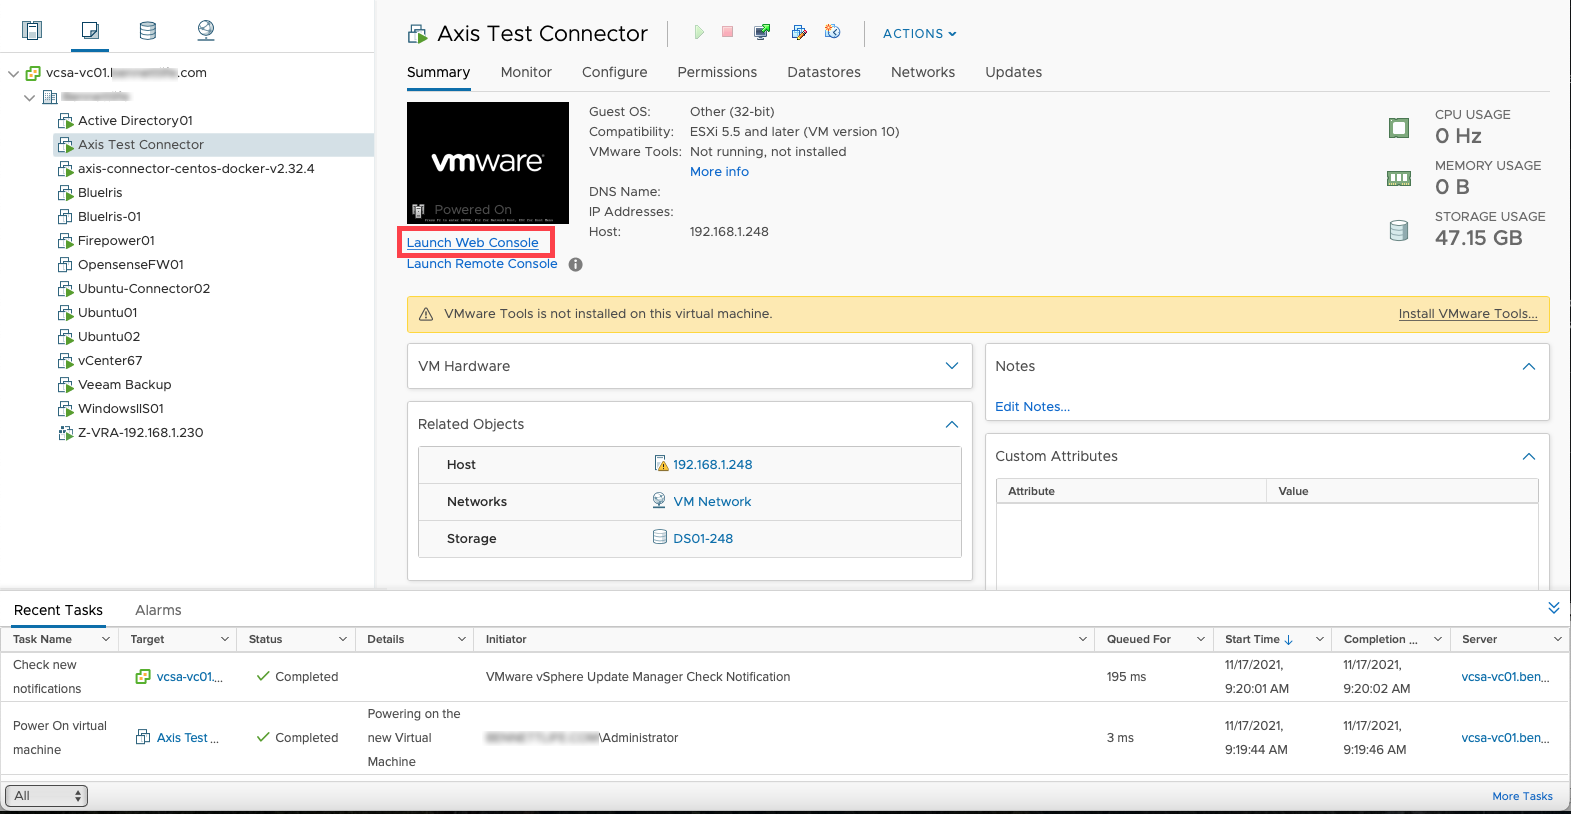
- Right-click on the machine, select Power, and then select Power On.
- In the main menu, click Launch Web Console.
Additional Configurations for Static Network Configuration OVA
Click Connector Deployment for the Static Network Configurations OVA for additional configurations for a static network configuration.
Updated almost 2 years ago
