Adding an RDP Application
An RDP profile allows the deployment of Remote Desktop Connection settings to users.
ImportantAxis Security recommends allowing application traffic through the firewall by port number, when possible, to avoid incorrect classification of the traffic by the firewall; for example, if you are using RDP, use port 3389.
Adding an RDP Application:
- In the Management Console, click Settings -> Destinations

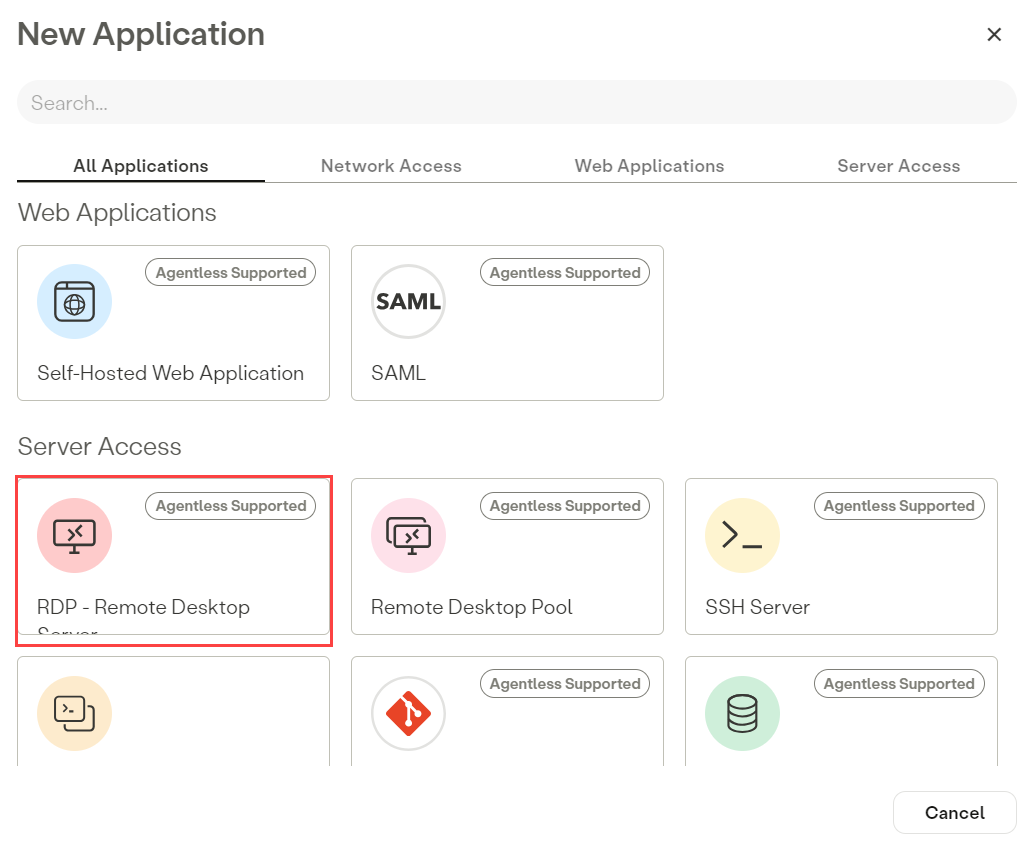
- Click New Application

- Under Server Access, select RDP-Remote Desktop Server.
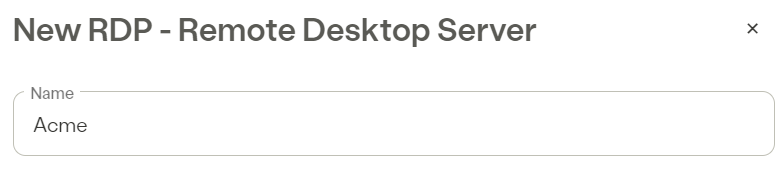
- Enter a meaningful Name for the application.
Local Address and Port
- Add Domain or IP address. Specify the application’s Local Domain/FQDN/IP address that is visible to the connector from the network segment.
- In the Port, ensure 3389 is entered for Remote Desktop. (Note: 3389 is the default Port number.)
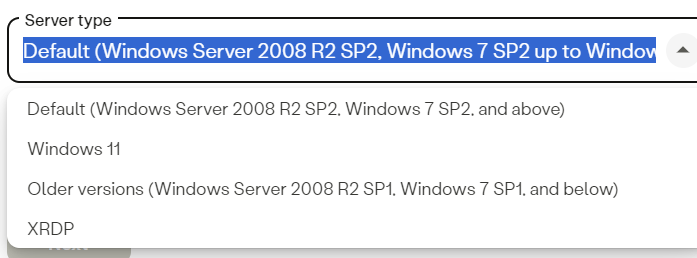
- Use the Server Type drop-down menu to select a server type.
NoteFor legacy servers, use the default server type.
- Use the Connector Zone drop-down menu to select a Connector Zone within the same network segment or that has access to the application. For more information about Connector Zones, click here.
- Click Next.

Remote Desktop Credentials
- Enter the default domain for this remote desktop. Leave it blank if there is none.
- Select Allow users to save their credentials in the Axis Cloud for a seamless login to allow the Axis Cloud to remember the users' credentials when they connect to the RDP.
Note
- Currently this is only relevant for web-based RDP applications.
- This is a limited release feature.
- Click Next.

Note
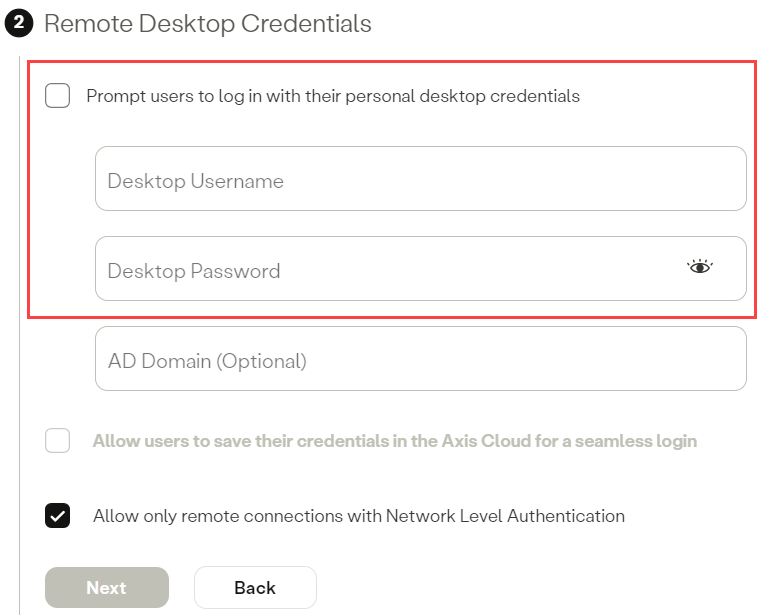
- Allow only remote connections with Network Level Authentication (NLA) is a restricted feature that requires support to enable. By default, NLA is enforced, aligning with best security practices.
If you disable Prompt users to log in with their personal desktop credentials you will need to enter the Desktop Username and Desktop Password before clicking Next.
Single Sign-On
- Use the Identity Provider drop-down menu to select an identity provider that will manage authentication for this application.
- Click Next.

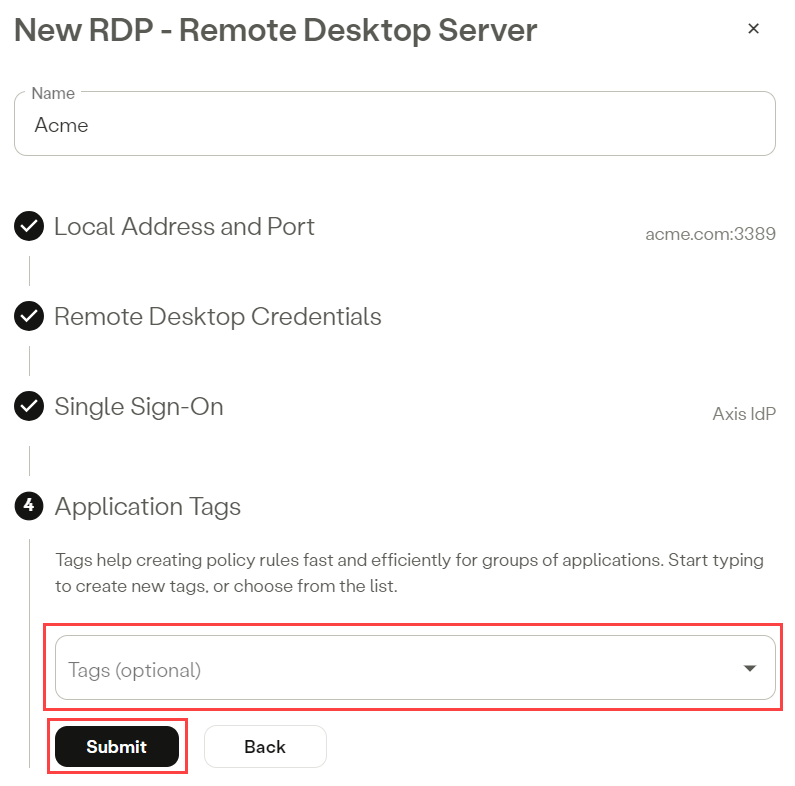
Application Tags (Optional)
- Tags help create policy rules fast and efficiently for groups of applications. Click here ] to learn about creating application tags.
- Start typing to create new tags, or choose from the drop-down menu.
- Click Submit.
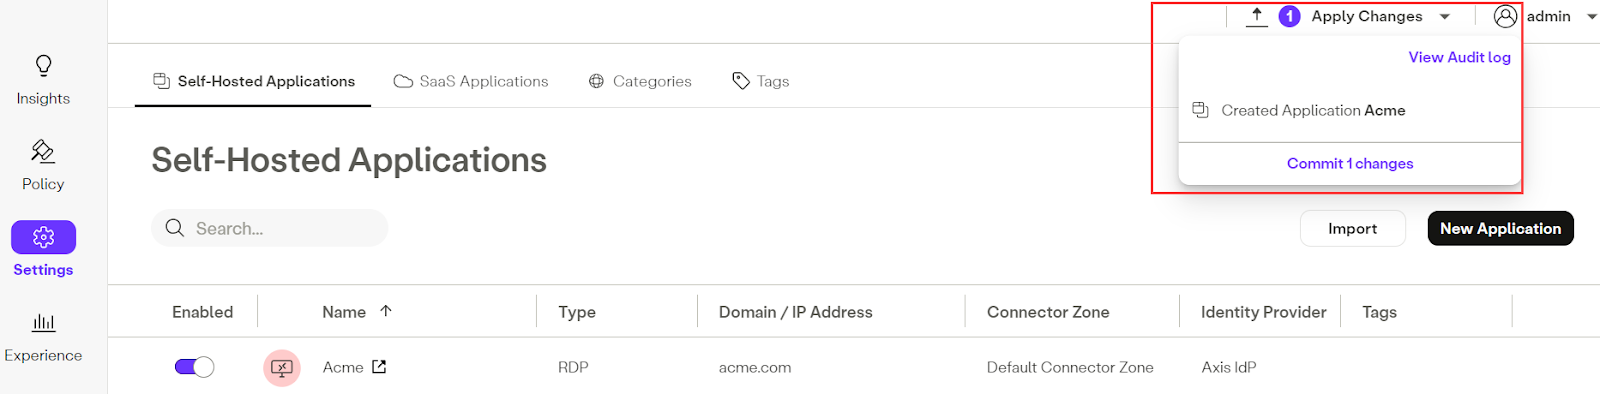
- In the Management Console, click the Apply Changes dropdown and click Commit changes.
- Next Steps: Adding an RDP Profile.