Okta IdP Integration
This article will guide you through the steps for integrating Okta as an Identity Provider using SAML.
Supported Features
- IDP Initiated SSO
- SP Initiated SSO
Okta Application
To integrate Okta as an IdP in Axis Security:
- Create an Okta integration in Axis Security.
- Configure the Axis Security application in Okta.
- Assign people or groups to Axis Security in Okta.
- Finalize the integration in Axis Security.
Step 1: Creating an Okta IdP integration in Axis Security
- In the Axis Management Console, go to Settings -> Identity Providers -> Add Identity Provider.
- Select Okta.
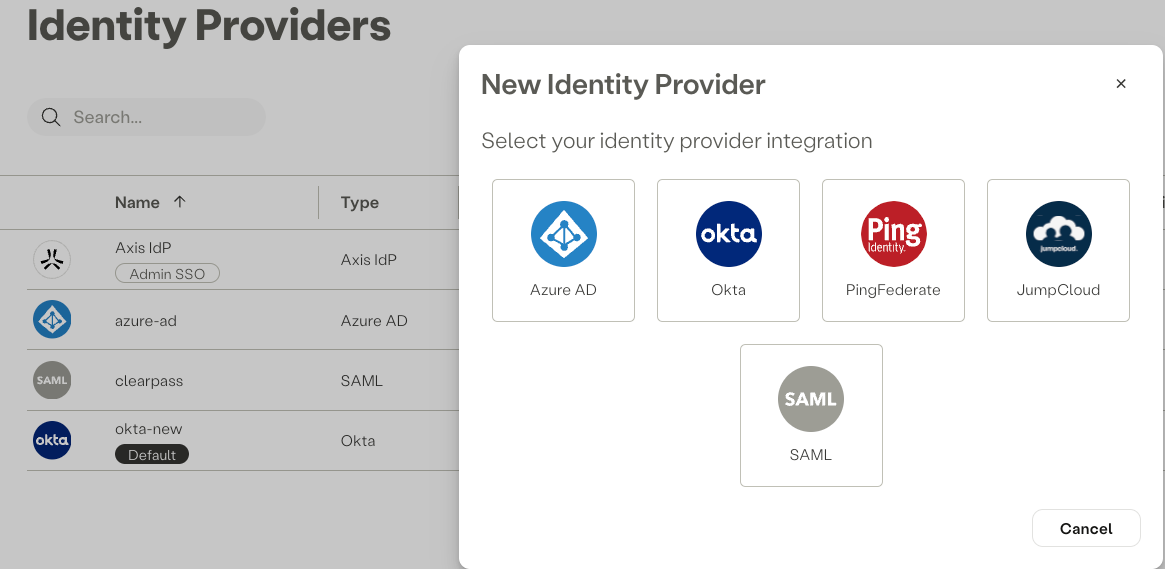
- Enter a Name for the IdP.
NoteIf you do not see ACS URL and Entity ID on your Okta IdP, please reach out to CSM or Axis Support: [email protected] to enable the latest Okta Application for your tenant.
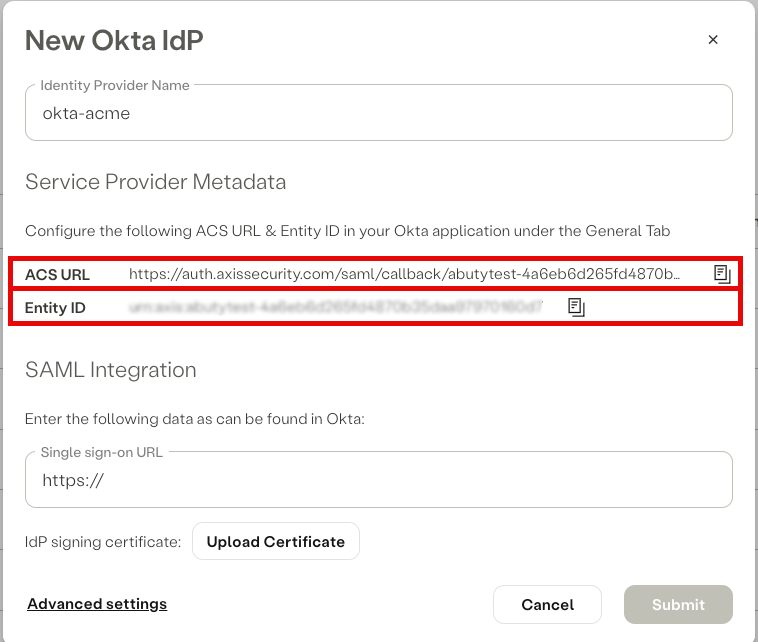
Service Provider Metadata
Copy both the Entity ID and ACS URL and paste it into a text editor. You will use it to configure the HPE Aruba Networking SSE application in Okta.
Step 2: Configuring the Axis Security Application in Okta
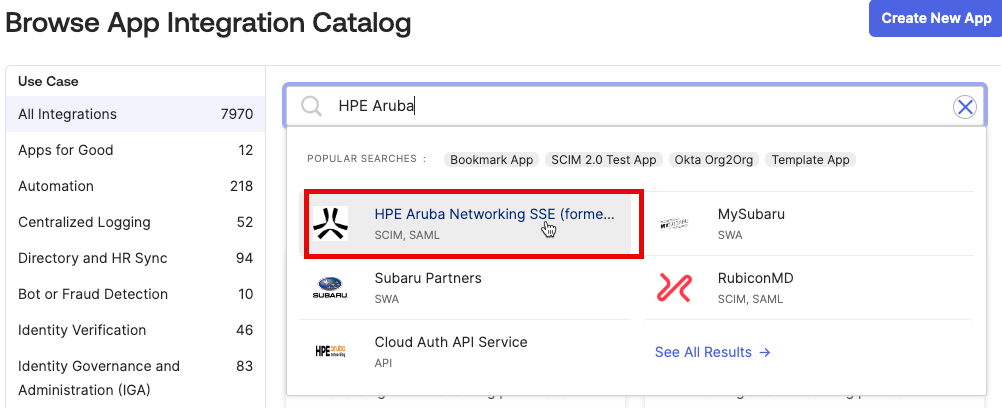
- In your Okta console, navigate to Applications → Applications
- Select the HPE Aruba Networking SSE application.
- Click Add Integration.
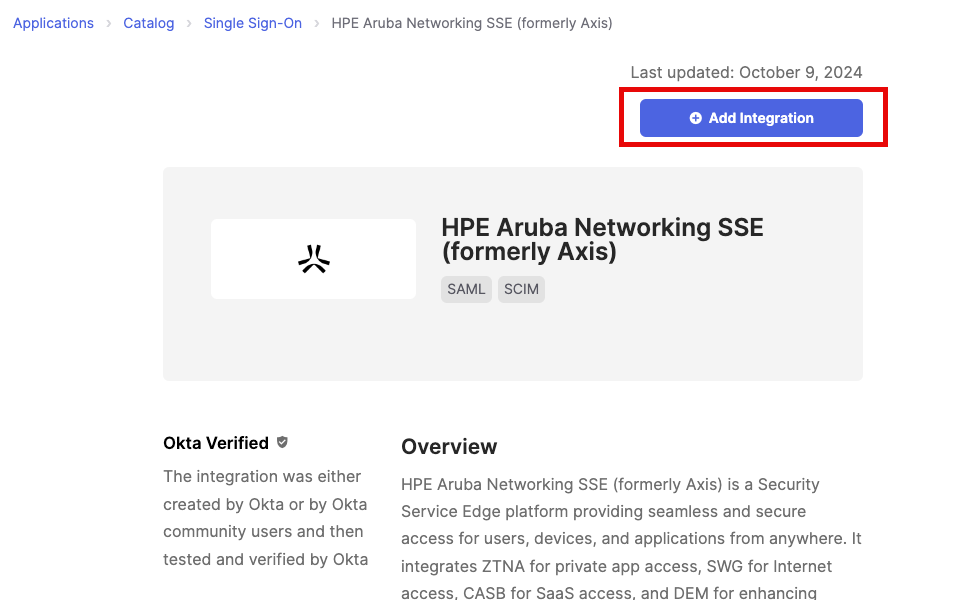
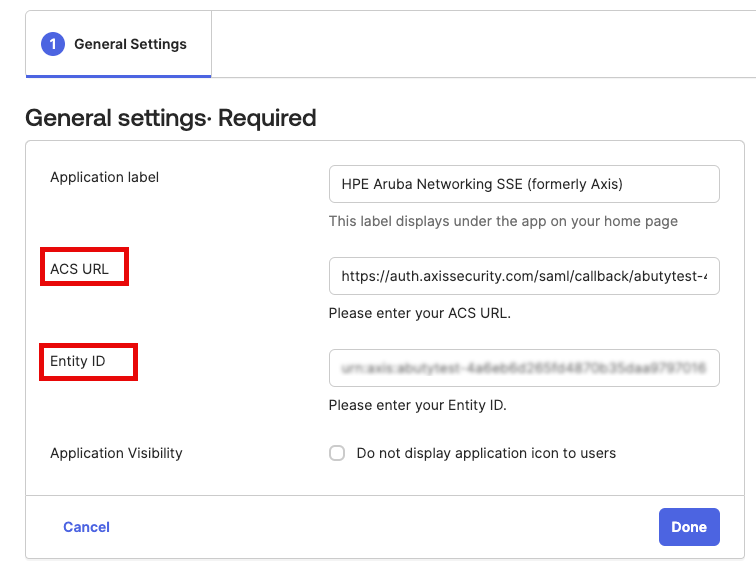
- Copy and paste the ACS URL and Entity ID from step 1 and click Done
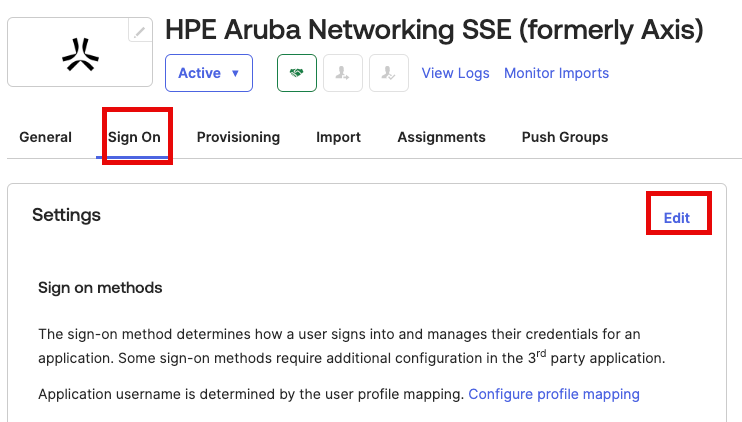
- Select Sign On and select Edit
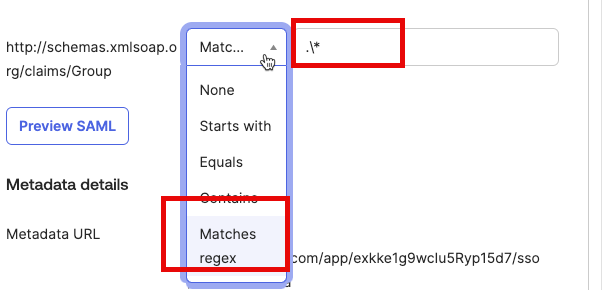
- Edit the following value for Group attribute and click Save.
- name: http://schemas.xmlsoap.org/claims/Group
- filter: Match Regex
- value: .*
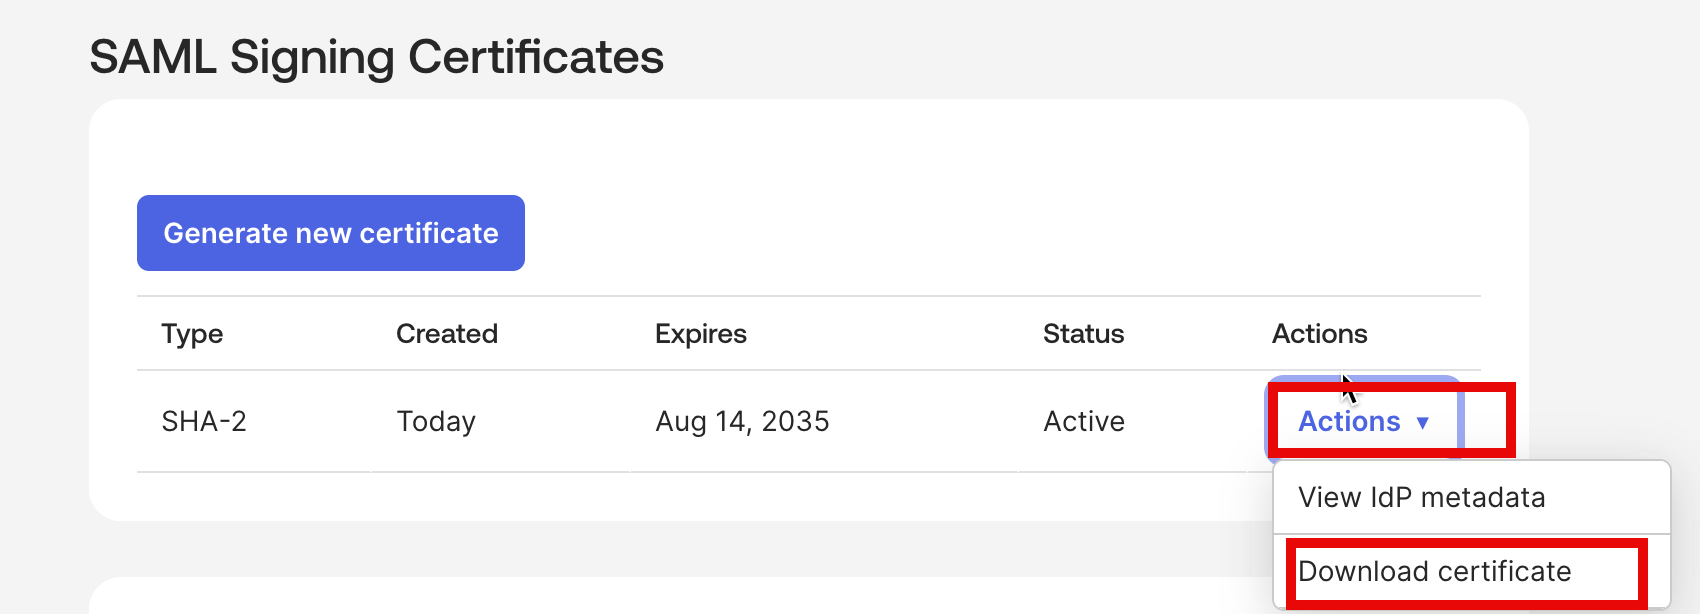
- Goto Applications Sign On and scroll to SAML Signing Certificate and select Actions download the Signing Certificate.
Step 3: Assigning people or groups to Axis Security in Okta
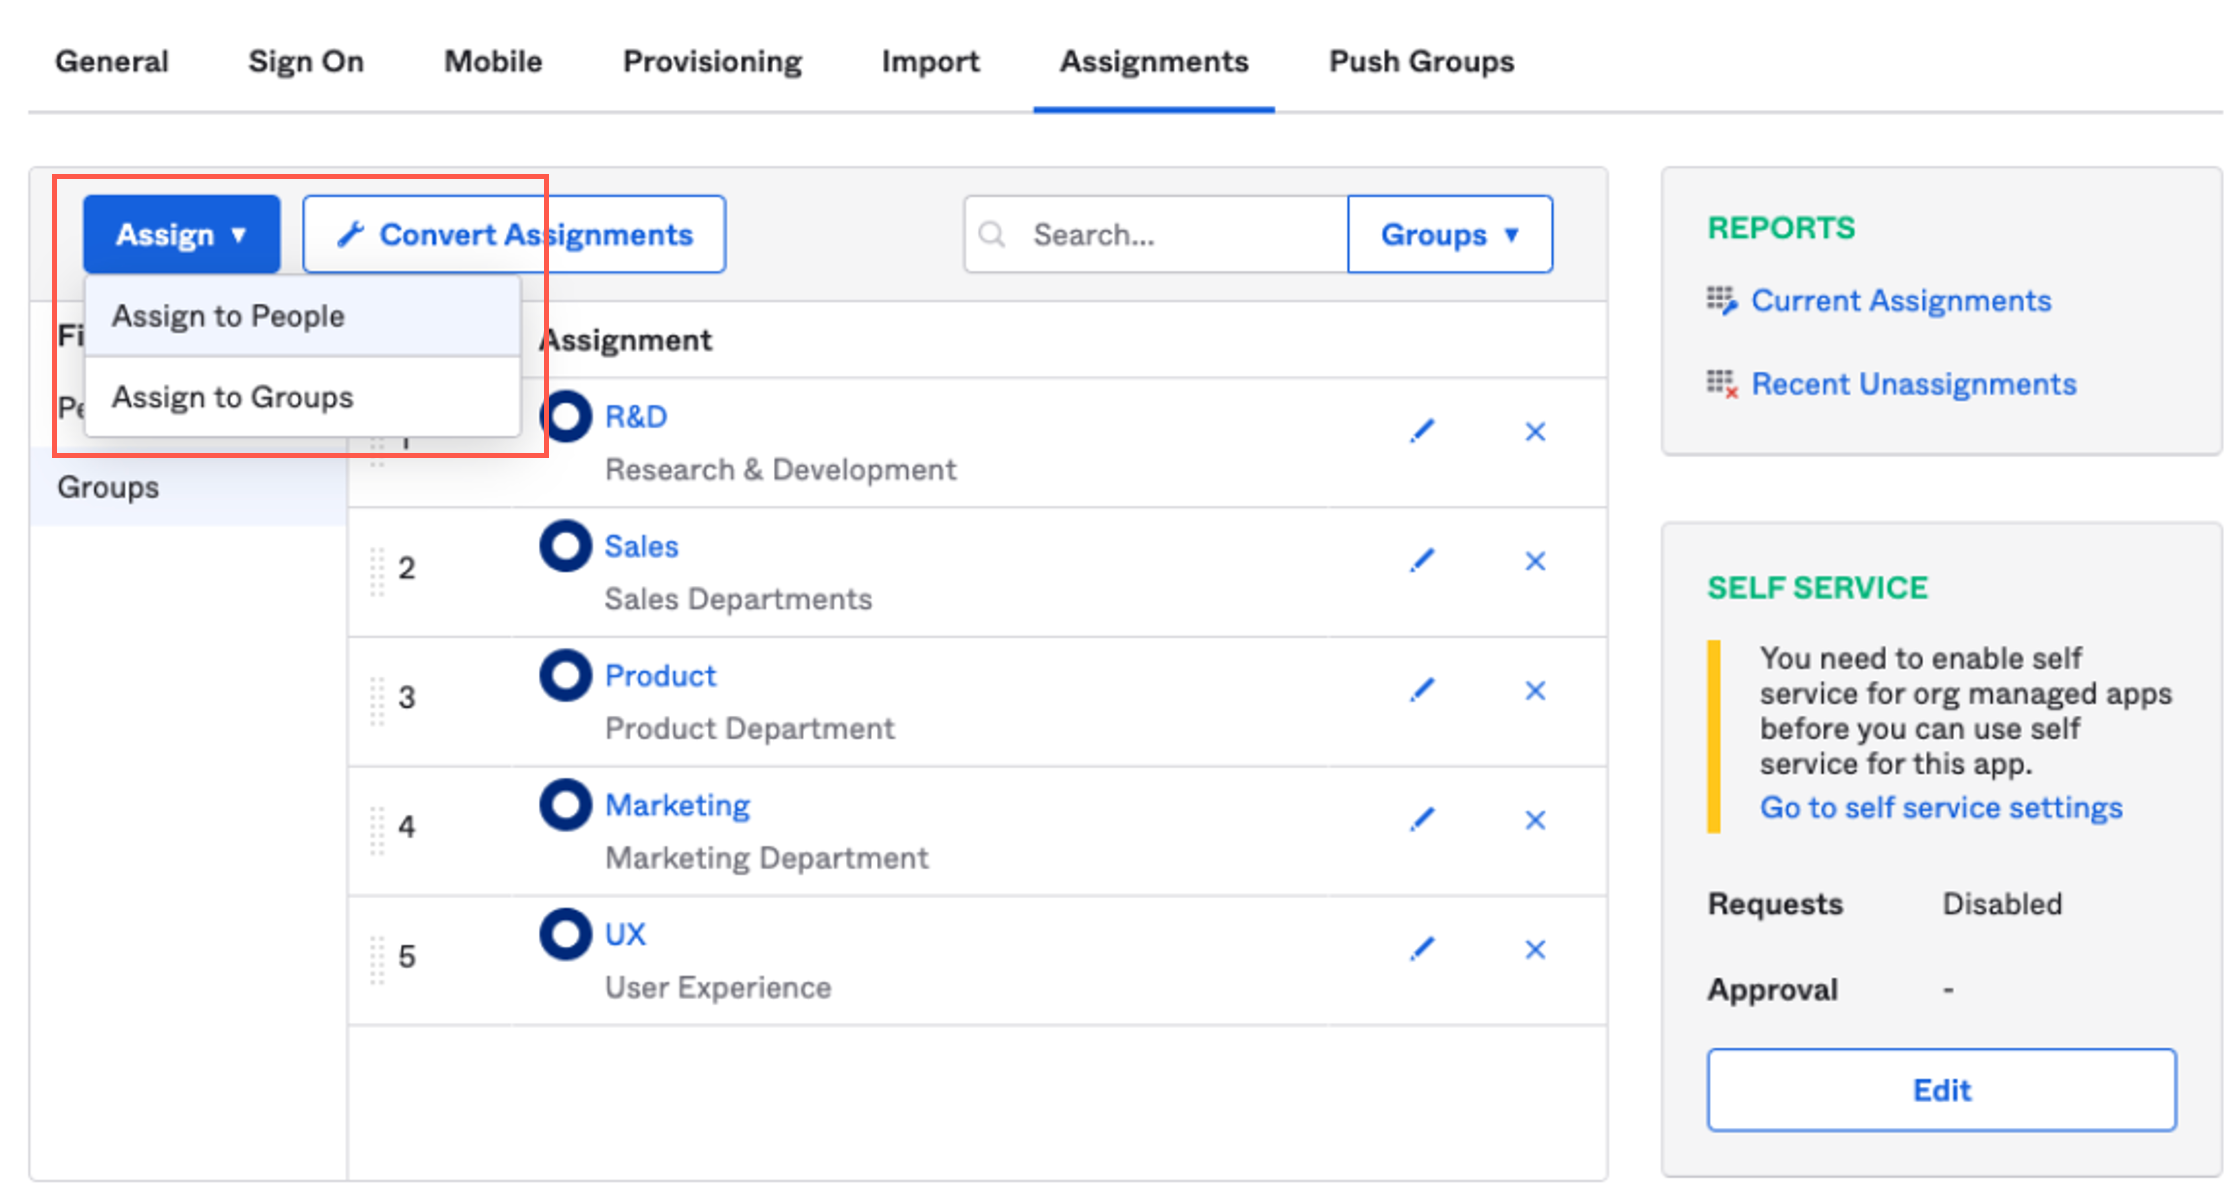
- In the Okta admin portal, click Assignments.
- Click the Assign drop-down menu and select Assign to people or Assign to groups
- Click Assign next to the people and groups you wish to assign to Axis.
Step 4: Finalizing the integration in Axis Security
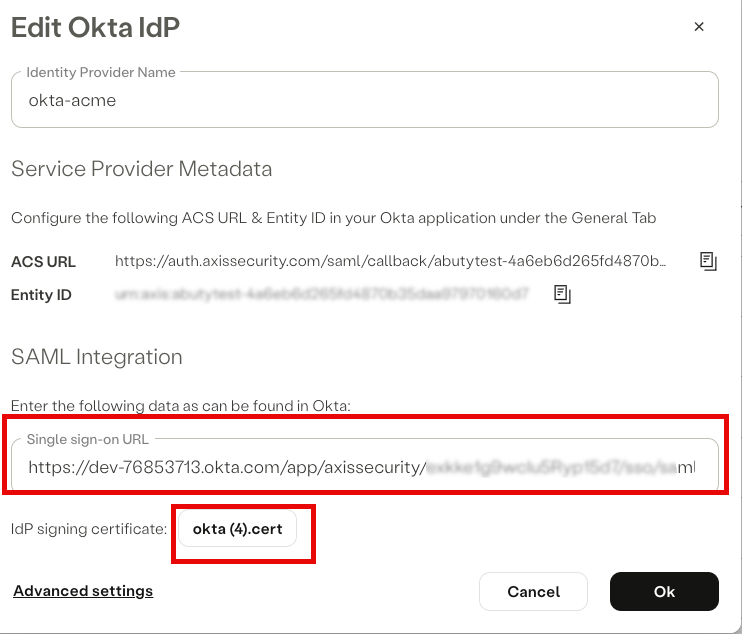
Return to the Okta IdP integration form in the SSE Administrative portal.
SAML Integration
- Goto Applications -> Sign On and scroll down and select more details
- Copy and Paste the Single sign-on URL to the Axis Security application in Okta.
- Upload the IdP signing certificate obtained in View Setup Instructions in Step 2: Configuring the Axis Security application in Okta.
- Click Ok.
Note:To commit your changes, navigate to the top-right menu, click Apply Changes, then select Commit Changes.
Viewing certificate expiration information
The Identity Providers table includes a certificate expiry indication:
From 30 days prior to certificate expiry and until expiration, indicators alert the administrator as to the number of days until expiry or following it.
This allows the administrator to proactively take action and upload new certificates before they expire and prevent possible service downtimes.

Updated 14 days ago