Connector Deployment for the Static Network Configurations OVA
This section describes how to deploy (install and configure) an OVA for a static network configuration.
Use the static OVA when you have a static network configuration, such as static IPs, DNS servers, and default gateways.
Prerequisites
Make sure the machine meets Connector deployment prerequisites.
Deploying an OVA for a Static Network Configuration
To deploy an OVA for a static network configuration:
- Download the latest OVA file here.
- Using the OVA downloaded in Step 1 (axis-connector-centos-nci.ova), create the Axis Connector VM by using the import function of your hypervisor.
- Click Import.
- Run the connector machine.
- The machine boots up.
Output similar to the following is displayed:
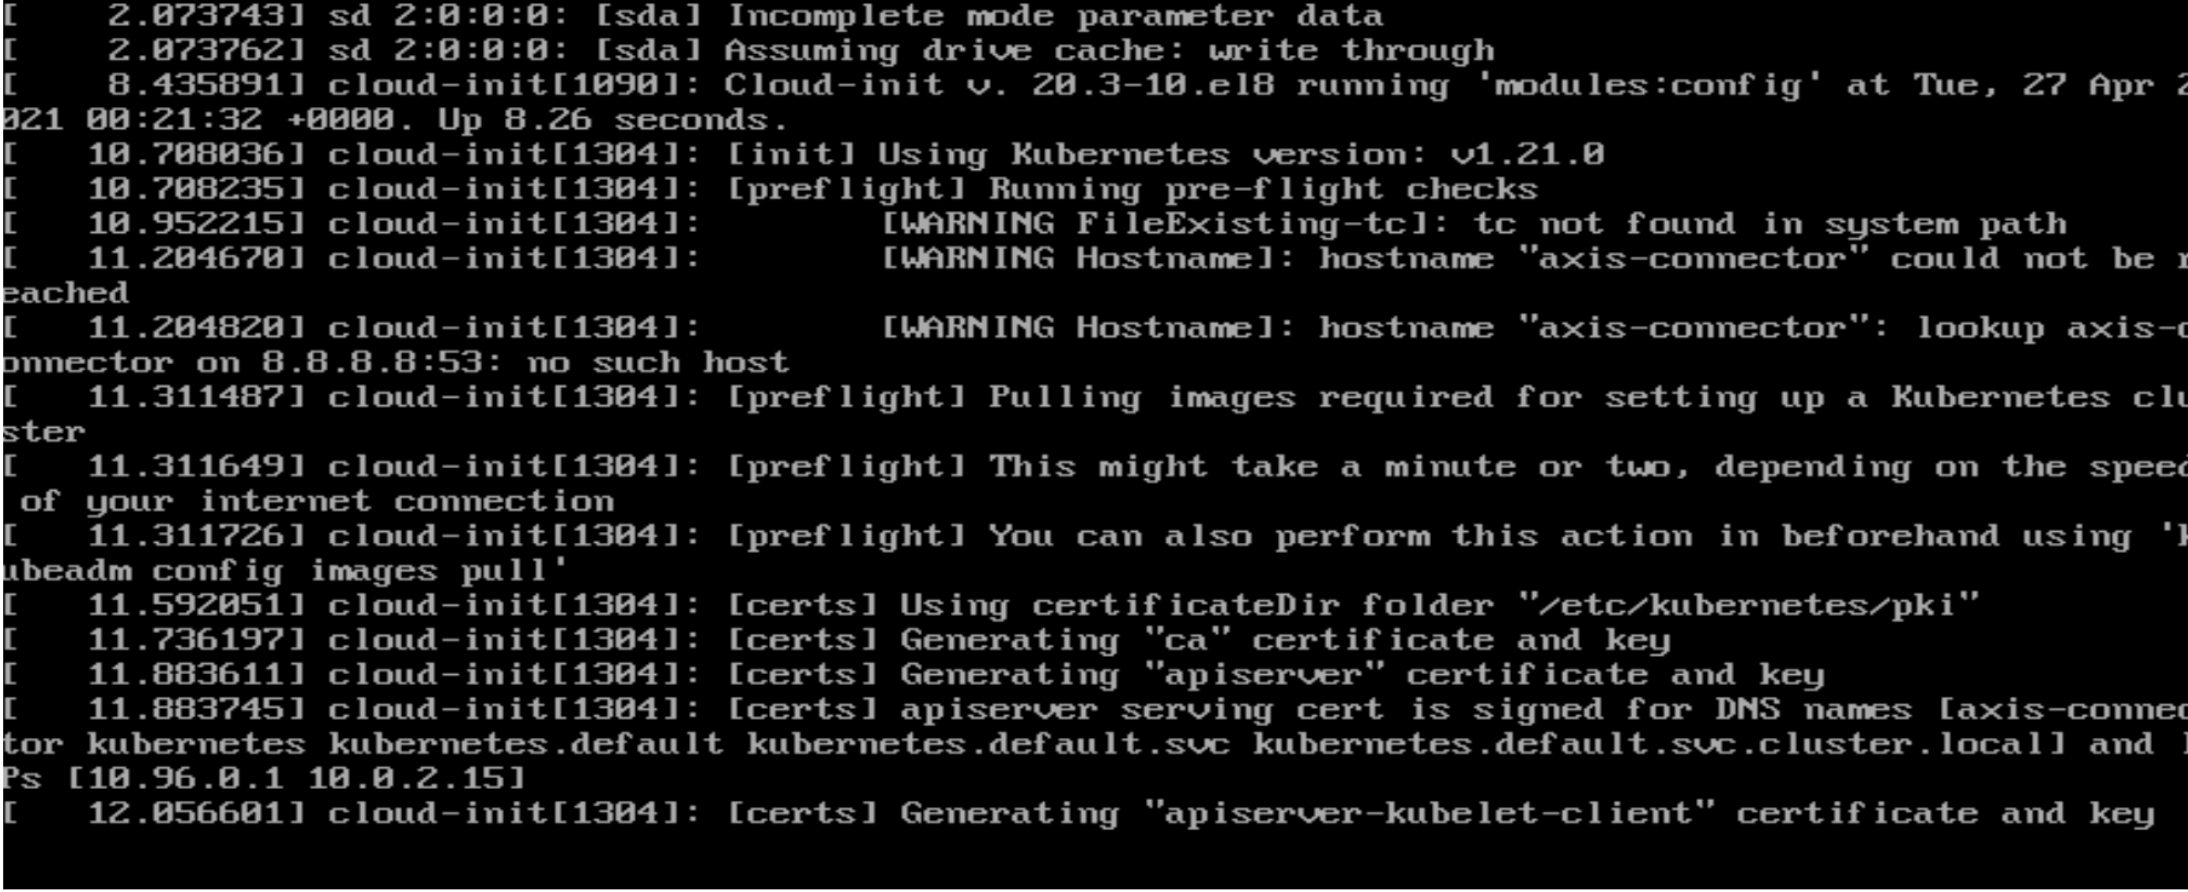
- Allow the machine to complete initializing.
- When the OVA finishes its initial setup, an output similar to the following is displayed:

- Press Enter.
- Log in to the connector machine using the following credentials:
username: axis, password: axis

- Apply the static configurations on the Static OVA Connector with the NO Cloud Init version using the Network Manager UI tool.
The No Cloud Init version supports static OVA configurations. - Type sudo nmtui and then press Enter to open the Network Manager UI Tool.

The NetworkManager TUI screen is displayed.
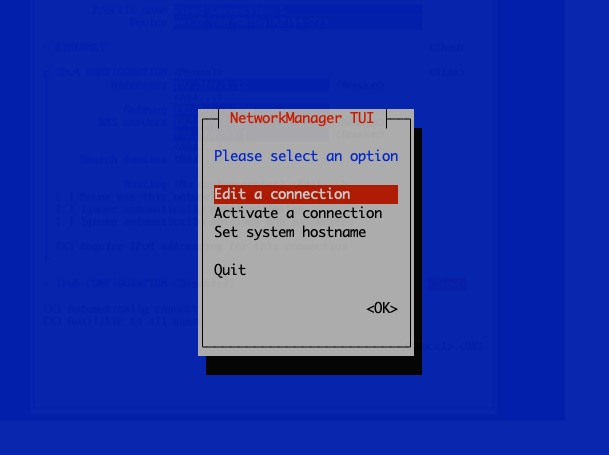
- Select Edit a connection and the OK.
- Select Wired Connection 1 (or 2 if you have multiple NICs).
- (Optional) You can rename the Profile to “External/Internal”.
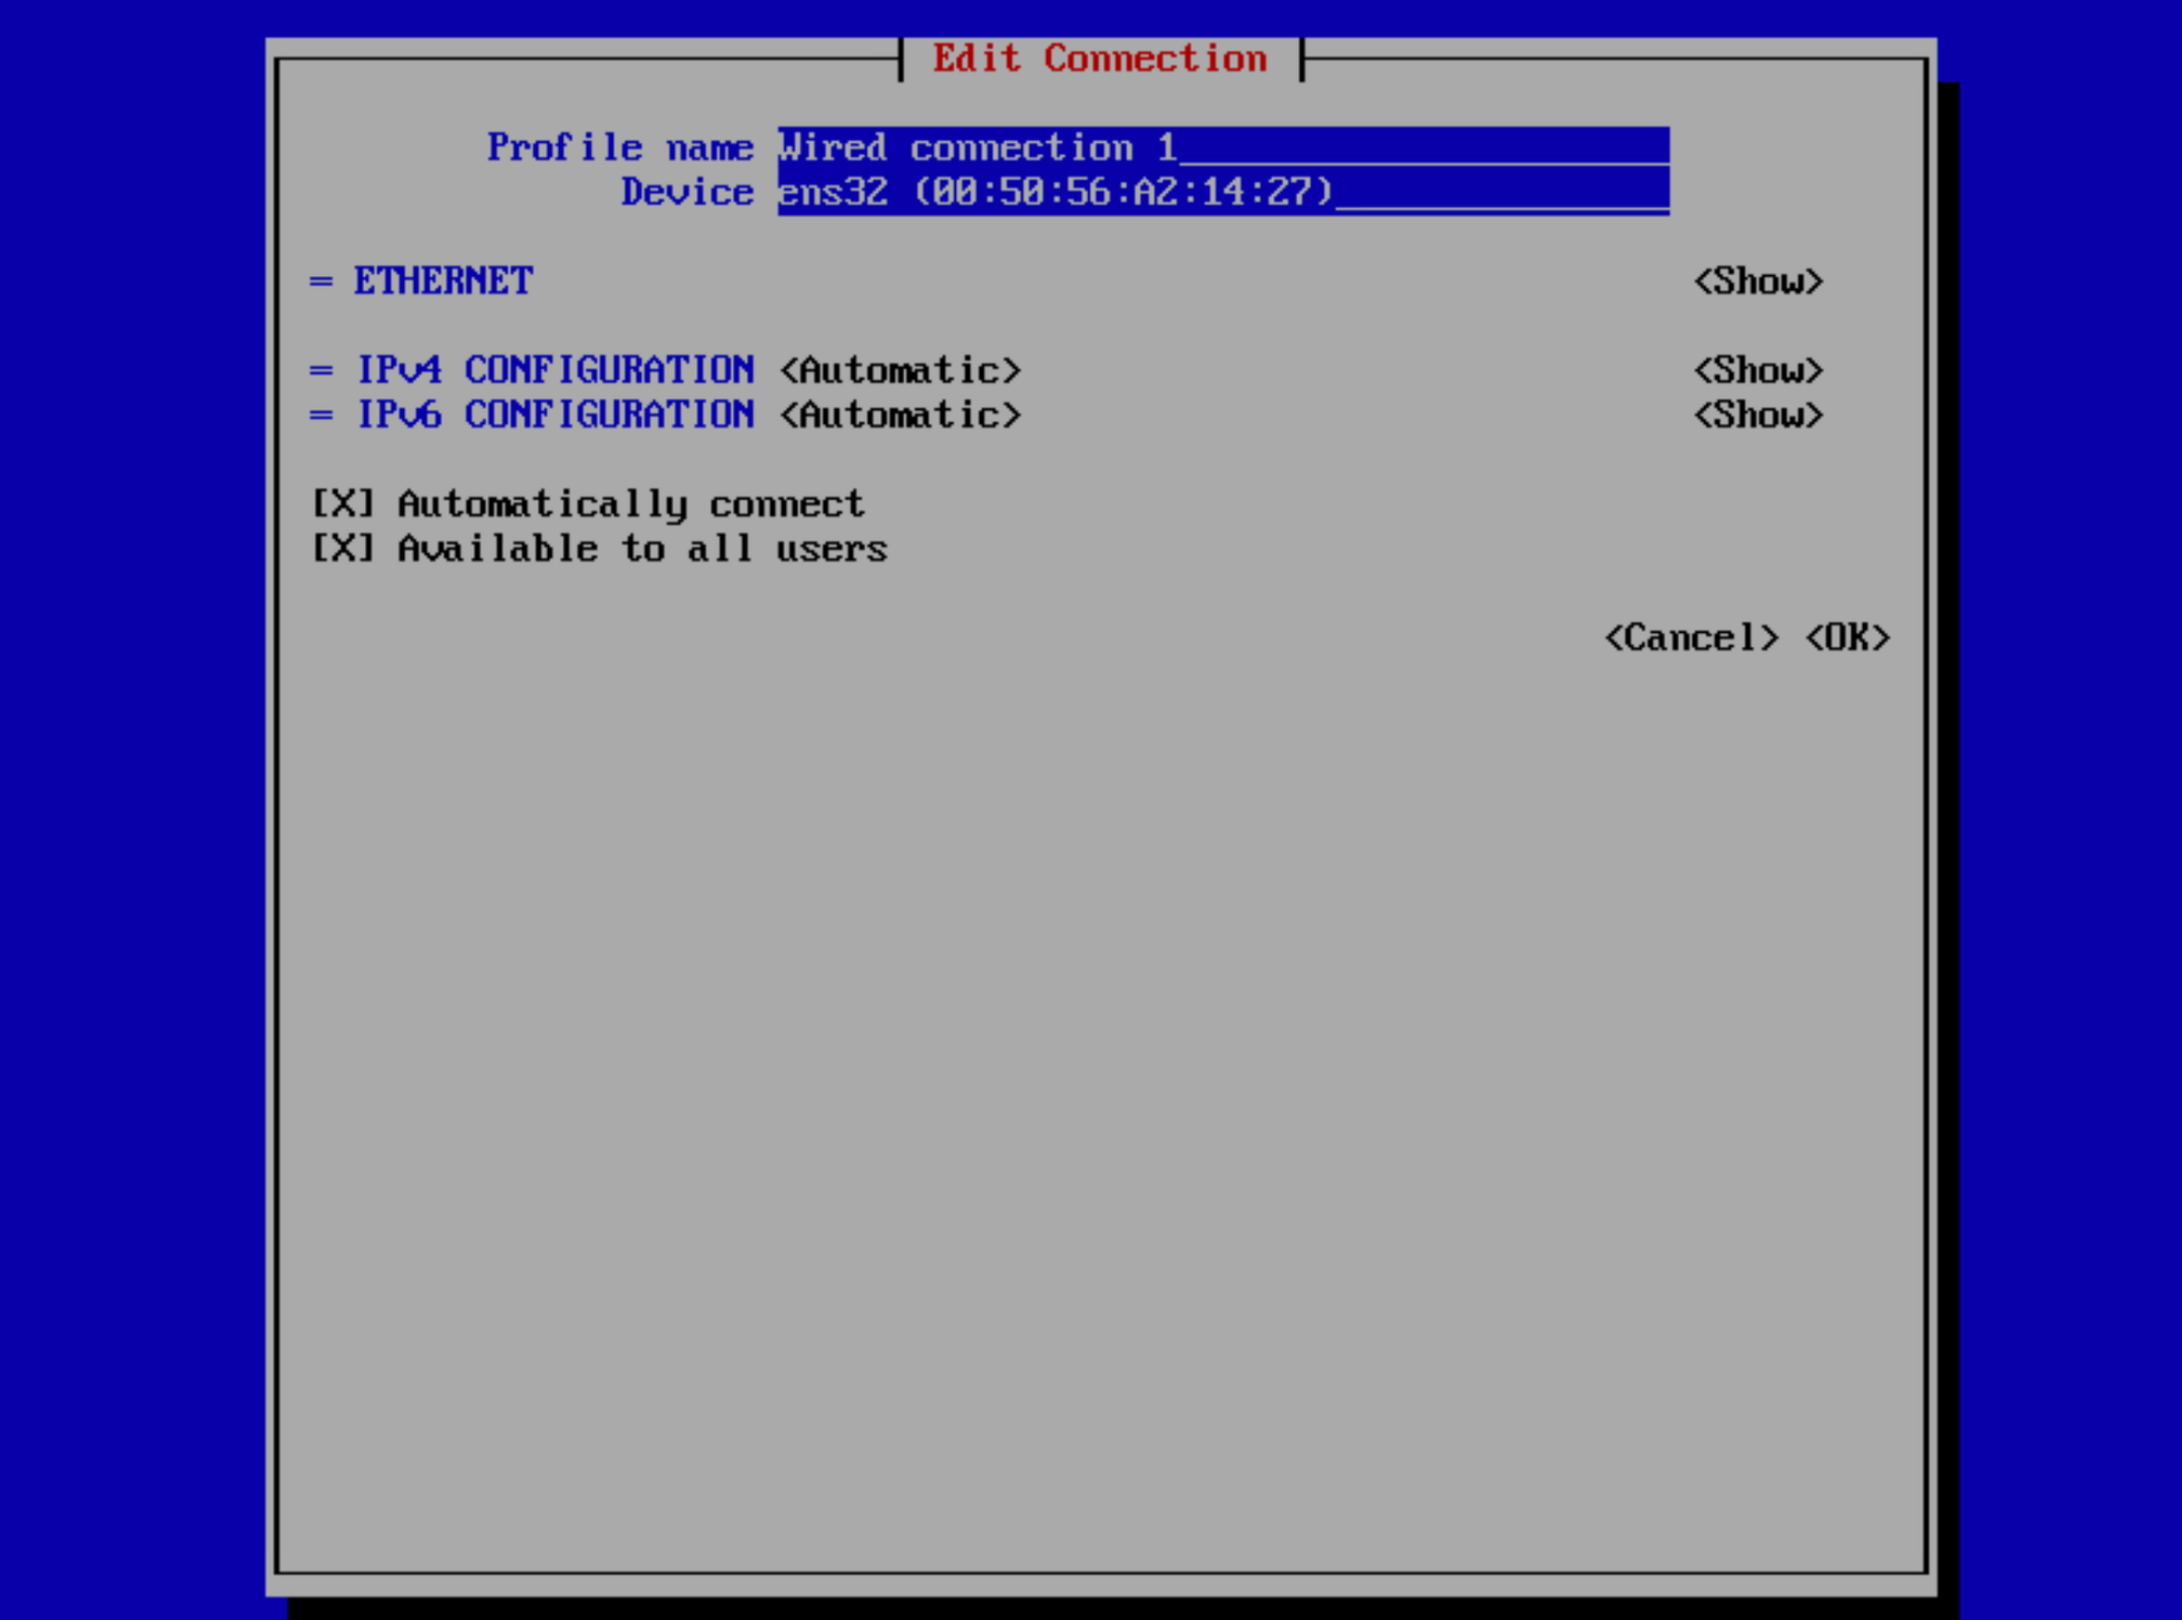
- For IPv4 CONFIGURATION, select Manual.
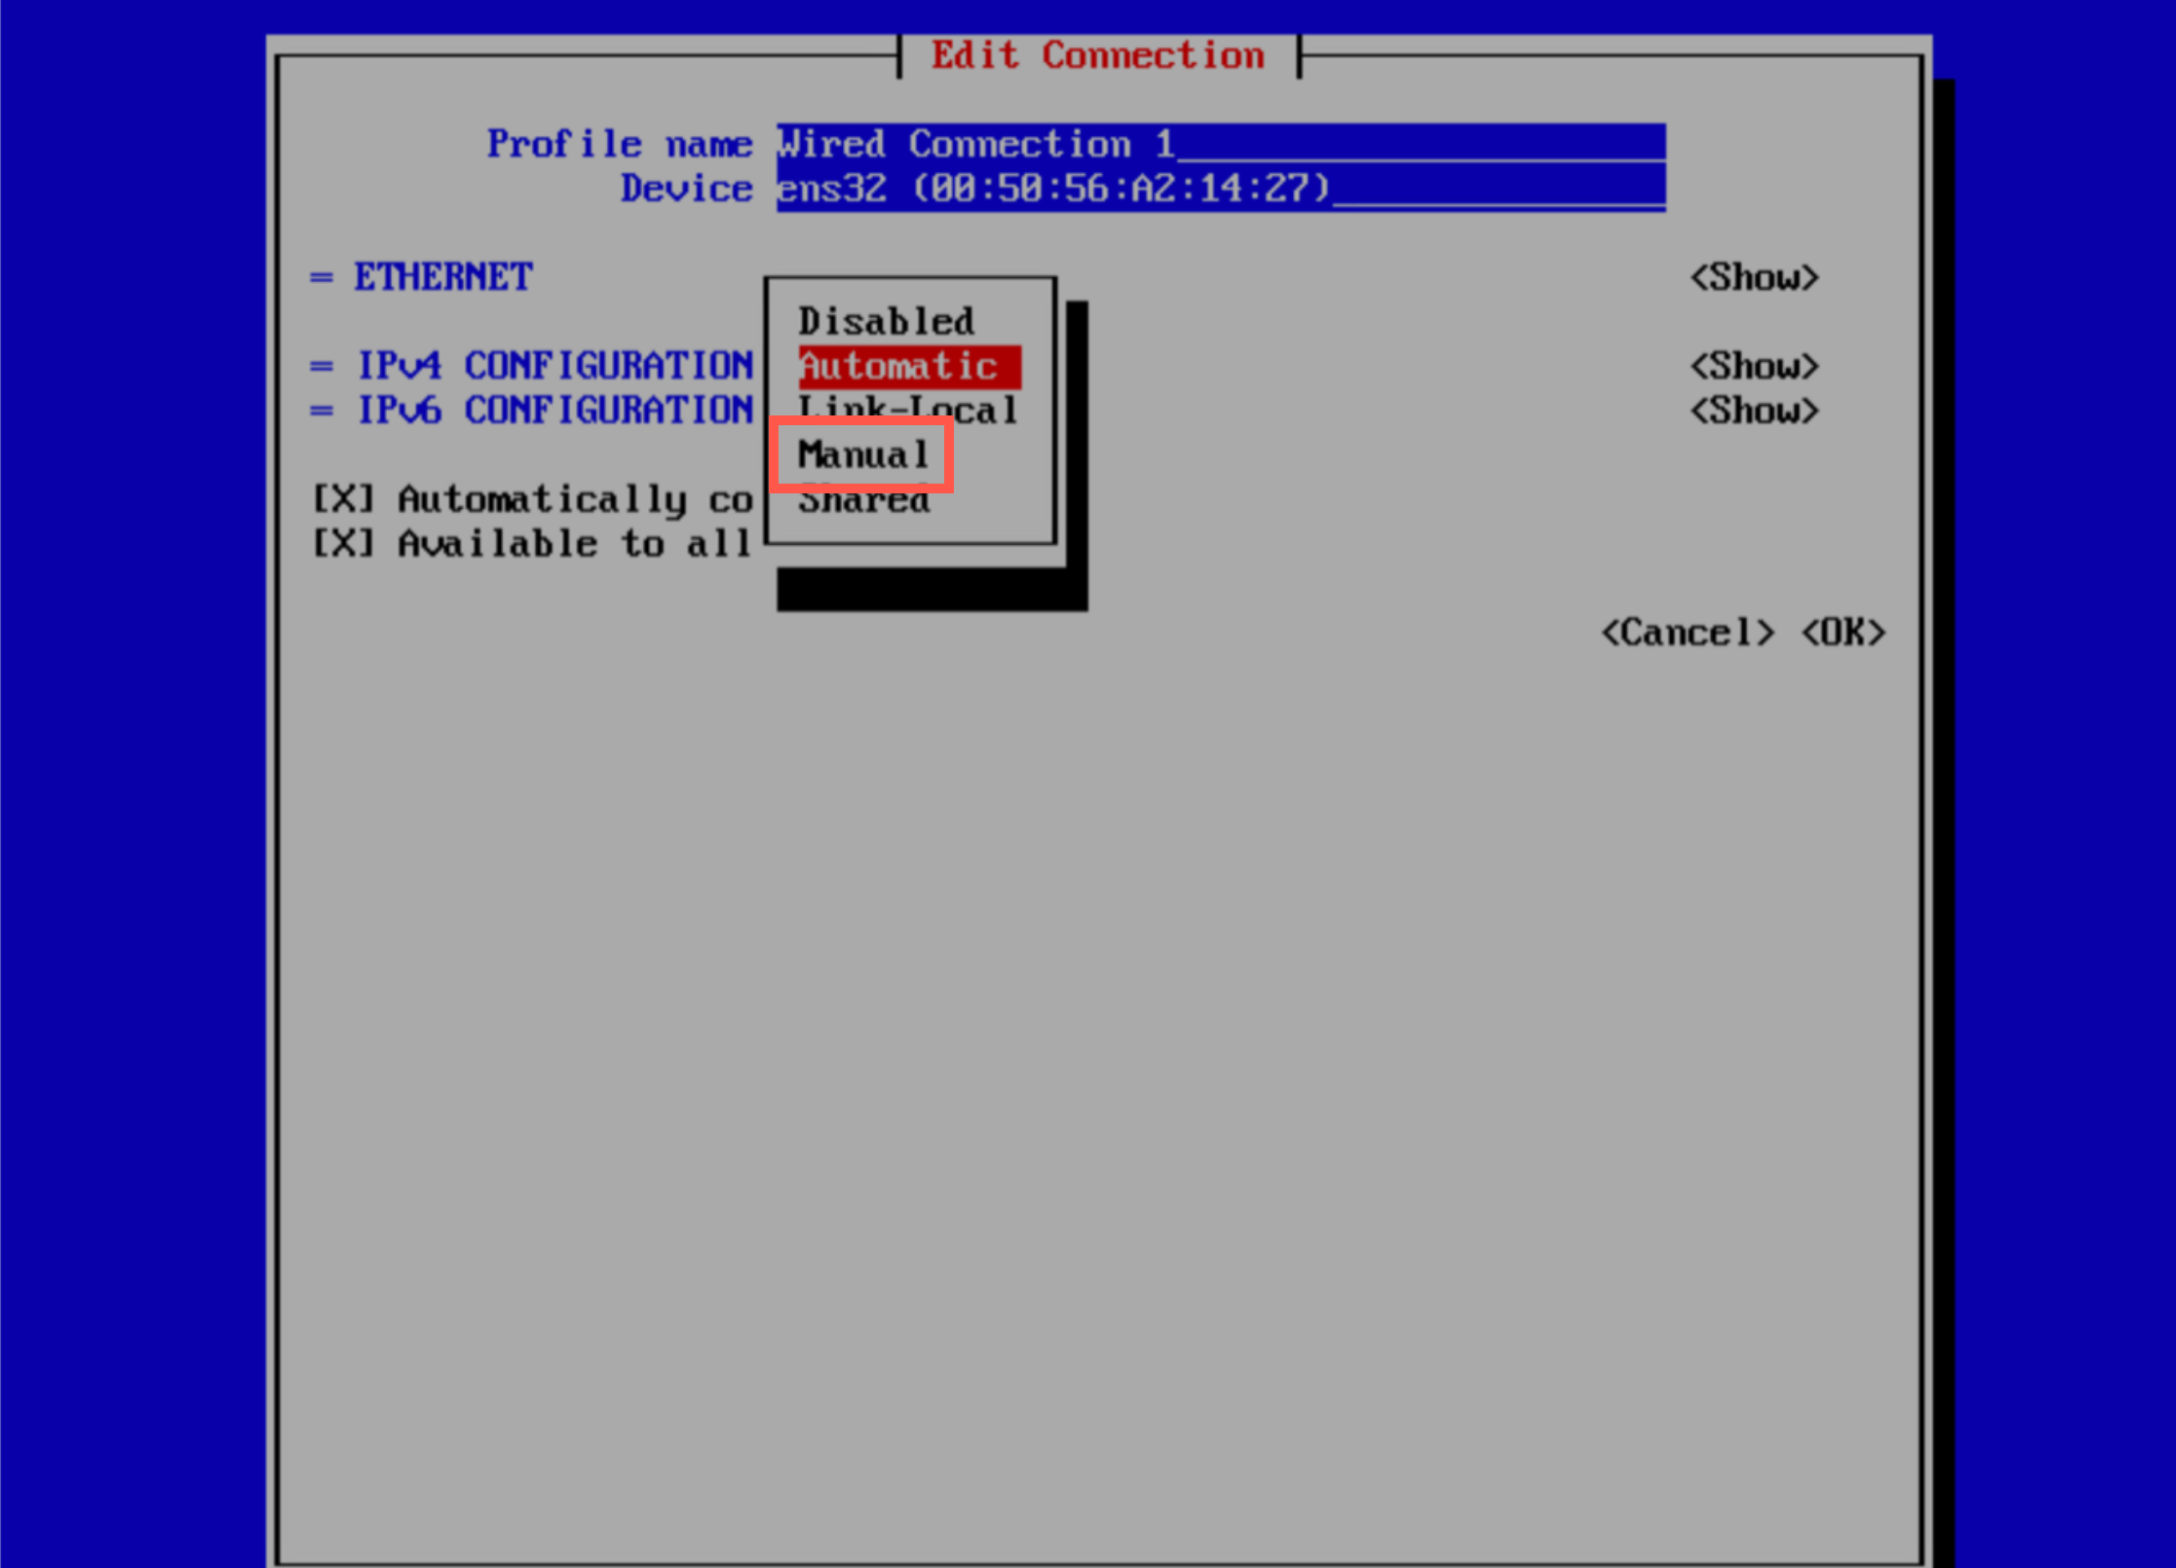
- Click Show.
- Enter the static configuration like the following example:
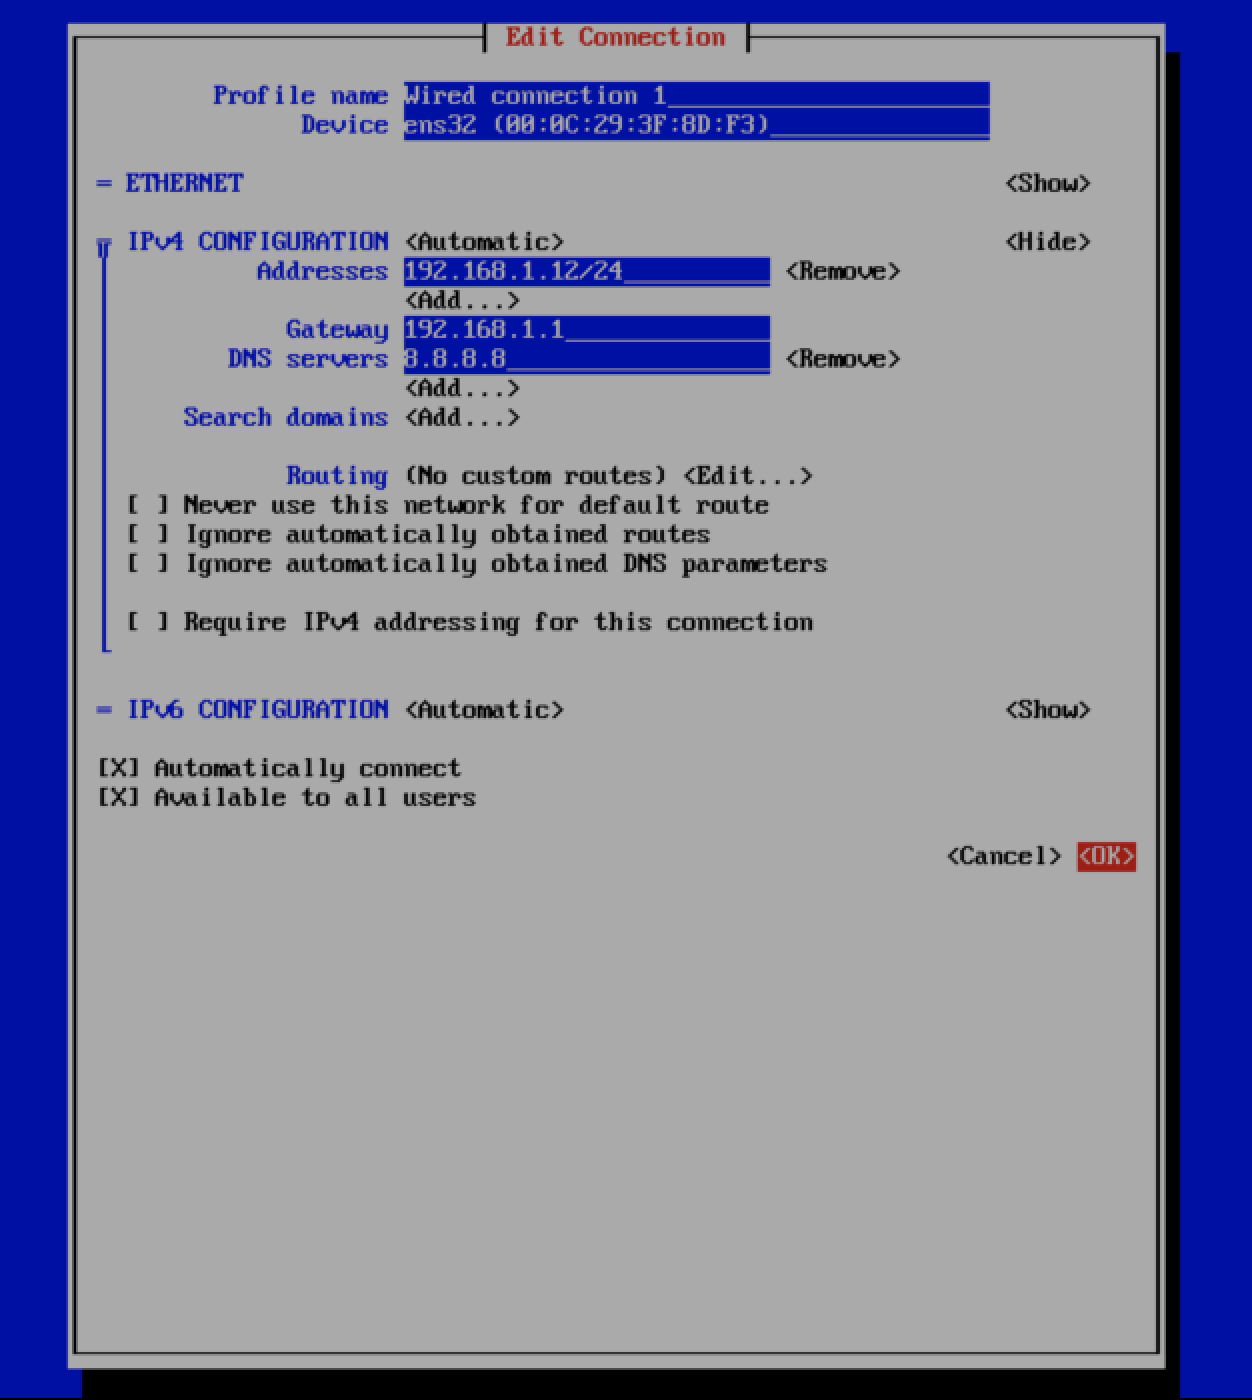
- Navigate back to the following screen:
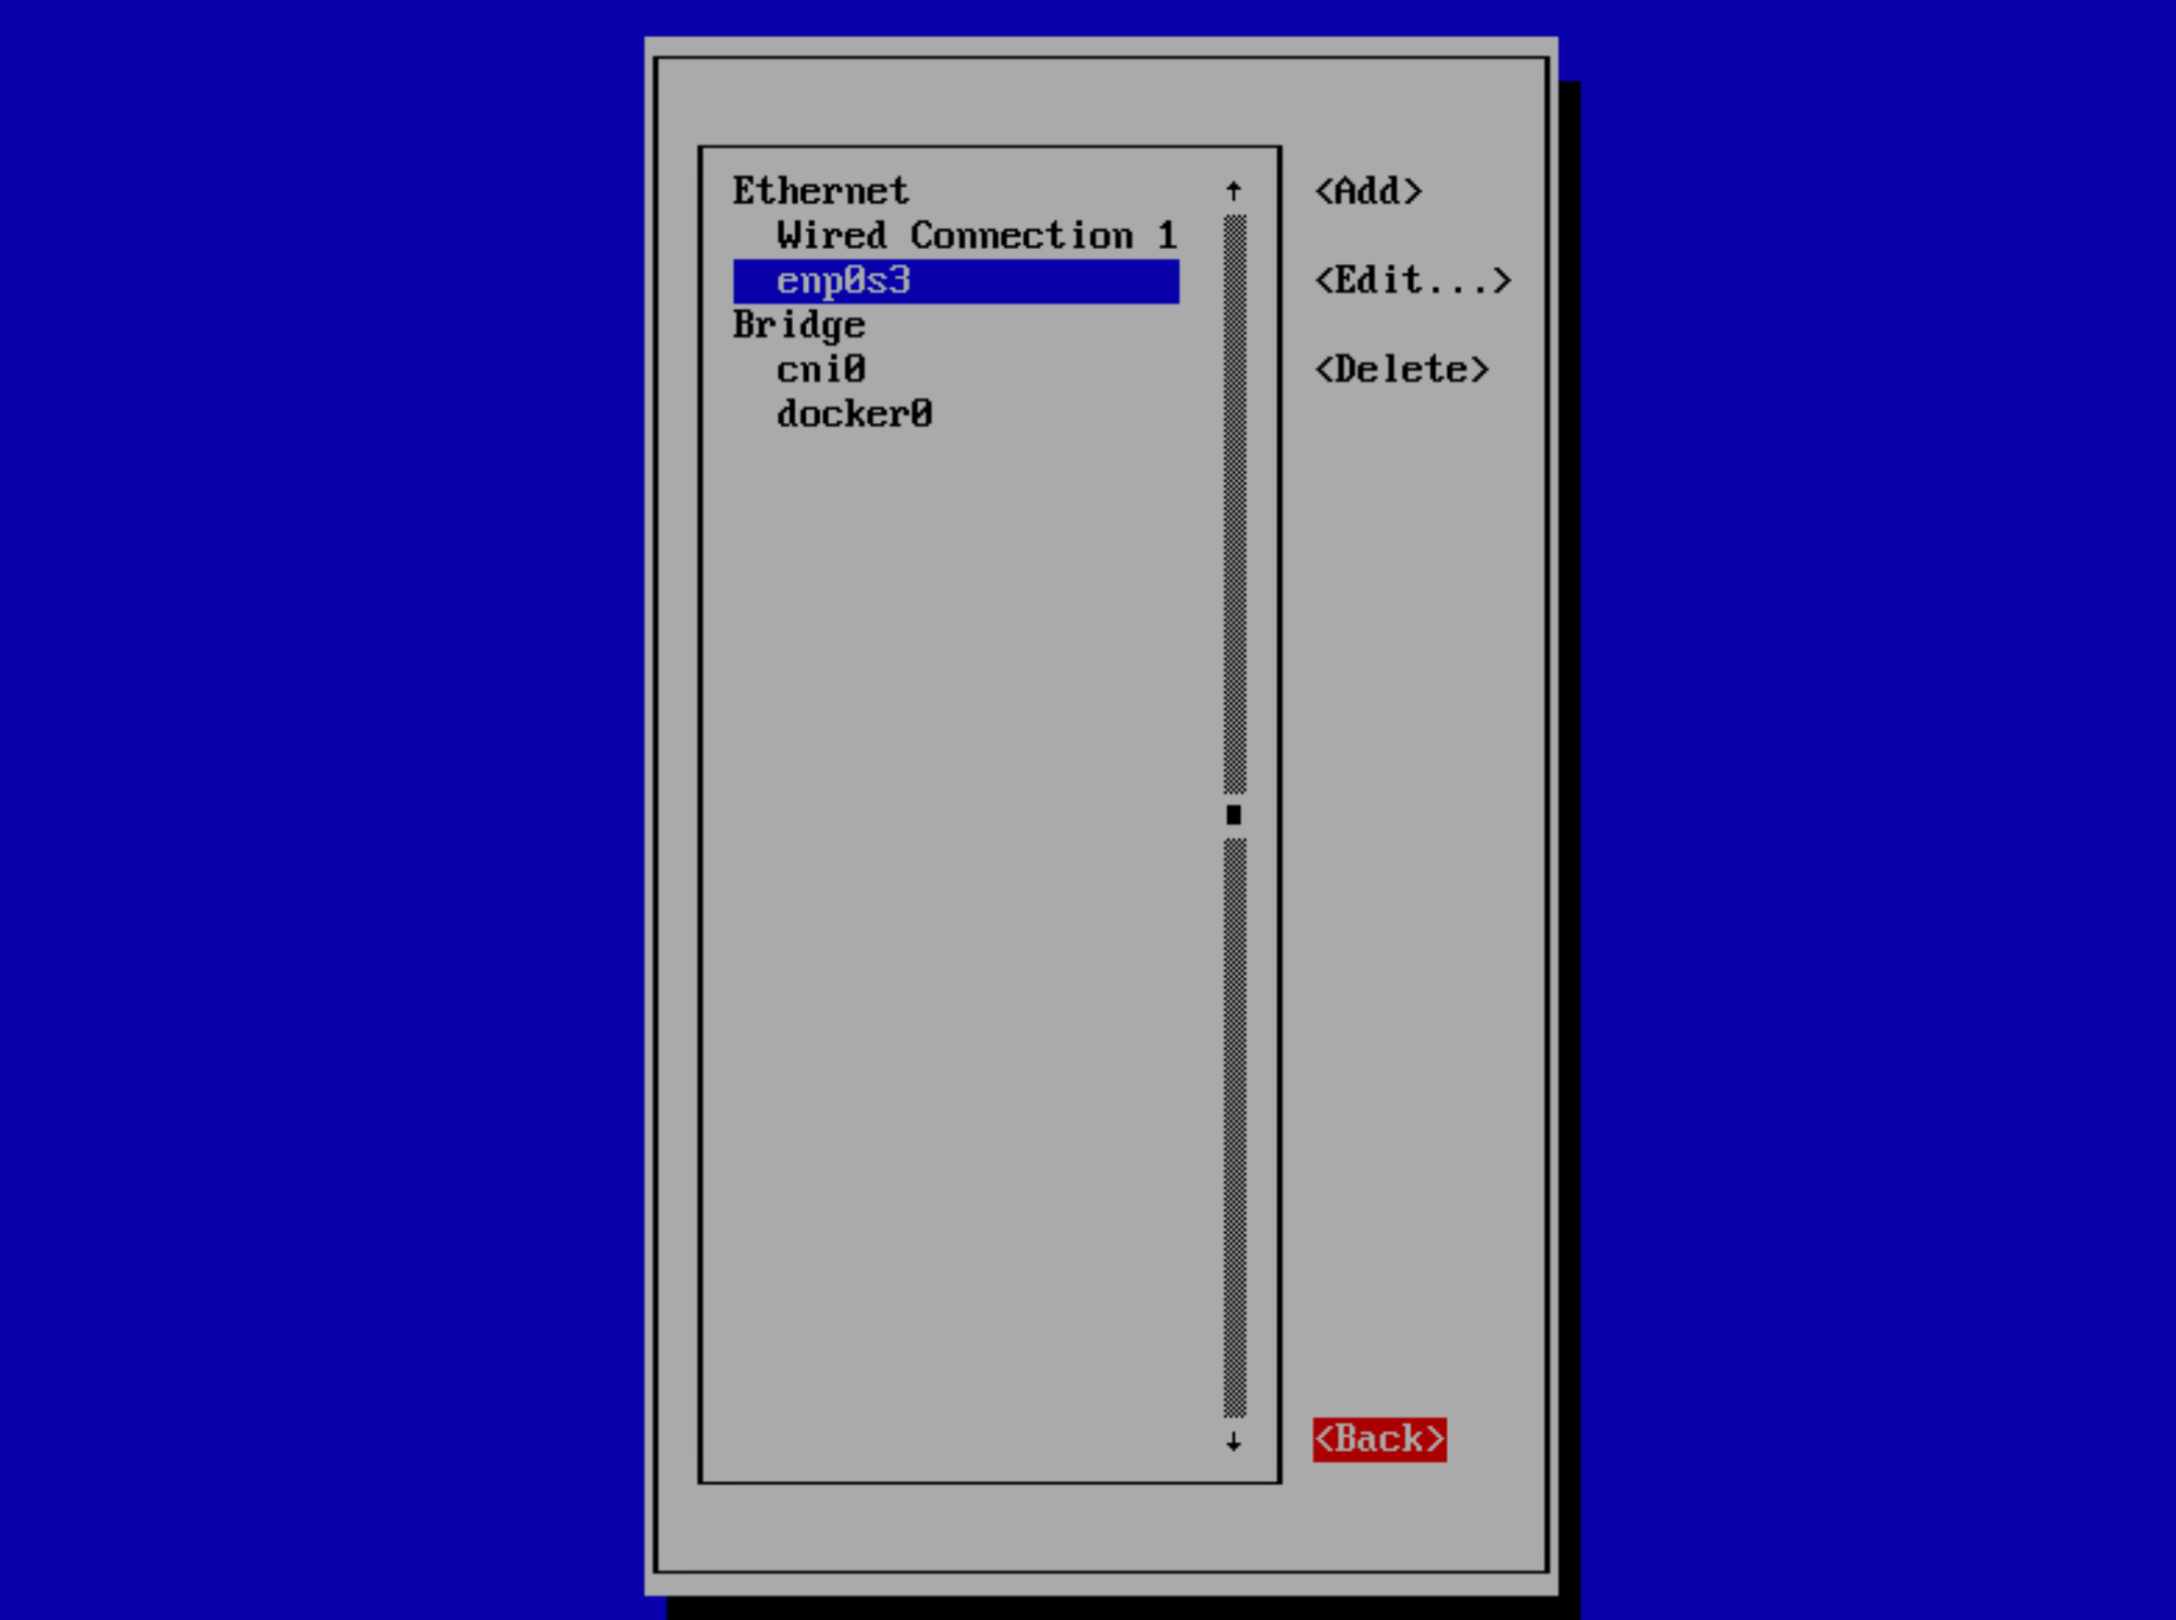
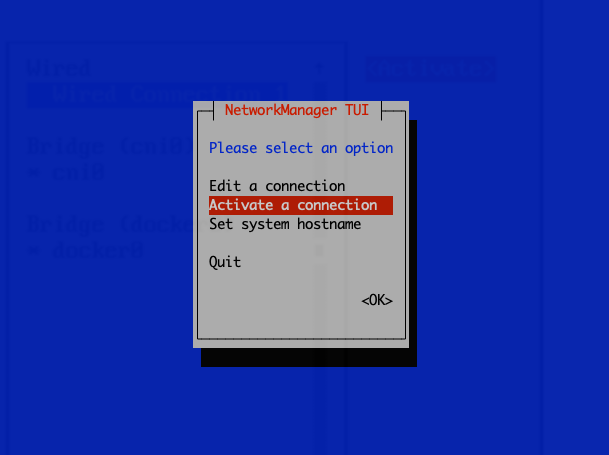
- Select Activate a connection
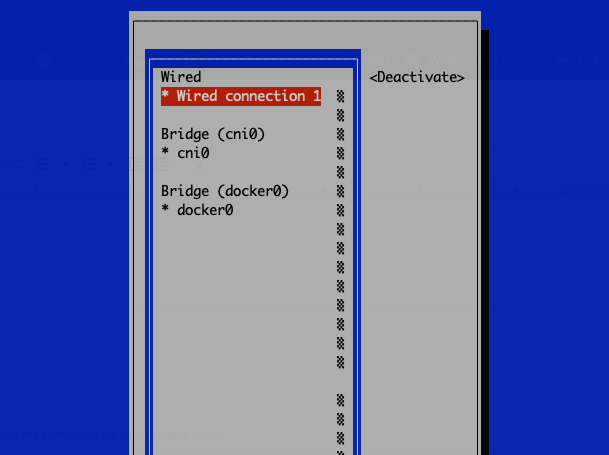
- Activate the connection if it is not already active.
- Continue the installation by running the following commands:
sudo systemctl enable axis-connector.service
sudo systemctl start axis-connector.service
sudo systemctl status axis-connector.service
NOTE
Do NOT change the hostname _or _IP Address after running the systemctl command.
Doing so may cause the connector to become unusable and require reinstallation.
- Validate the out init script by running the following command and make sure everything is running correctly. If the following is running, the OVA init installation has been completed successfully.
"sudo kubectl get pods -A"

- Navigate to the Axis Management Console.
- Click Settings -> Connectors-> Add Connector.
- Create a new connector.
- Copy the provisioning code snippet.
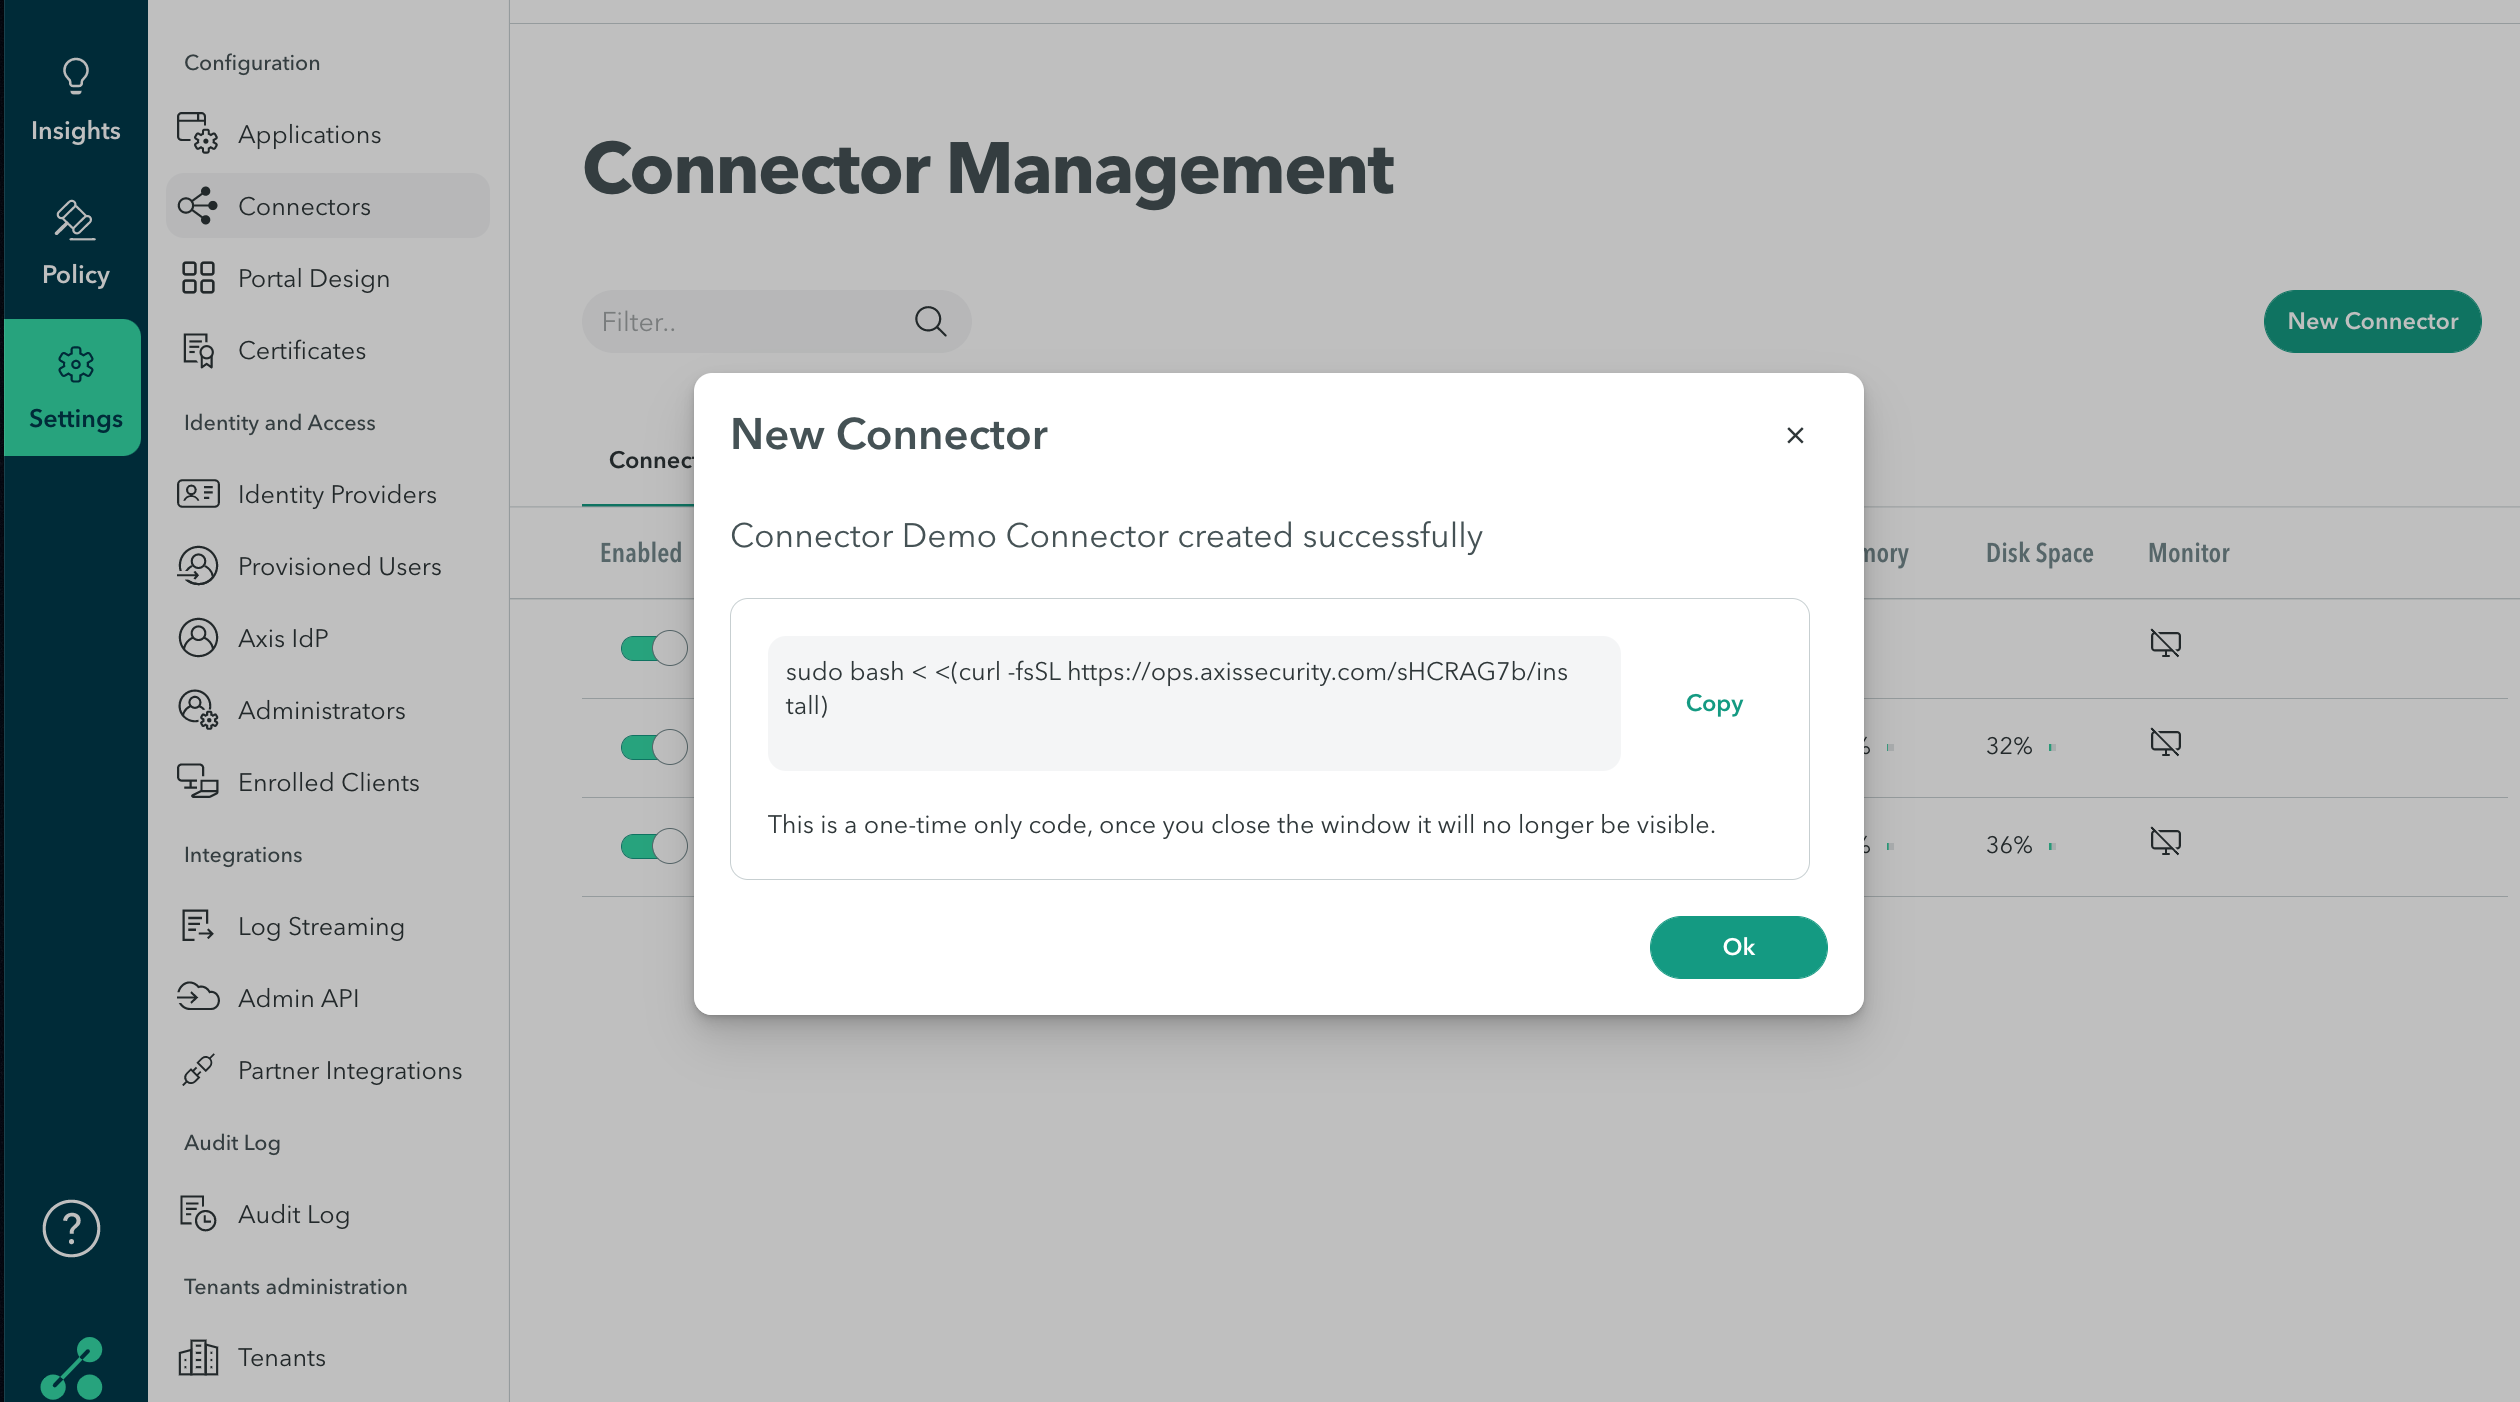
- Apply and commit your changes.
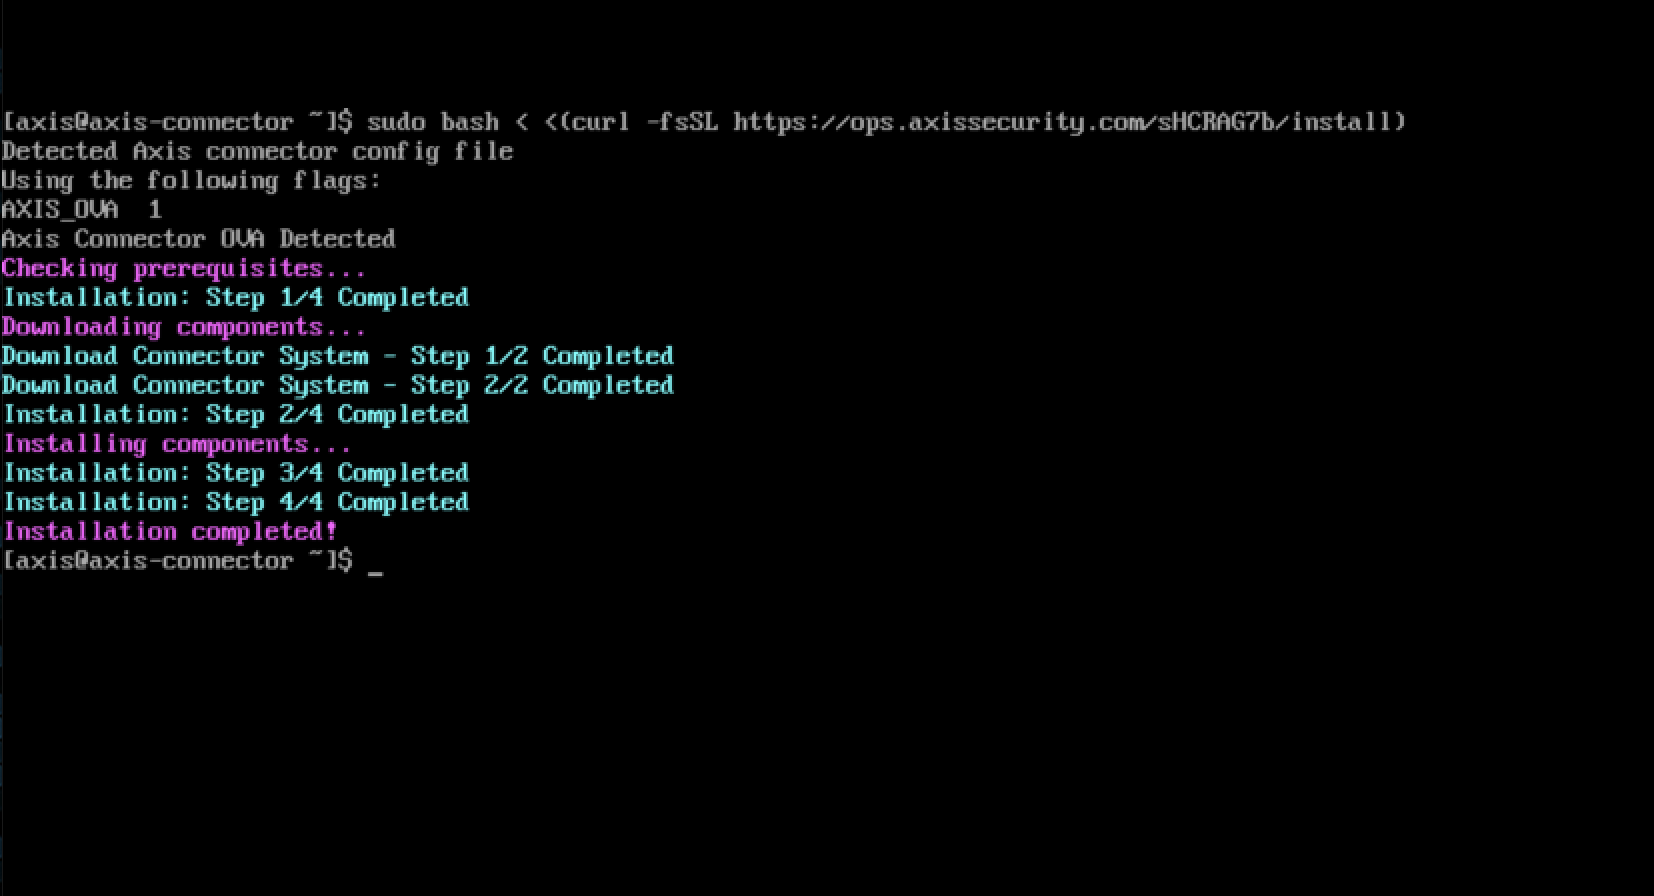
- Paste the script into the OVA machine. Screenshot below is an example. There are additional steps displayed during the install process.
-
Change the default password for the "Axis" user by running the following command:
"sudo passwd axis" -
Enter the new "root" password for this connector machine to complete the step:
"sudo passwd"
Updated 10 months ago
