Configuring Atmos Agent and Cisco AnyConnect Simultaneous Operation
To allow simultaneous operation for the Atmos Agent and Cisco AnyConnect, several configurations are required:
- Routing Rules Exclusion
- Disabling force DNS through Tunnel in AnyConnect
- Allowing local LAN access in AnyConnect for all Users
Routing Rules Exclusion
By excluding Axis local IPs from the routing rules, the Atmos Agent is able to receive the correct traffic.
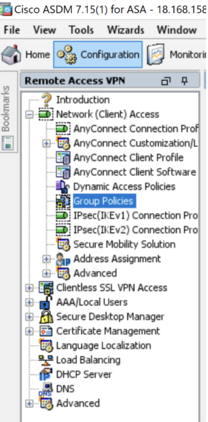
- In Cisco ADSM, go to Configuration -> Remote Access VPN-> Network (Client) Access -> Group Policies.

-
Open the relevant group policy.
-
Go to Advanced-> Split Tunnelling
-
Set the Policy and IPv6 Policy to Exclude Network List Below.
-
The network list is where the IPs are added.
-
Click Manage.

-
Click Add-> Add ACL and name your exclusion list.
-
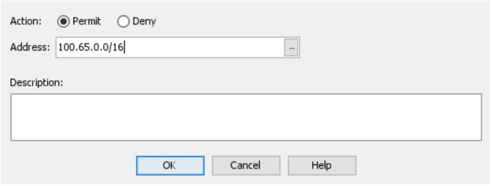
Click Add ACE. Add a permit rule for the Axis local IP range (100.65.0.0/16):

- Click Apply in the main screen to save the configurations.
Disabling force DNS through Tunnel in AnyConnect
To ensure that the Atmos Agent receives its DNS requests, AnyConnect must be configured not to receive all DNS requests.
-
Go to Advanced-> Split Tunnelling.
-
Set Send All DNS Lookups Through Tunnel to No.
-
Click Apply in the main screen to save the configurations.

Allowing local LAN access in AnyConnect for all Users
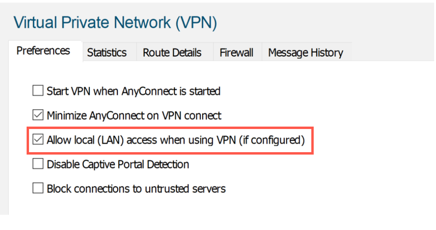
To ensure that the Axis IPs are in the exclusion list (as set above), local LAN access from the server for all users should be allowed.

To globally configure this access, add a client profile for users.
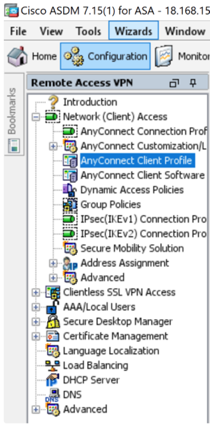
- Go to Cisco ADSM -> Configuration -> Remote Access VPN -> Network (Client) Access -> AnyConnect Client Profile.

Updated almost 4 years ago
