Okta OIDC Configuration for Self-Hosted Web App
If you're looking to authenticate your self-hosted web application with Okta OIDC and the external domain of the app differs from its internal domain, you'll need to follow a few steps.
Prerequisites
Before you start, make sure your self-hosted web application meets the following prerequisites:
- Axis rewrites the application's host portion (The external domain is different from the internal domain).
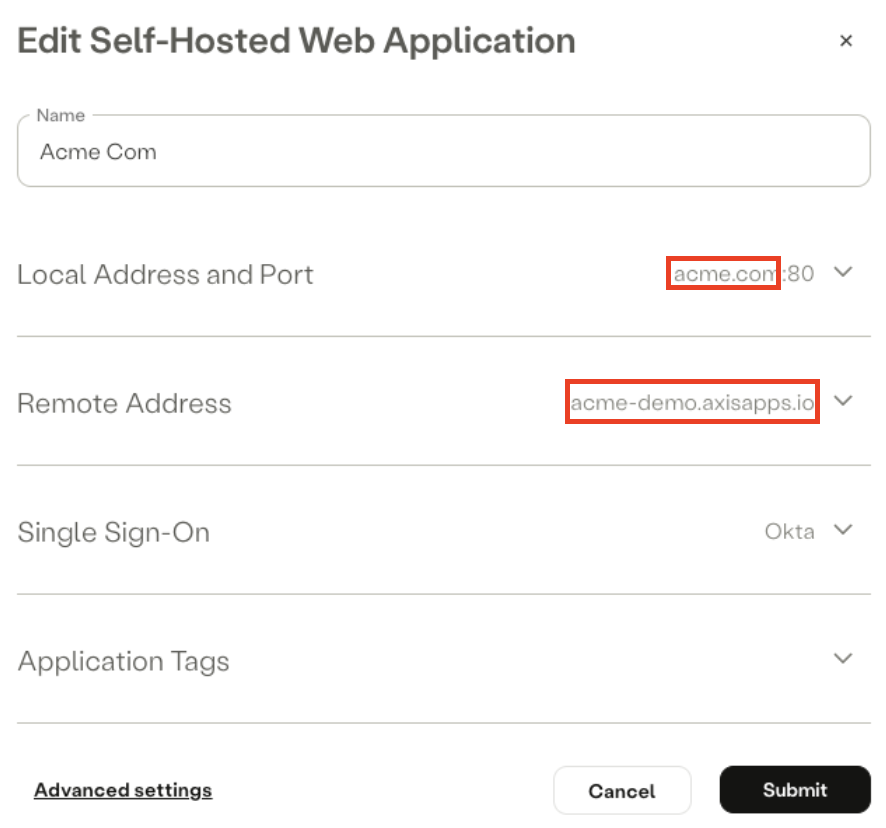
Example: Internal domain (Local Address) differs from external domain (Remote Address)
- The web application is authenticated using Okta OIDC - OpenID Connect authentication.
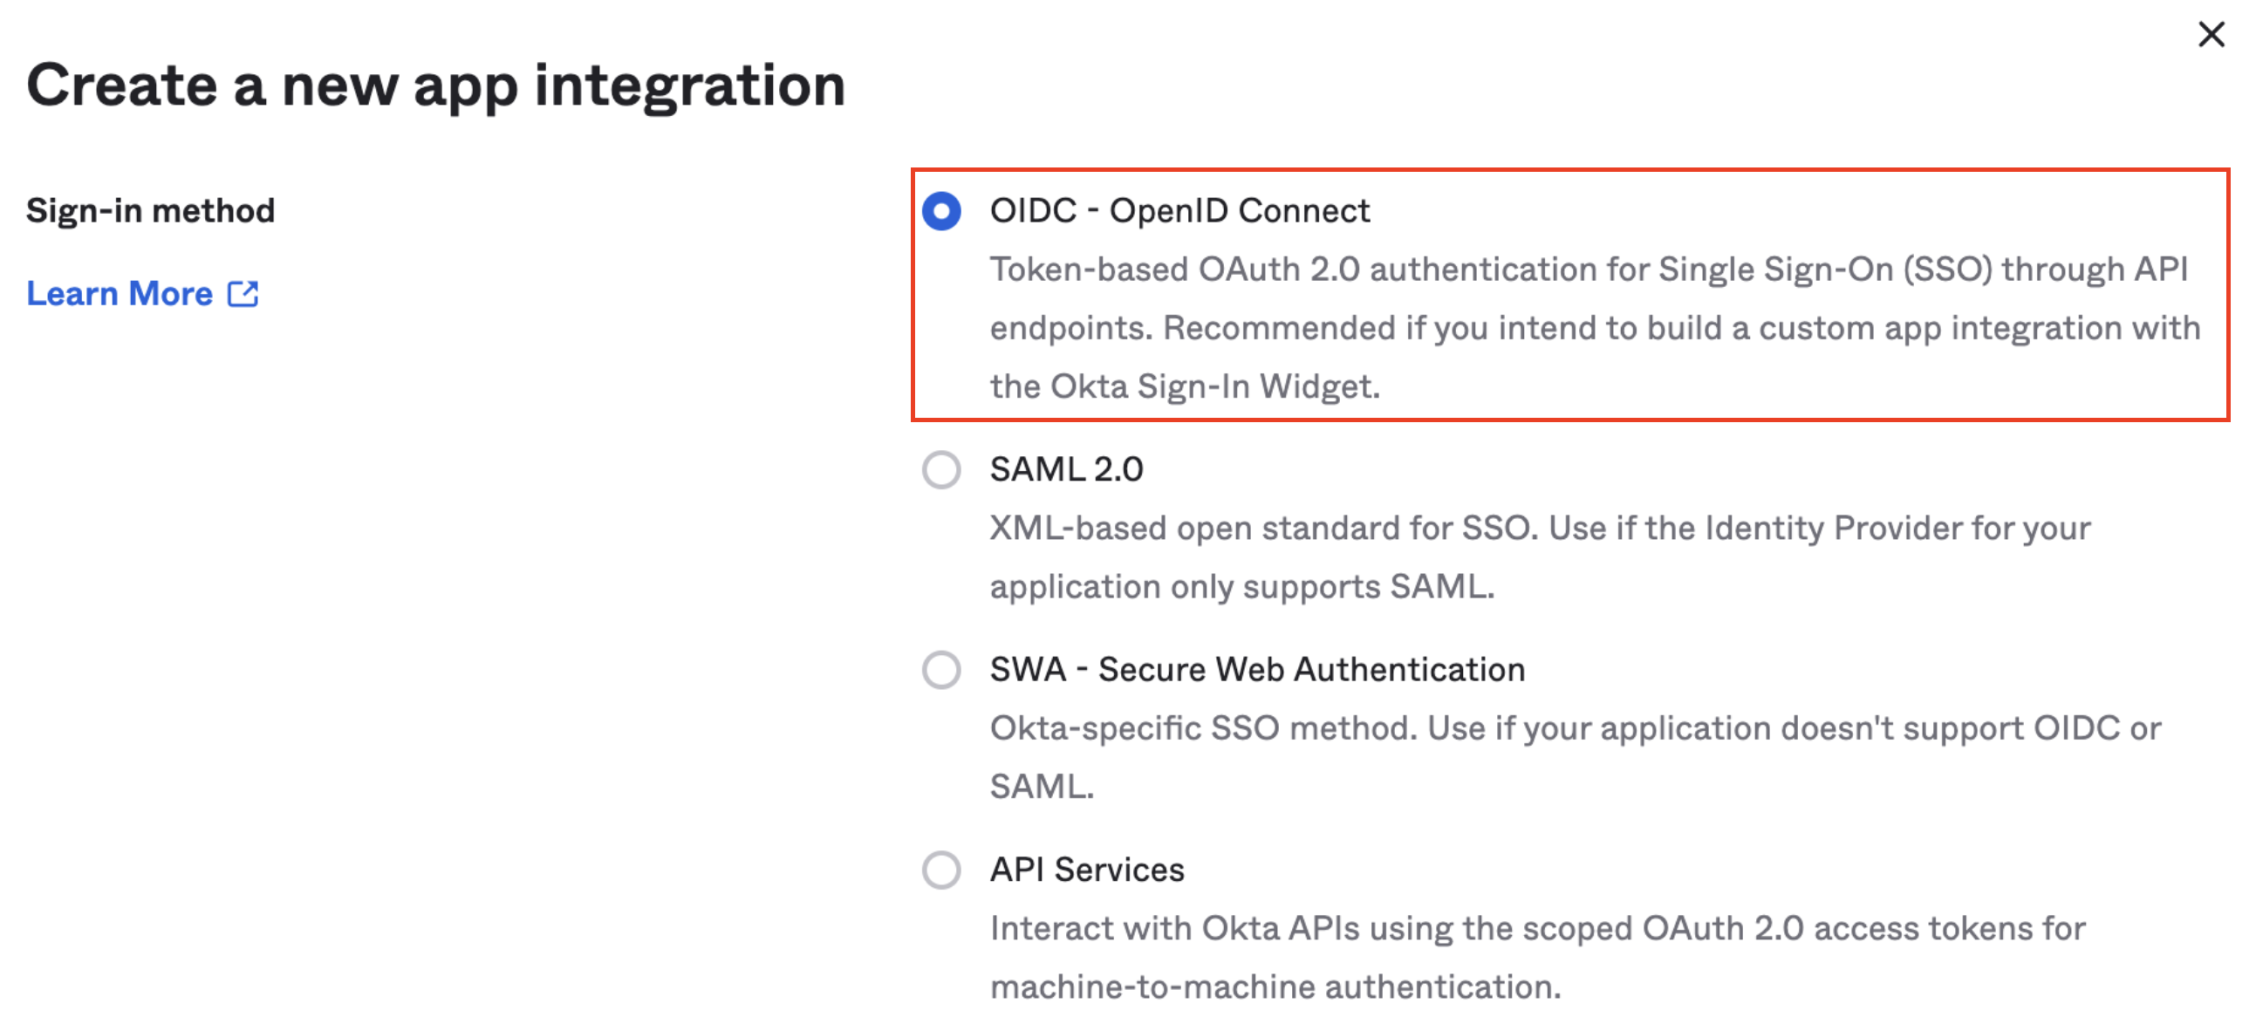
Your Okta application should be defined with OIDC - OpenID Connect as the sign-in method
Step 1: Verify Application's Additional Domains
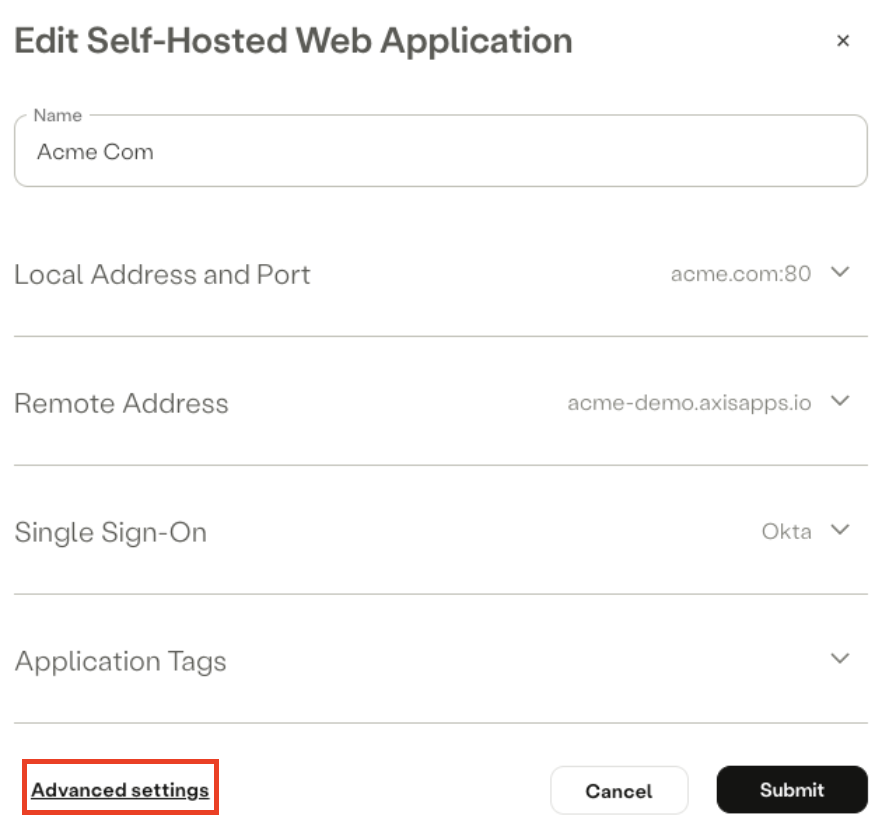
- In the Axis Management Console, go to Settings -> Applications. Then find the web application and click on Edit.
- Click on Advanced Settings.
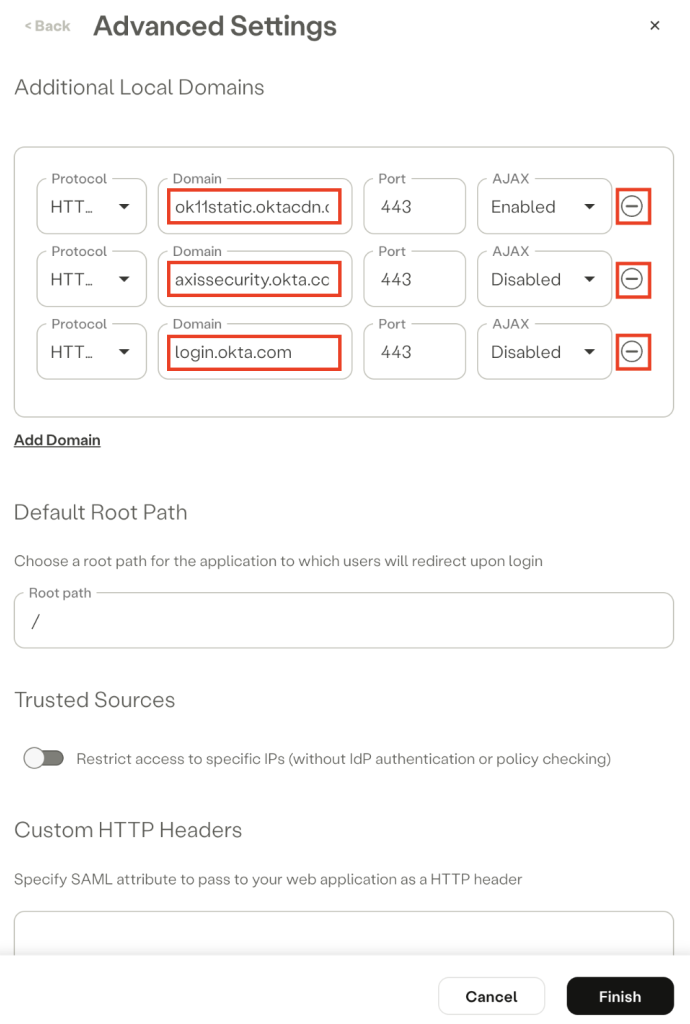
- Review the Additional Domains and check if it contains Okta domains (or your organization's Okta custom domains, if applicable). If it does, remove them.
Step 2: Edit General Settings in Okta
- In your Okta console, navigate to Applications → Applications.
- Select the Okta application that is used to authenticate the web application.
- Navigate to the General tab.
- Scroll to the General Settings section and click on Edit.
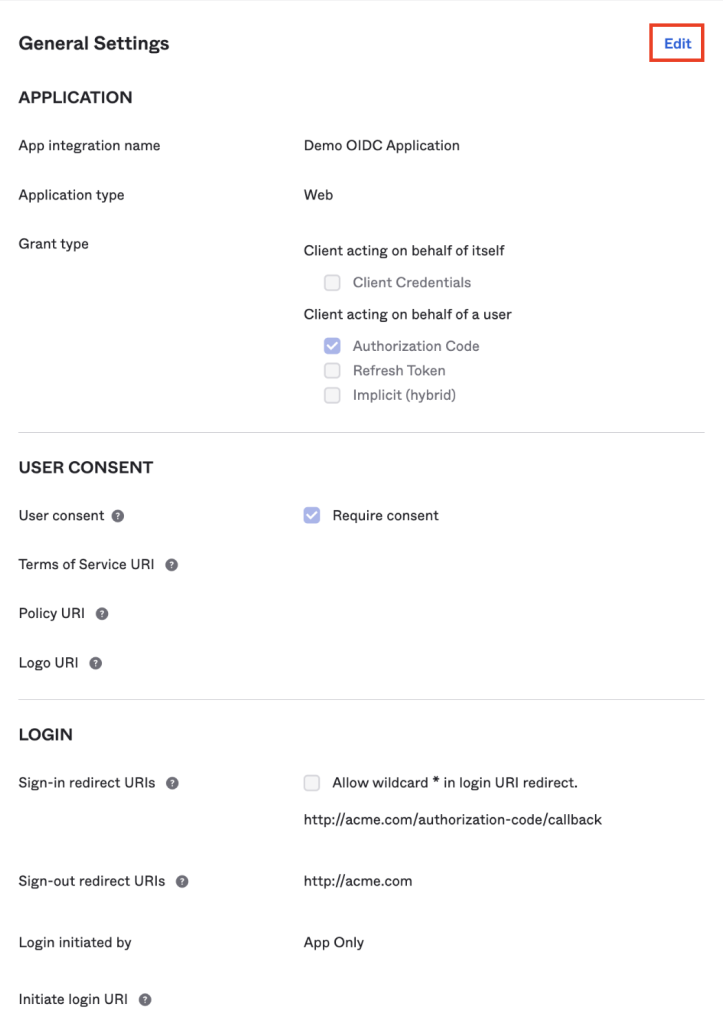
- In the Login section, in the Sign-in redirect URIs field, click on Add URI.
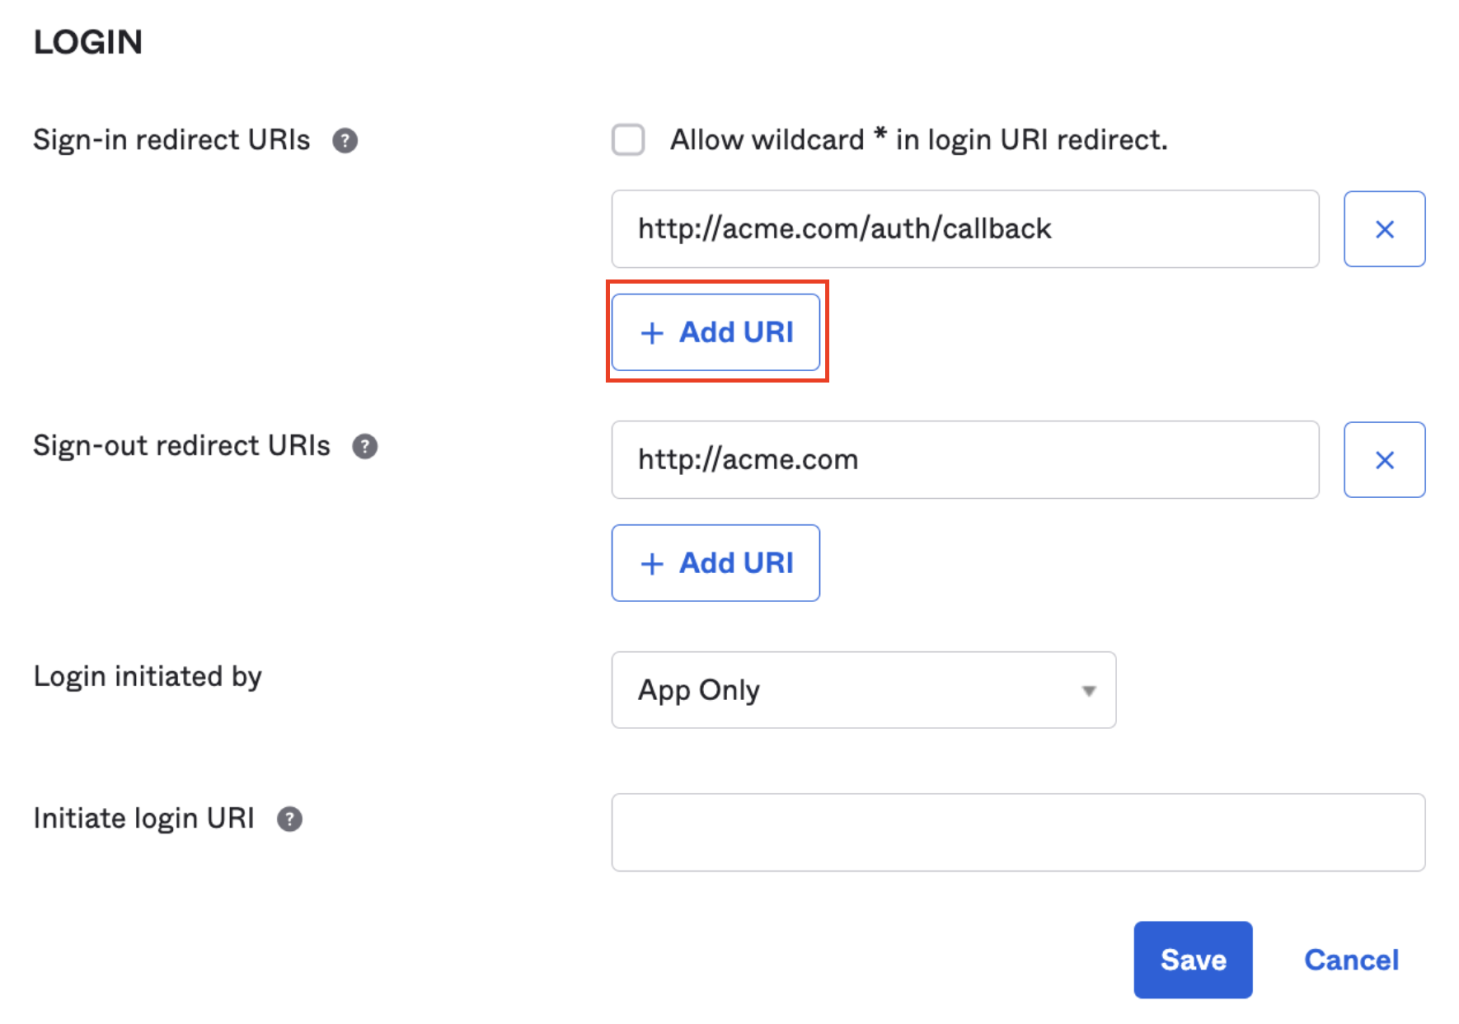
- Copy the existing URI into the new URI item, and replace the original domain with the web application's external domain.
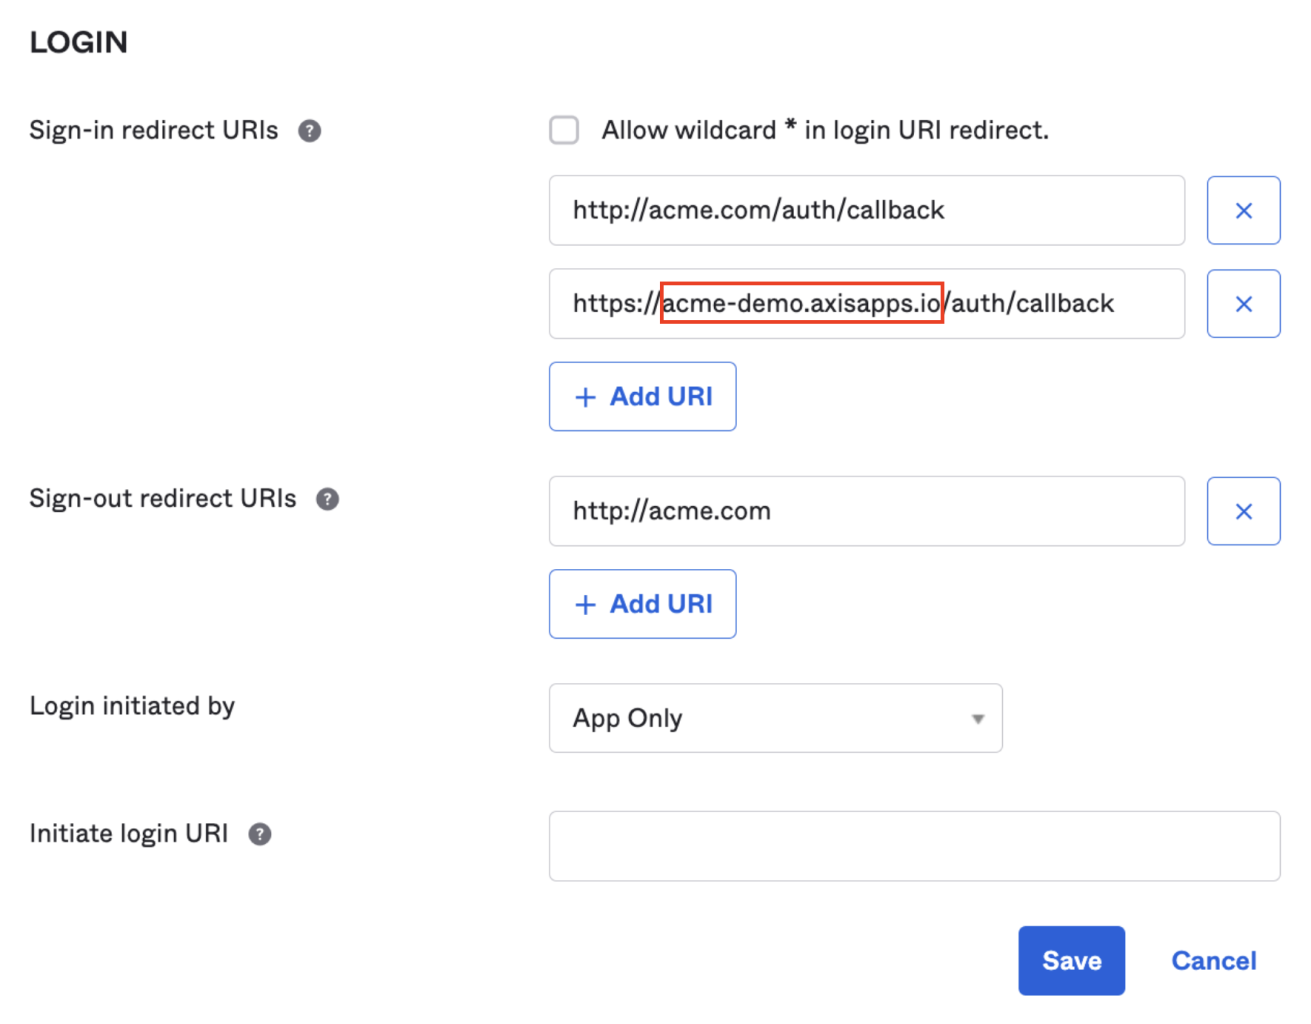
- Click on Save.
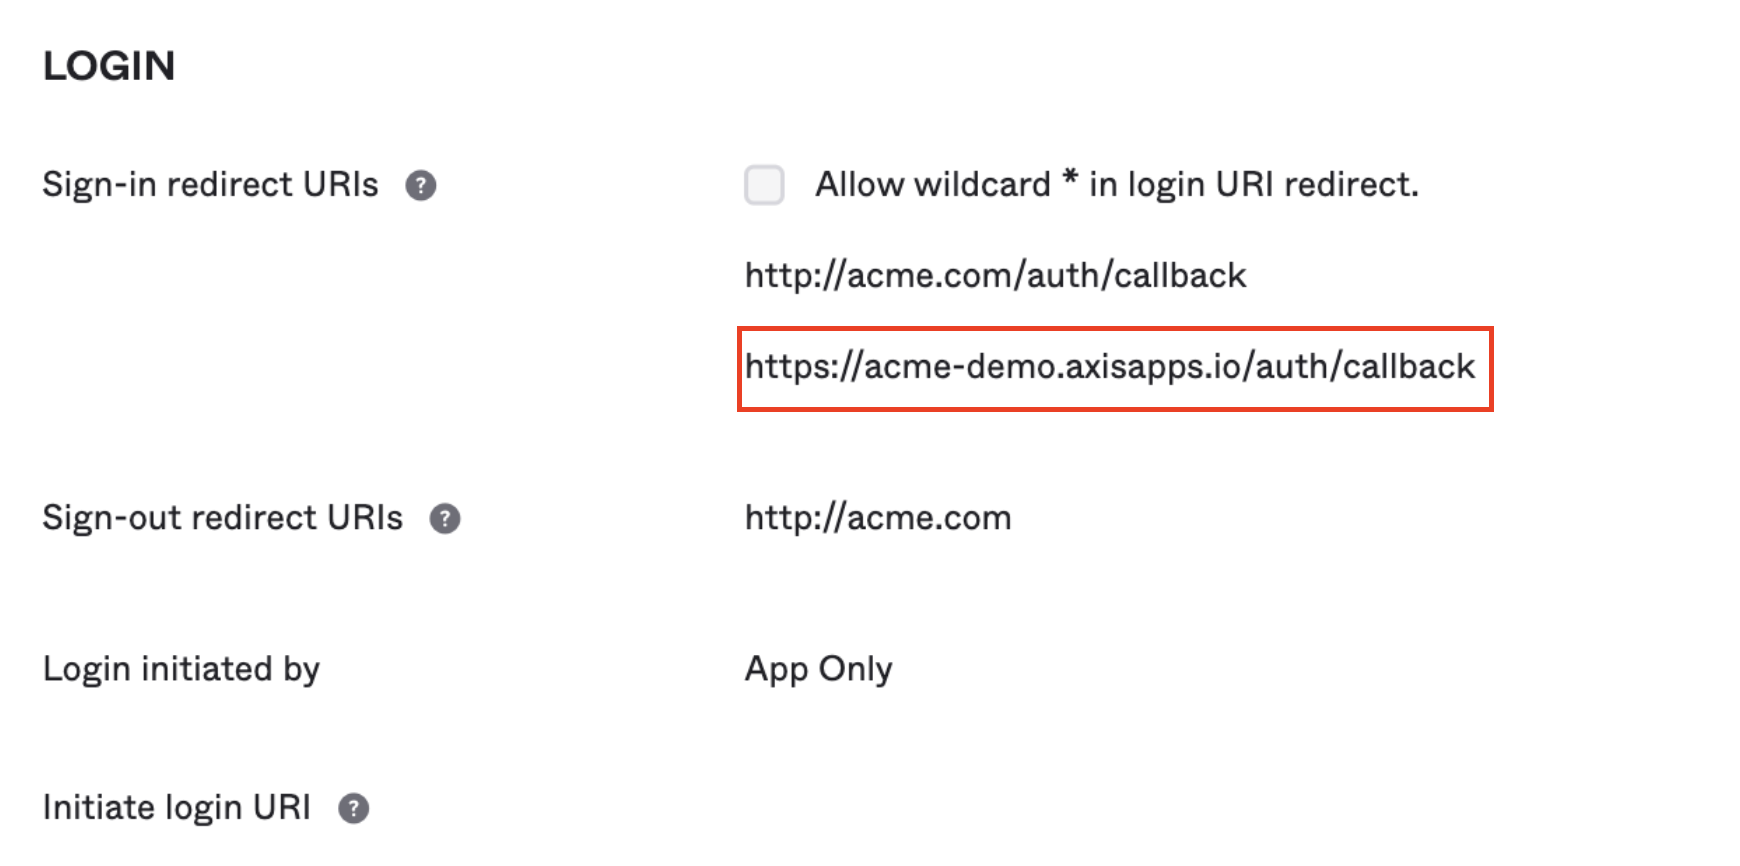
You should see the external domain along with the original domain
Updated 5 months ago
Did this page help you?