SaaS Applications
Configuring SaaS Application Policies
The Axis SWG (Secure Web Gateway) provides custom SaaS-specific controls to restrict the actions a user can perform within that SaaS application. To apply controls, an administrator simply creates custom SaaS definitions that specify which actions to control, and then adds that SaaS definition in a policy rule.
For example, to block the Google Drive application, a SaaS Application definition that matches “Google Drive”. This SaaS application would then be added to a block rule in the Policy list. Since the Web Traffic Default Rule is set to “Allow” by default, all other SaaS traffic would be allowed except for Google Drive
Create a Custom SaaS Application
- Log into the Axis Management console and navigate to the Settings -> Destinations -> SaaS Applications Tab.
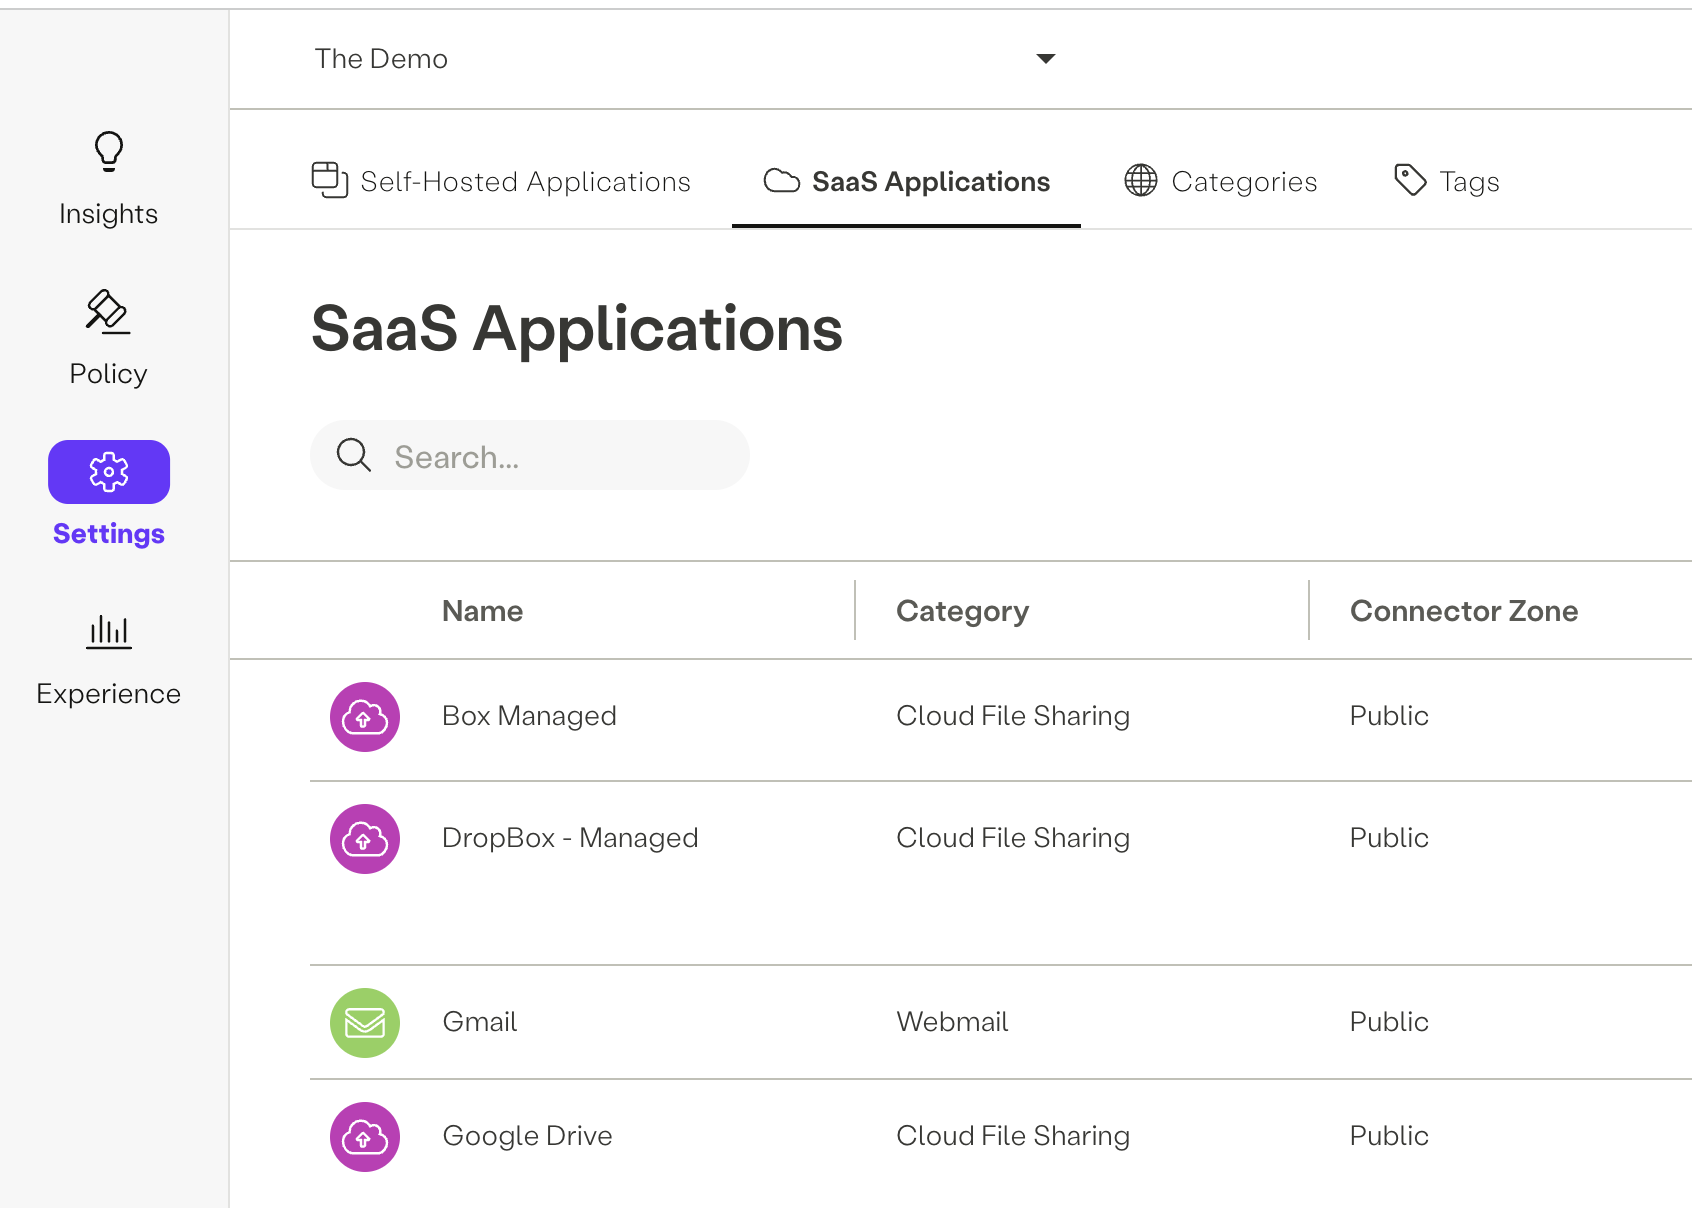
- Click on “New SaaS Application” to open a configuration form.
- In the “Select Application” field, begin typing the name of the SaaS application to be added. The auto-complete function will guide the selection to the desired application. Once identified, select the application.
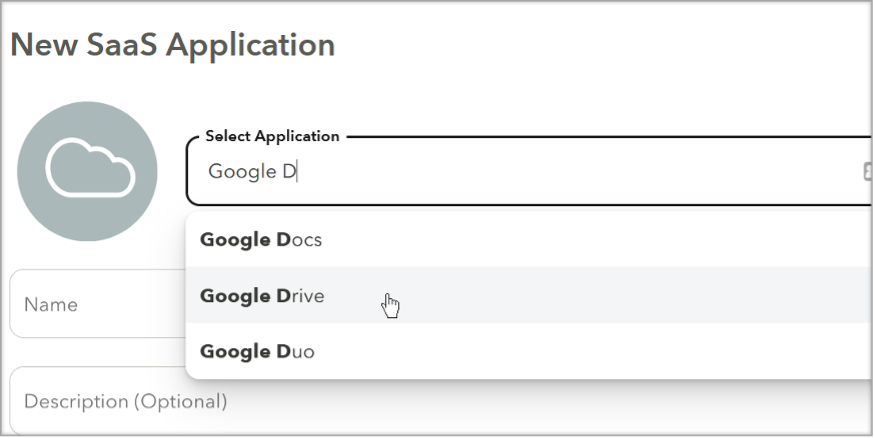
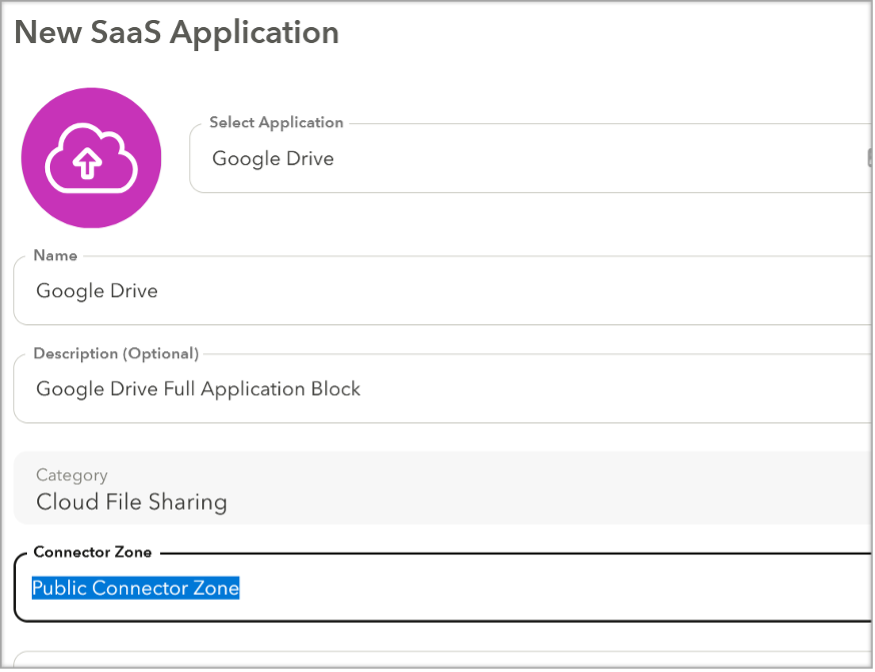
Once Selected, the “Category” field should be automatically populated with the associated Web Category.
- In the “Name” field, add the name of this application. For example “Google Drive - Uploads”
- Optional: Add a description in the “Description” field.
- Select the desired connector zone in the “Connector Zone” pulldown. The Connector Zone indicates the network from which SaaS traffic is sent from. The SaaS application will view the user’s SaaS activity as originating from the configured Connector Zone
By default, the “Public Connector Zone” is pre-selected. However, there are other options that can be configured.
a. Public Connector Zone: The default pre-selected zone. SaaS destined traffic will egress from an Axis selected public IP.
b. Custom Zone (Private): This is a customer configured zone under Settings->Connectors->Connector Zones. Use this type of zone if traffic must be sourced from a specific IP address (e.g. SaaS IP anchored to a customer datacenter.
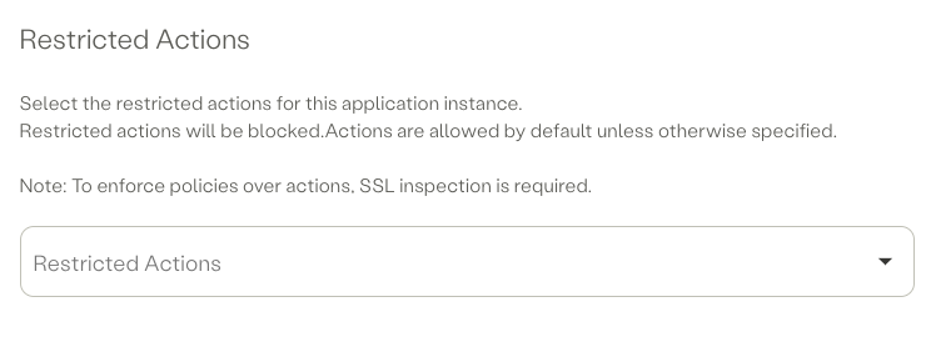
- Optional: In the “Restricted Action” action, select the actions that will be blocked under this SaaS Application Instance. The app actions available in the pulldown are determined by the application selected in the “Select Application” field (configured in step 3).
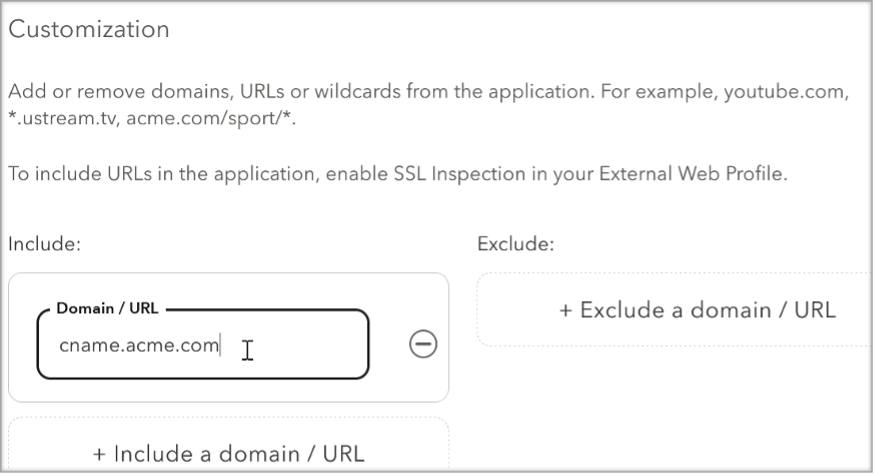
- Optional: The list of domains that identify a SaaS application can be adjusted through the use of the include and exclude domain fields. Note that in order to filter on a URL (as opposed to a domain or domain wildcard), SSL Inspection must be enabled.
- Optional: Custom HTTP Headers are used to enter key-value pairs of headers that will be injected into the user's session to the configured SaaS application. Custom HTTP Header can be used to control the users access to different account types of the specified SaaS Application. To learn more about Custom HTTP Headers, click here.
- Optional: The “Home Page Address” field is used to create an Axis app portal tile with a pre-configured URL. This URL will become the new “Home Page” a user lands on when connecting to the SaaS application.
A Home Page address can also be used directly from the Axis app portal without the Atmos agent. When used this way, the app portal tile simply acts as a bookmark. - Complete creation of the SaaS application by clicking on the “Submit” button and then clicking on “Apply Changes” at the top of the management page. The SaaS application will now appear under the “Destinations” field in the Policy Rule form.
SaaS Tags - (Optional)
Tags help creating policy rules fast and efficiently for groups of applications.
To tag a category
- Settings -> Tags -> New Tag
- Add SaaS to the new tag
- Add the tag to a policy rule
Configuring a SaaS Application Rule
- Create a Custom SaaS Application. More info can be found in the “Configuring SaaS Application Policies” section.
- Navigate to the Policy->Rules screen
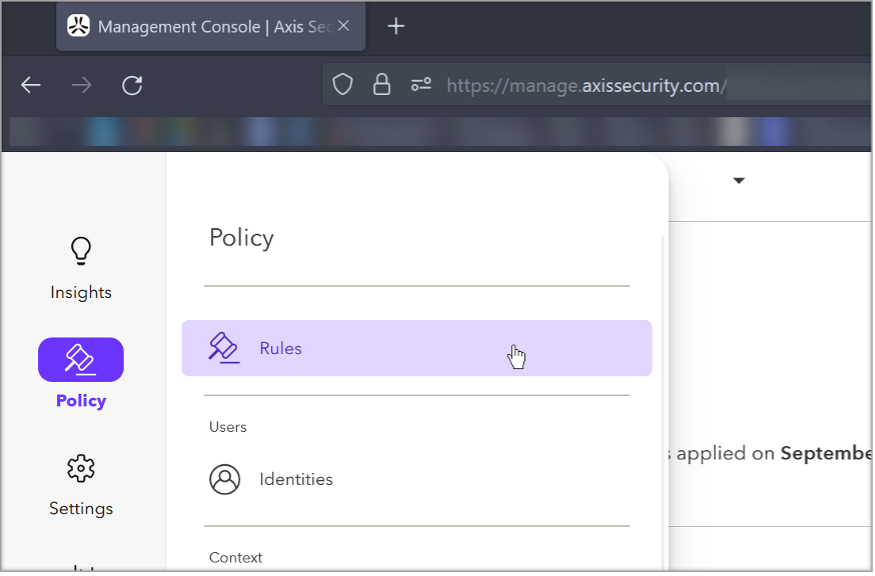
- Click on “New Rule” to open a configuration form.
- Create a policy rule using the desired Identity, context and profiles. Additional information can be found in the Adding Policy Rules section.
- Click on the “Destination” pulldown, click on the “SaaS” tab and then select the desired SaaS applications (e.g. “Google Drive”). Note that several applications can be selected.
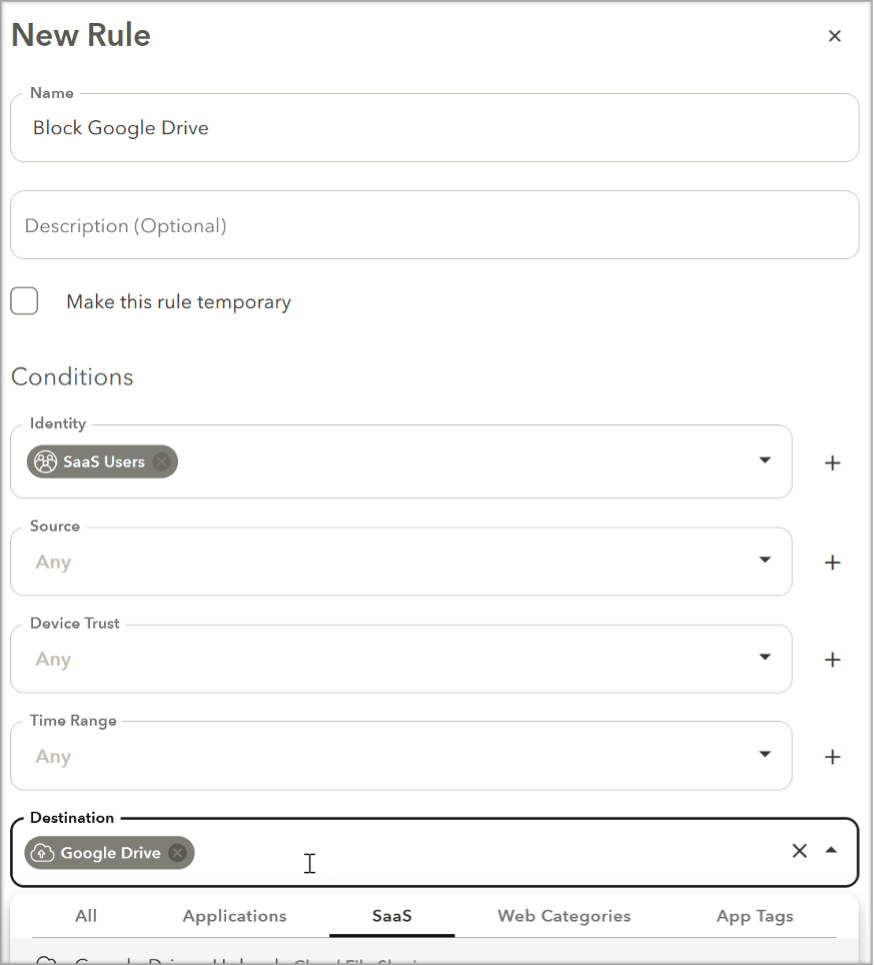
- In the “Action” pulldown, select “Block” or "Allow verdict based on the desirable policy.
- Complete creation of the Rule by clicking on the “Submit” button and then clicking on “Apply Changes” at the top of the management page.
Updated over 2 years ago
