Migrating Applications from Zscaler ZPA to Axis
You can easily migrate your applications to Axis by converting your Zscaler ZPA application segments to a CSV file and importing that file into Axis.
As part of the conversion process, the Zscaler ZPA application segments are transformed into Axis Network Range applications and tagged based on the segment groups to which they belong in ZPA.
Step 1: Extract the configuration from the ZPA Admin Portal
- Log in to the Zscaler ZPA Admin Portal and go to Administration -> Application Segments. Make sure that no rule filters are configured in order to capture all Application Segment rules.
- Click Download as CSV.
- Save the CSV to your computer.
Step 2: Convert the CSV file to match Axis configurations
- Obtain the ZPA-to-Axis conversion tool from Axis Security support: [email protected].
- Run the tool from the command-line with the following arguments:
| Argument | Type | Description |
|---|---|---|
| --zpa-config | Mandatory | Specify the path to the exported ZPA applications CSV file |
| --axis-config | Mandatory | Specify the path to produce the converted Axis applications CSV file |
| --connector-zone | Optional | Specify the connector zone for the applications. (It must be an existing connector zone). Default - “Default Connector Zone” |
| --tag | Optional | Specify a tag to add to all migrated applications |
Step 3: Import the CSV into Axis as a Network Range Application
- In the Axis Management Console, go to Settings > Destinations, and click on the Self-Hosted Applications tab.
- Click Import.
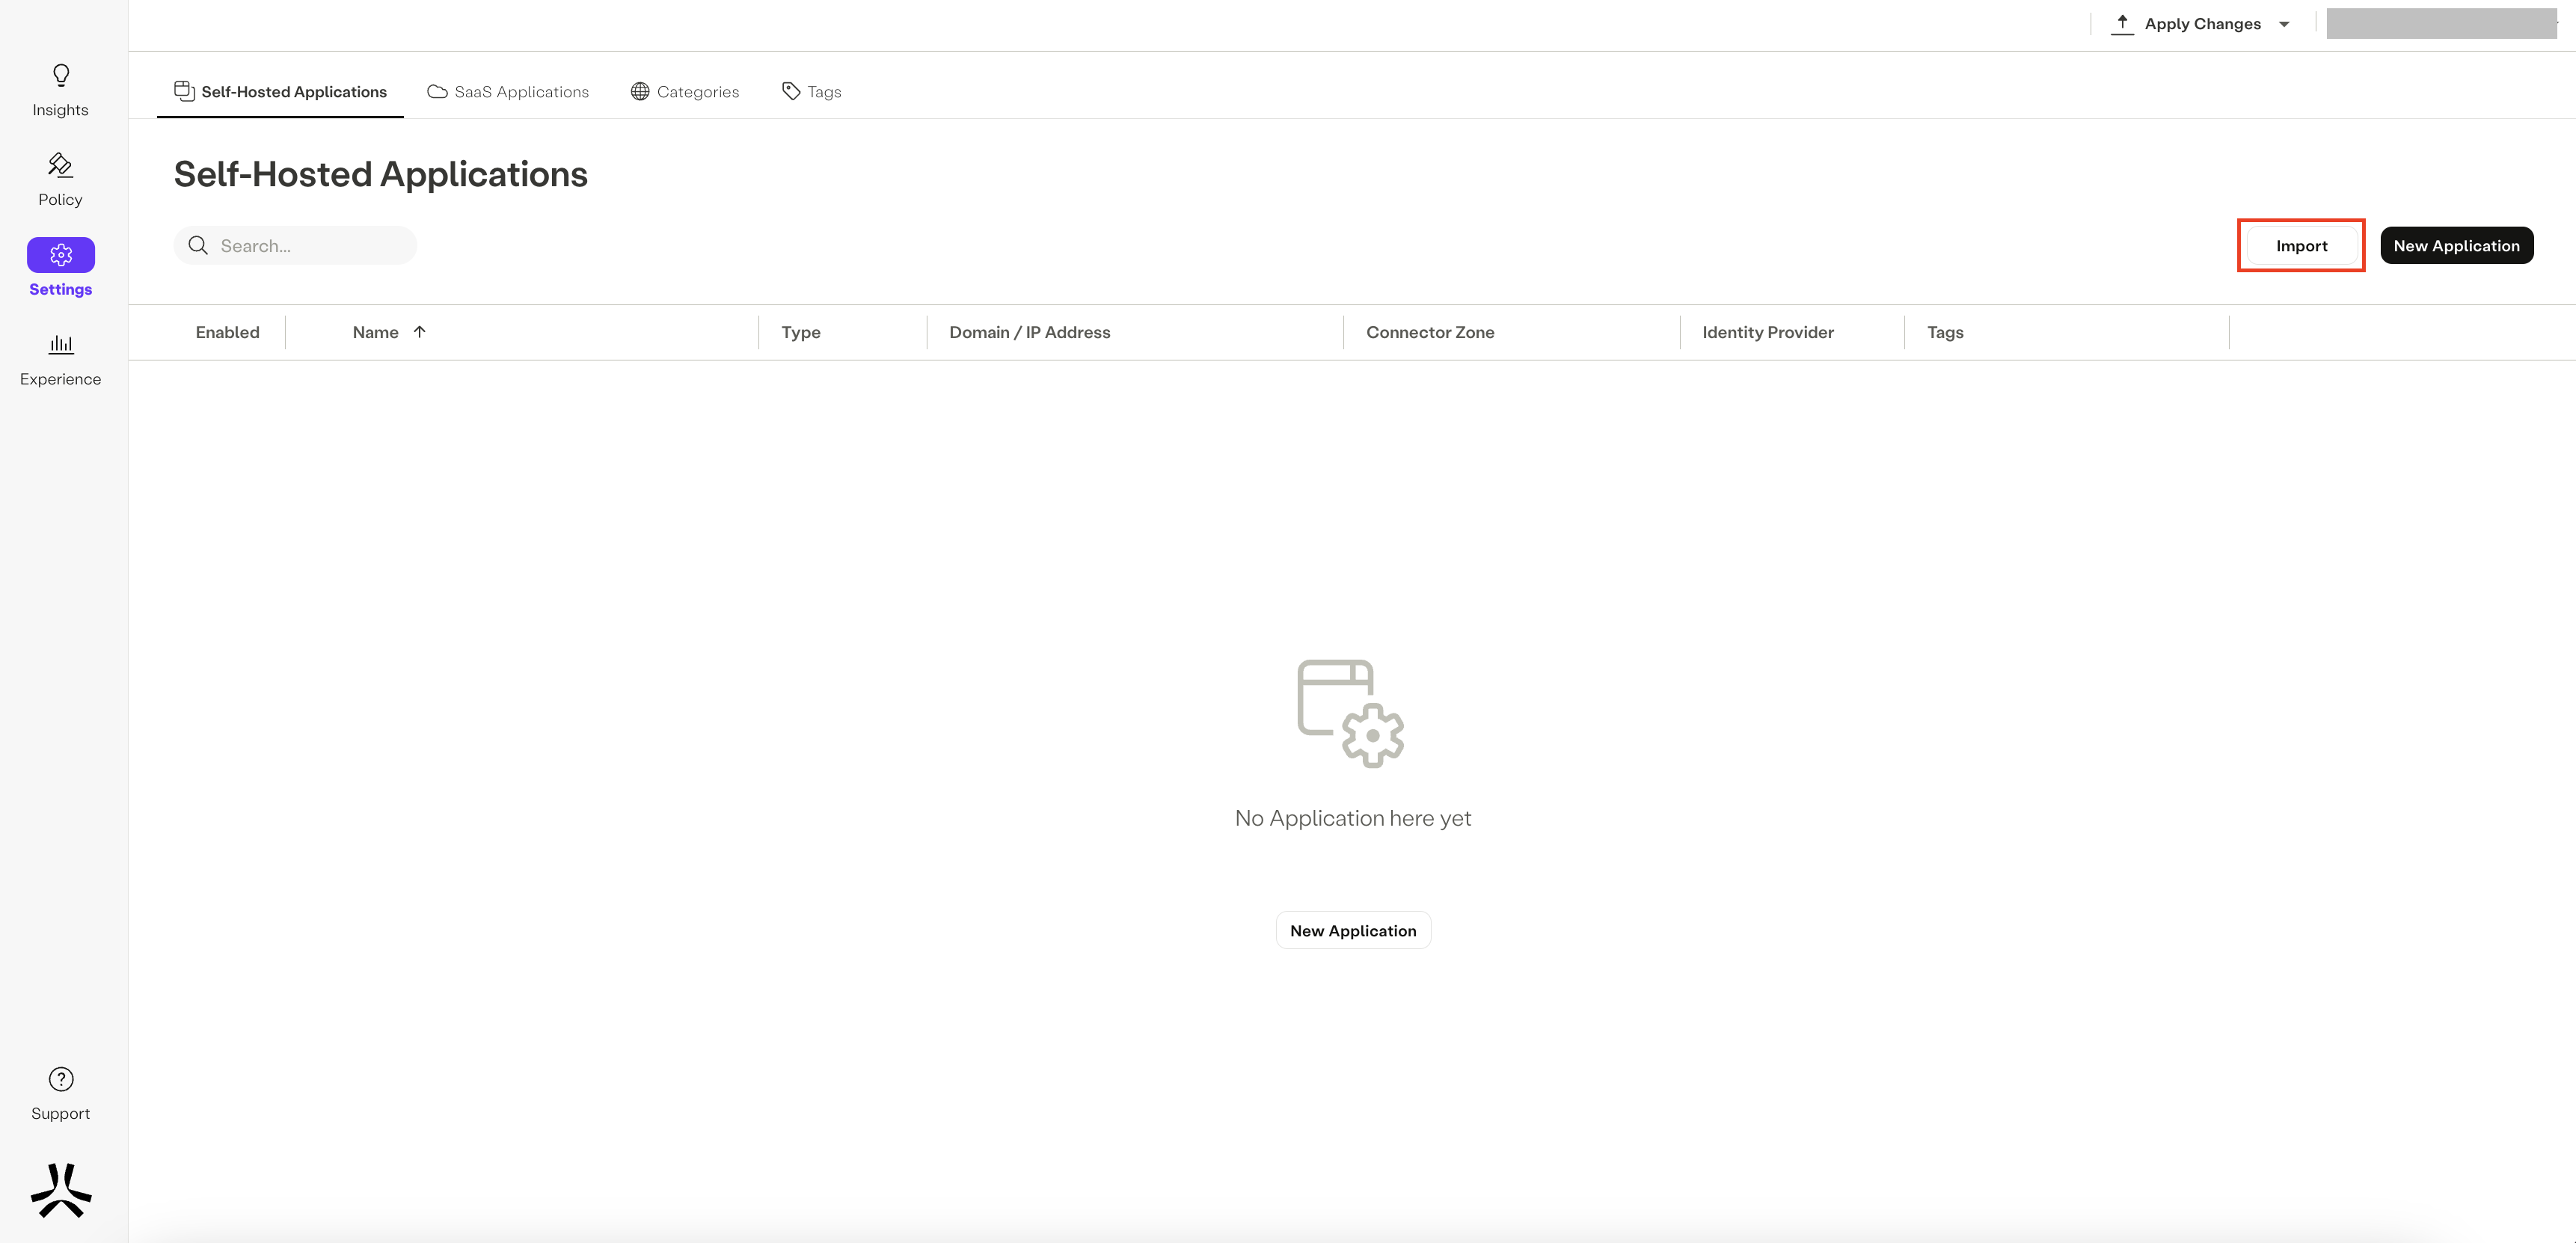
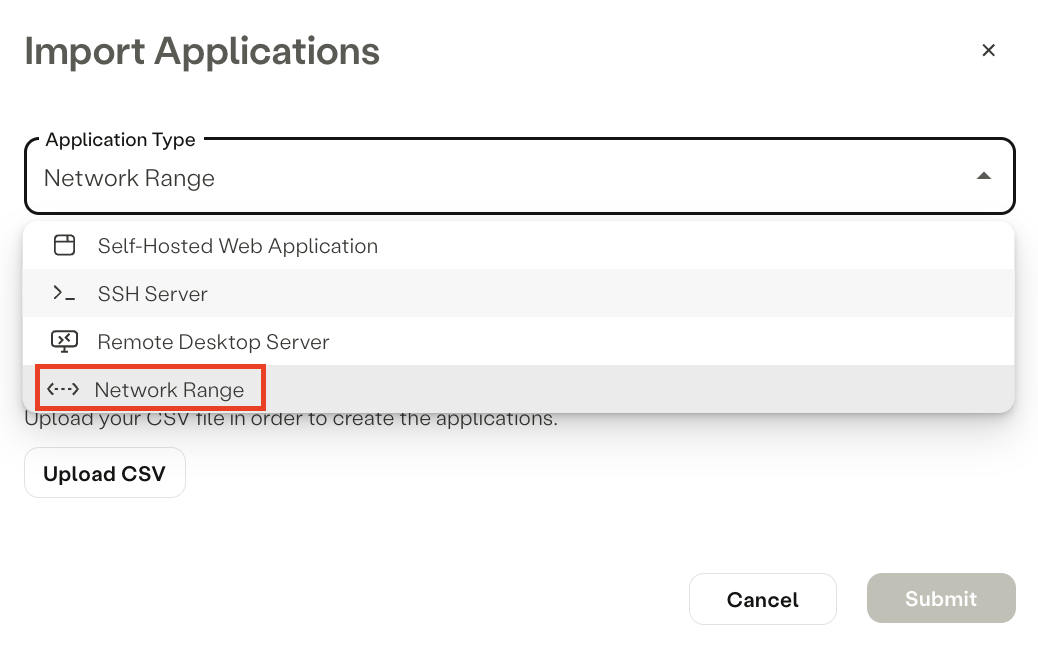
The Import Applications dialog appears:
- Click the drop-down menu under Application Type and select Network Range.
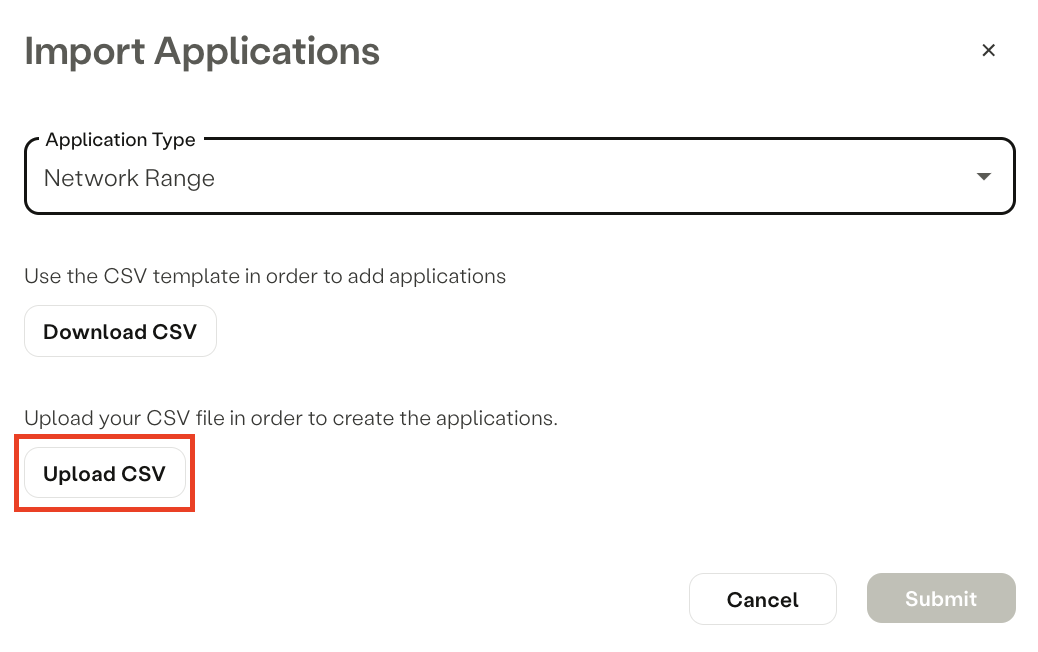
- Click Upload CSV.
- Select the CSV file from your computer.
- Click Submit.
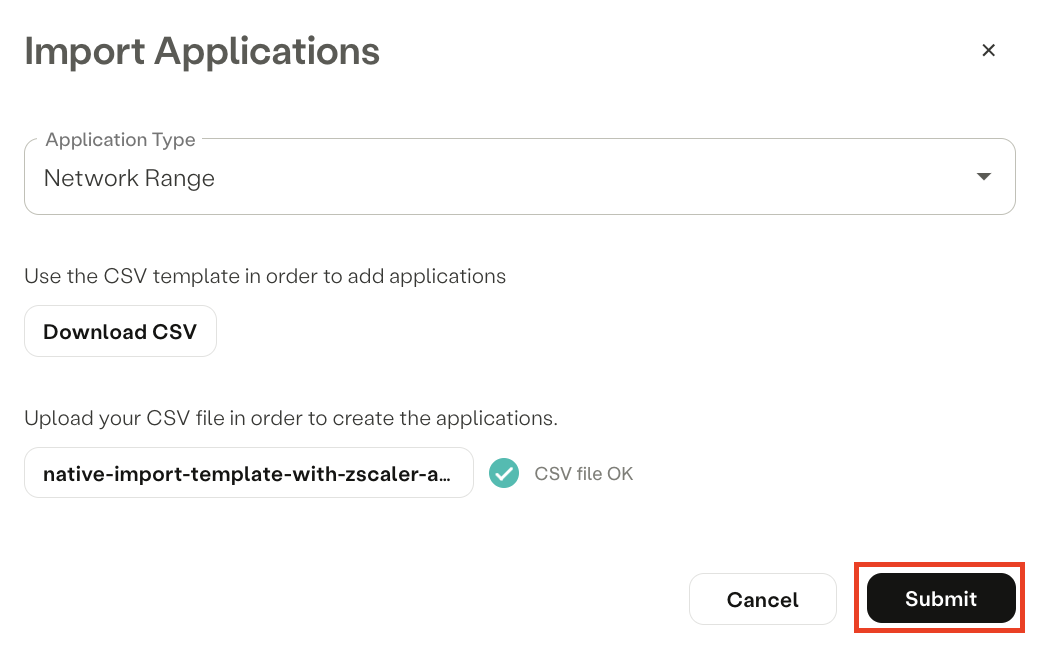
The Import Applications Summary dialog appears.

- Click Start import.
- Once the file was successfully imported, commit changes: in the top right, click Apply Changes > Commit changes.

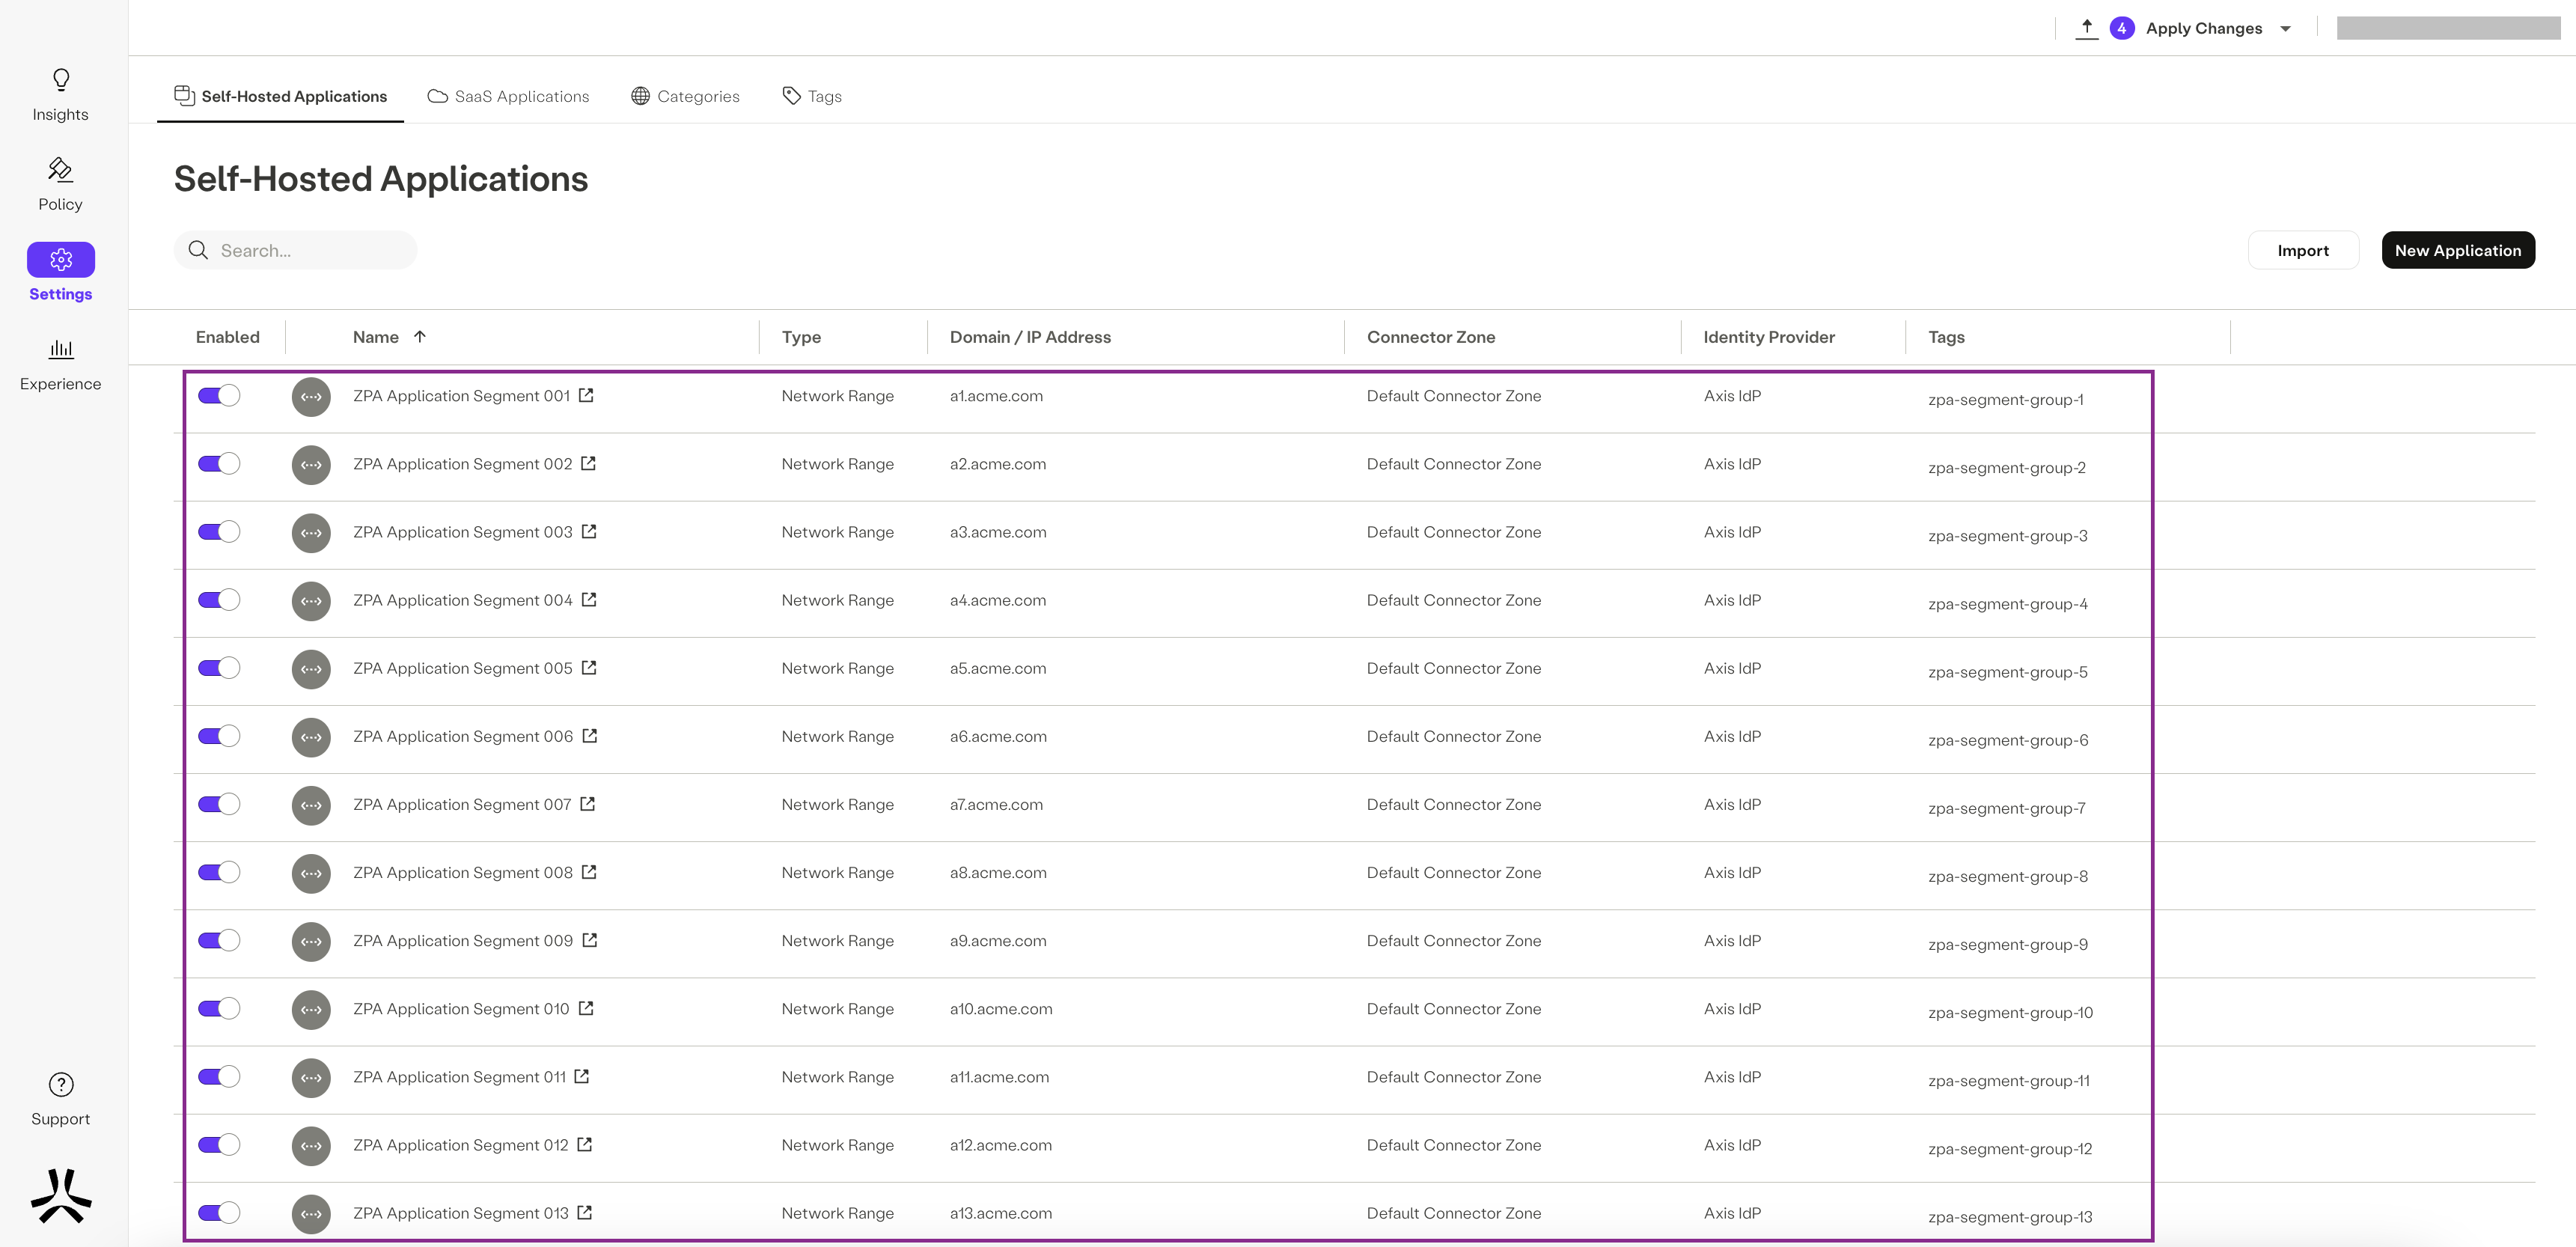
You can now see the imported applications in the Self-Hosted Applications table:
You can view the tags in the Tags tab:
