Axis Connector Deployment for AWS AMI
Installing a Connector on AWS Using an AMI
Prerequisites:
- AWS Account ID
- AWS Console Access
Step 1: Register for AMI Sharing with Axis Security
AMIs are currently available in the following regions:
- us-east-1; us-east-2
- eu-central-1; eu-west-1; eu-west-2
- ap-southeast-1
- Send an email to [email protected] with your AWS Account ID. (If you require additional regions, include the information in the email to support.)
- Axis will then review the Account ID and share the AMIs with that account.
Note
All new AMI versions released will continue to be shared as they are made available. Please return back to the shared AMI catalog for newer version AMIs and additional installations.
Step 2: Running the Connector AMI
- Navigate to your AWS console.
Note
Make sure to use the account corresponding to the ID provided in the registration.
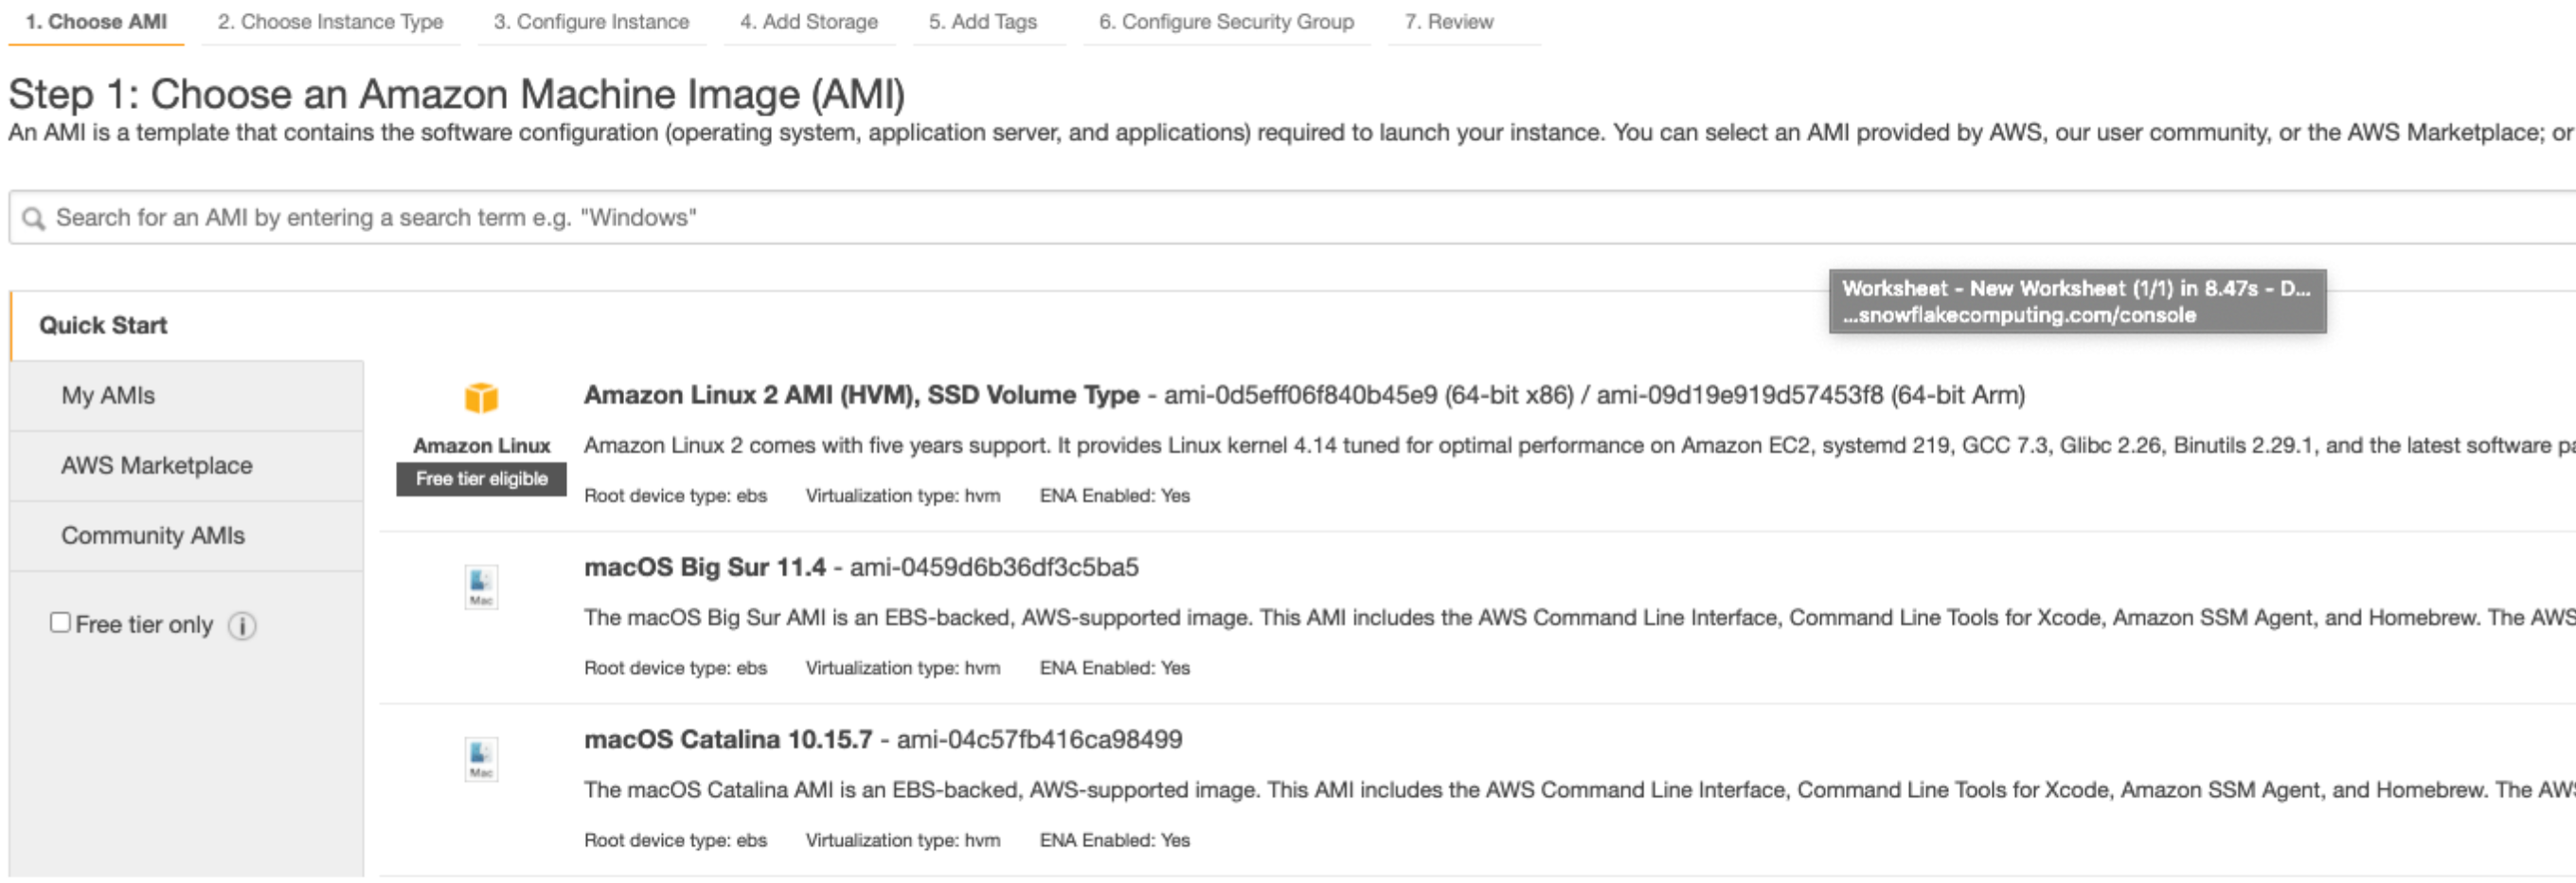
- Select EC2 → Instances → Launch Instance.

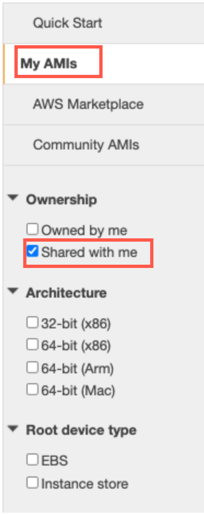
- Select My AMIs.
- Enable Shared with me.

- Filter by Start Date (≤ 30 days) and select the latest image.
- Choose the latest version of your preferred image base along with your OS distro (Ubuntu / Amazon Linux 2) and click Select.
Note
Amazon Linux 2 is recommended as it provides better performance on AWS infrastructure. Amazon Linux 2023 is not supported yet.

- Select an instance type.
Note
m5.large or t3.large are recommended

- Click Next: Configure Instance Details. Choose your desired configuration.
Notes
- Make sure your connector has external access when choosing the Virtual Private Cluster (VPC) to deploy.
- Take note of the VPC in which you deploy the connector, as the connector deploys to the same VPC as the destination applications.
-
Click Next: Add Storage.
-
Verify the disk has 40GB listed under the Size (GB) column.
-
Click Review and Launch.
Step 3: Connecting to the Axis Cloud
When the instance is running, use SSH to connect to the newly created machine.
To connect to the Axis Cloud:
-
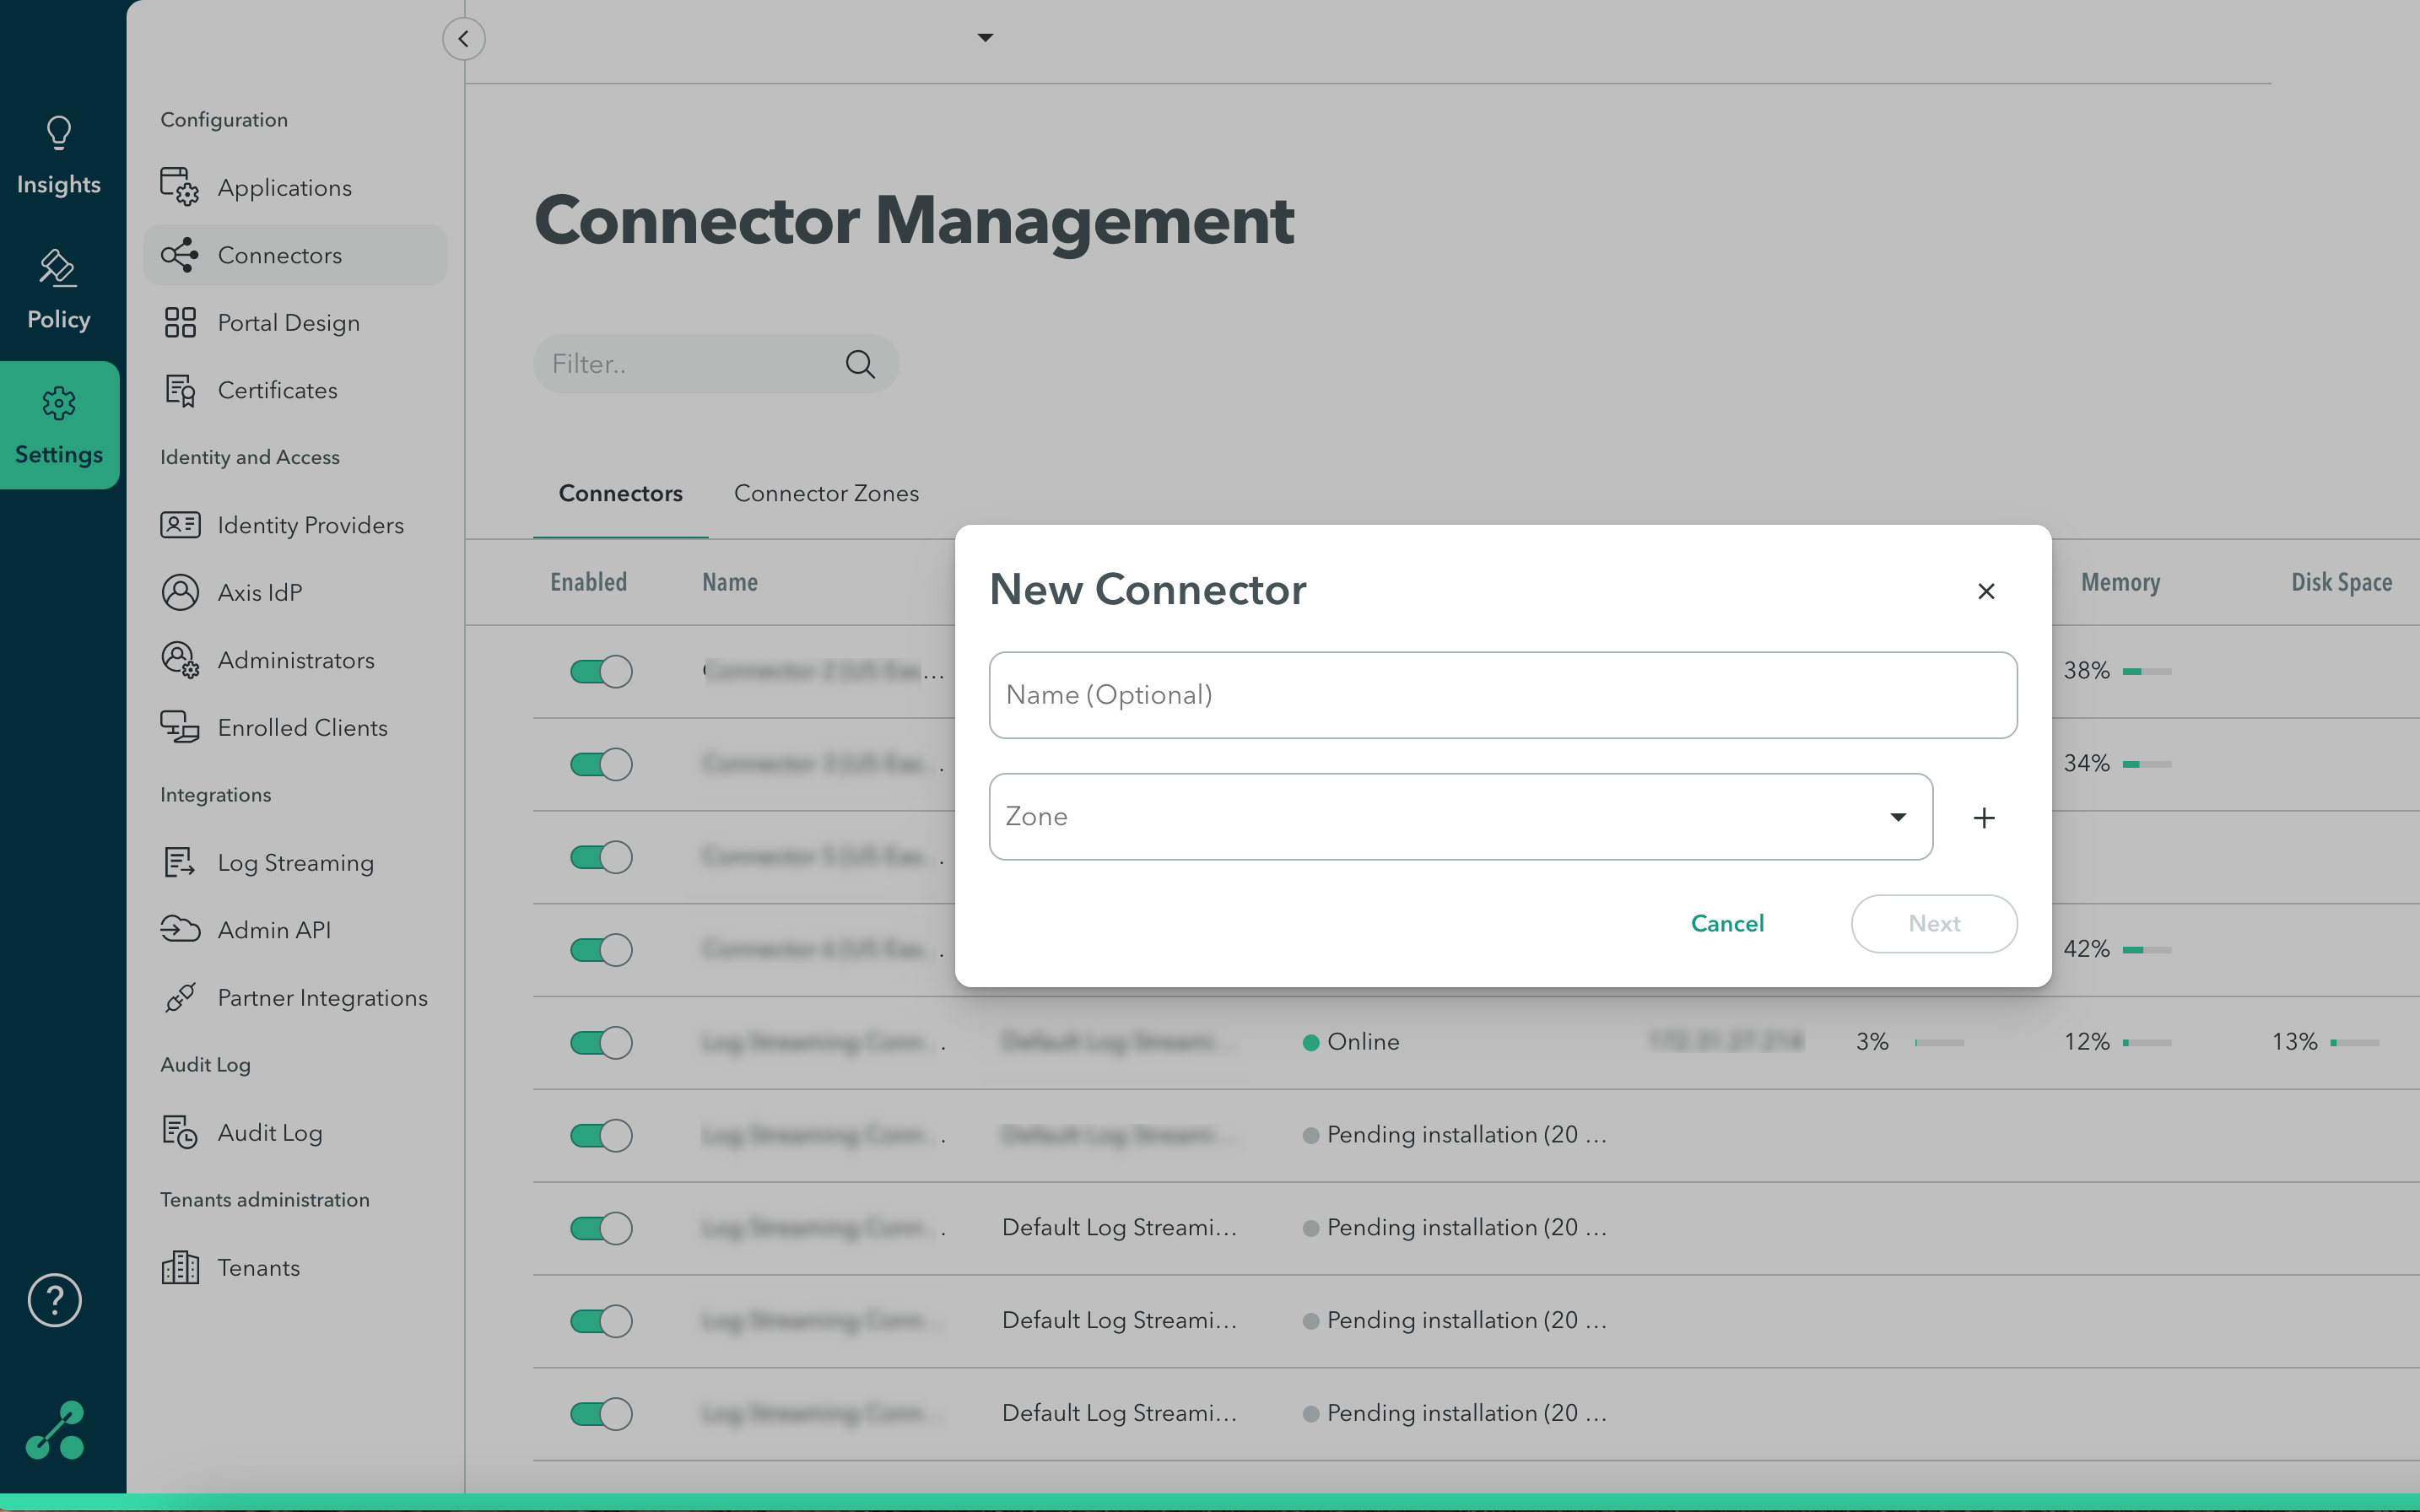
In the Management Console go to Settings -> Connectors-> New Connector.
-
Select a name and Connector Zone, and click Next

-
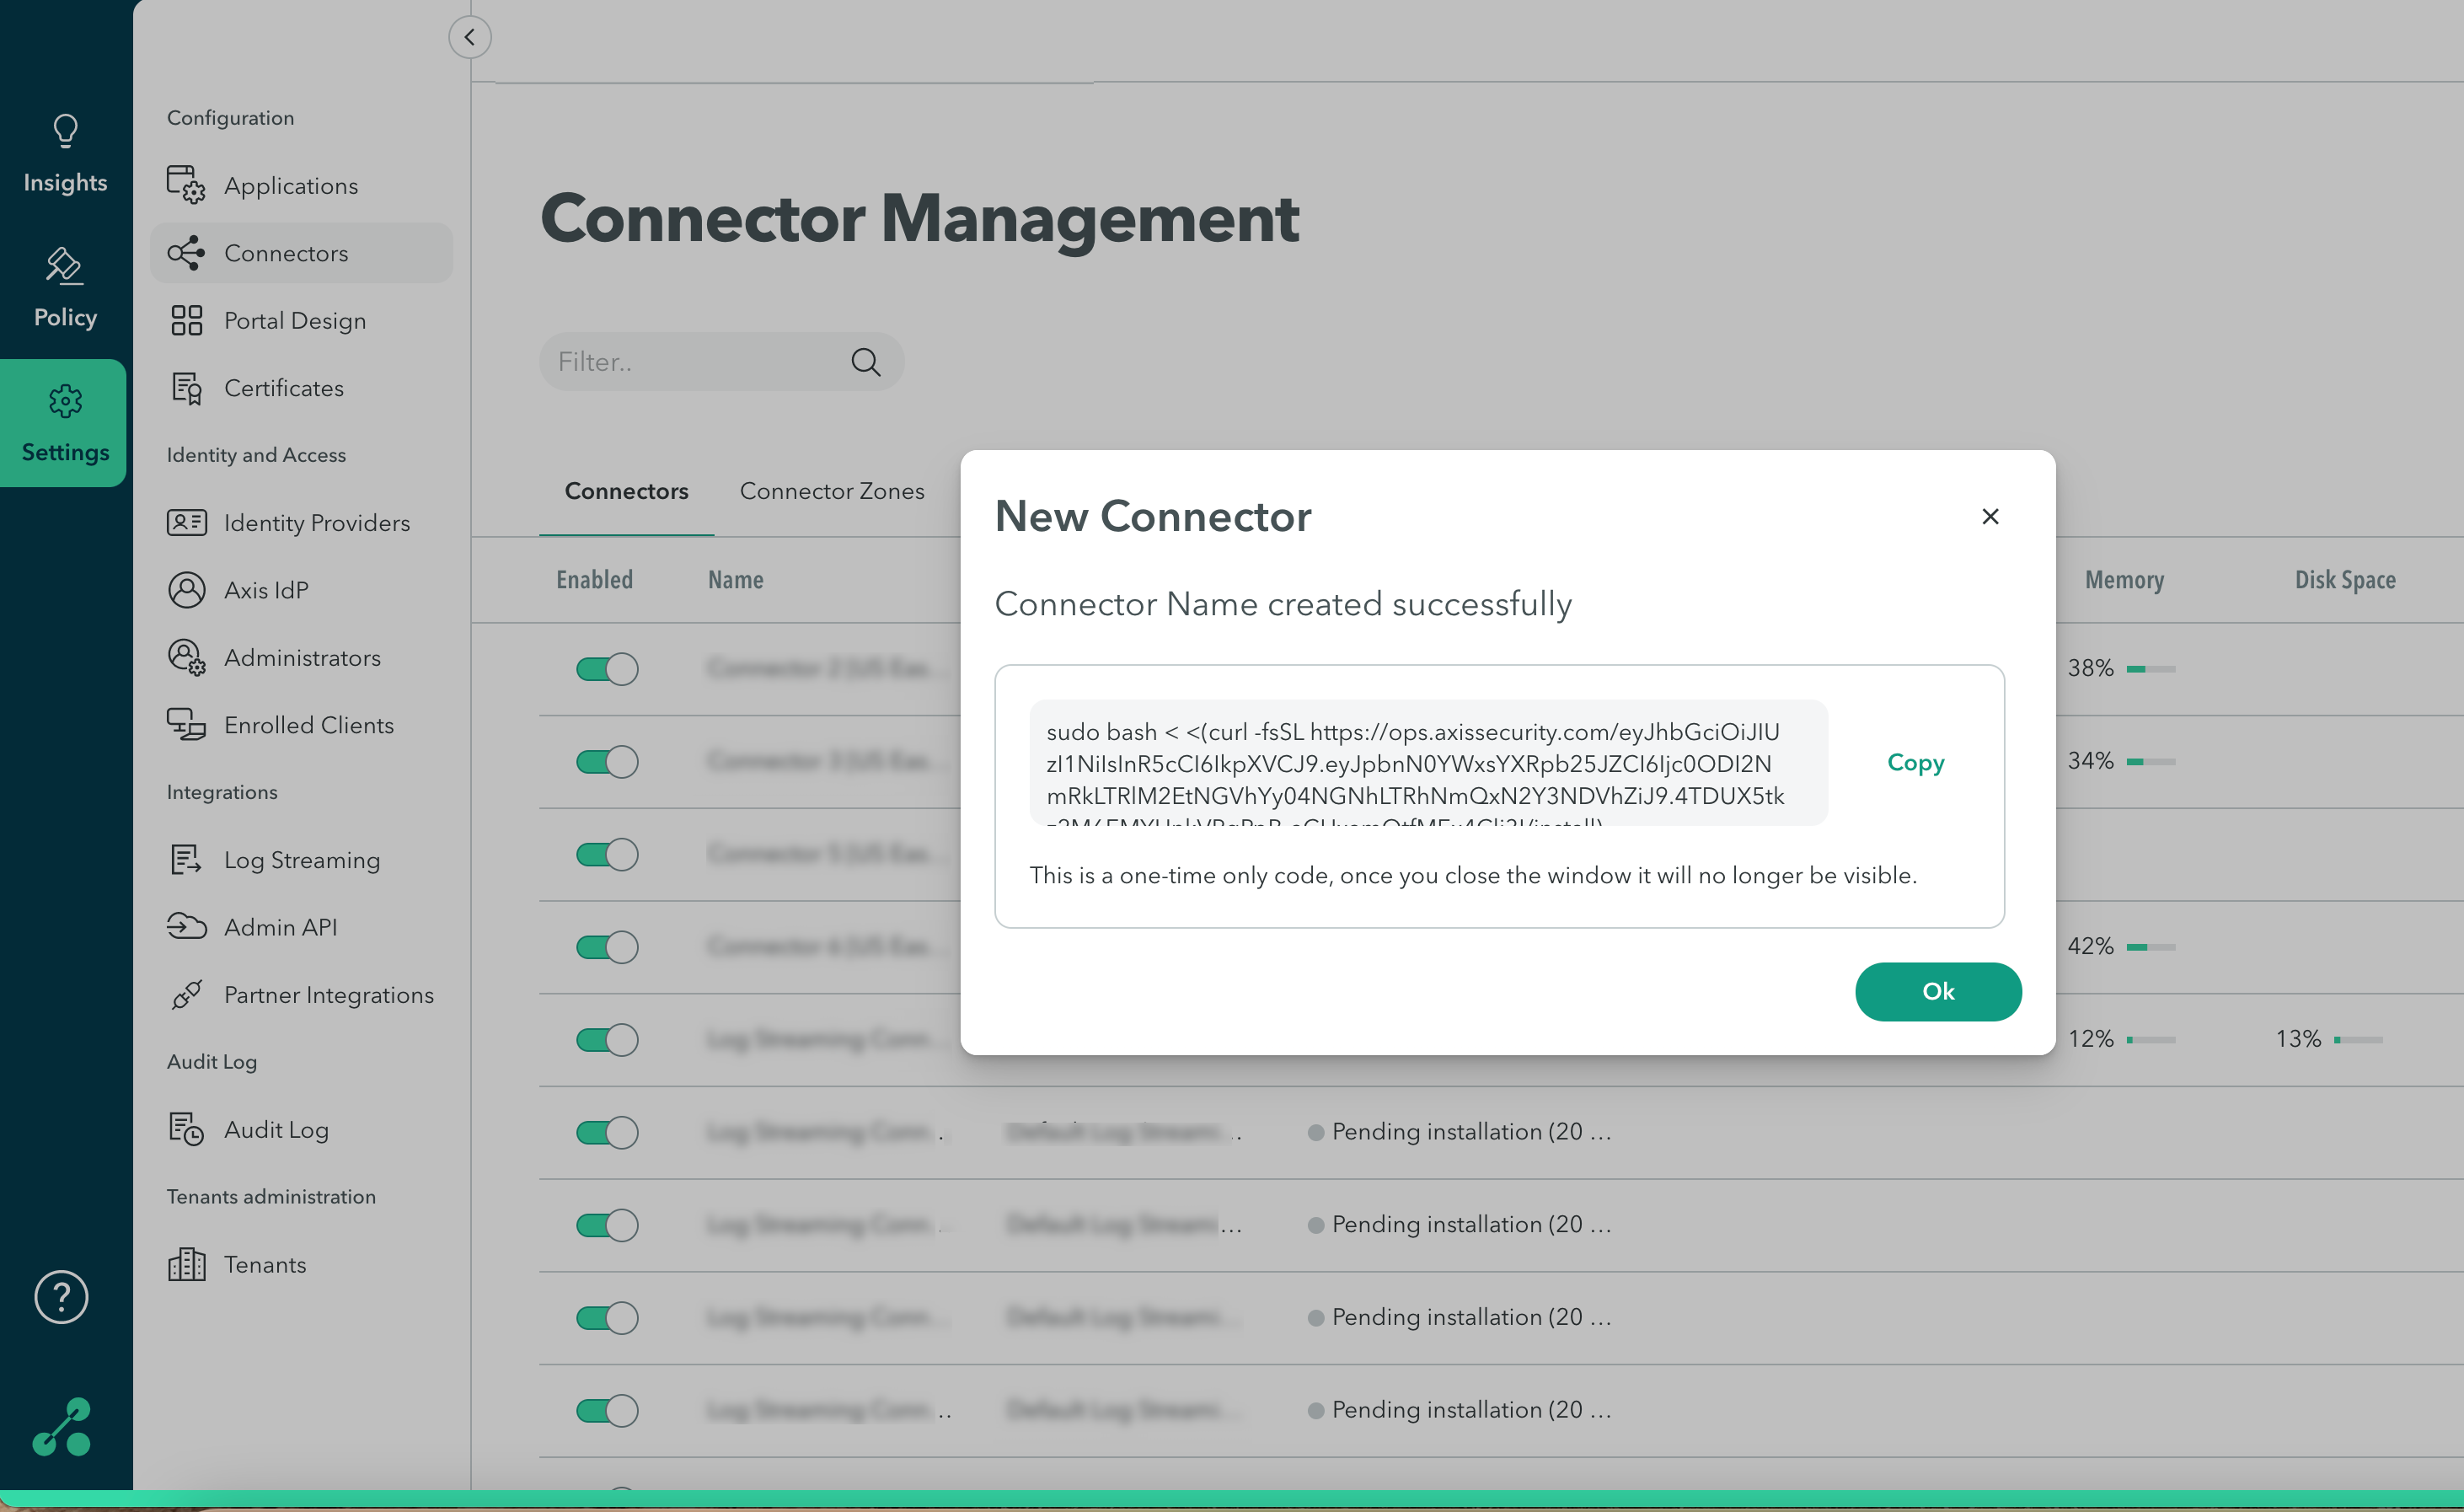
Copy the code and paste it into the SSH Session's terminal.
-
Run the script.

Updated 9 months ago
