Custom Block Pages
Customizing block pages is a powerful tool for strengthening your organization's access policy strategy. It enables you to provide a tailored experience to users when they encounter restrictions on certain destinations and websites.
In this comprehensive article, we'll explore the wide range of customization options available, allowing organizations to create block pages that are user-centric and rich in information.
Managing Custom Block Pages
To access and configure custom block pages, follow these simple steps:
- Navigate to Settings > Customization.
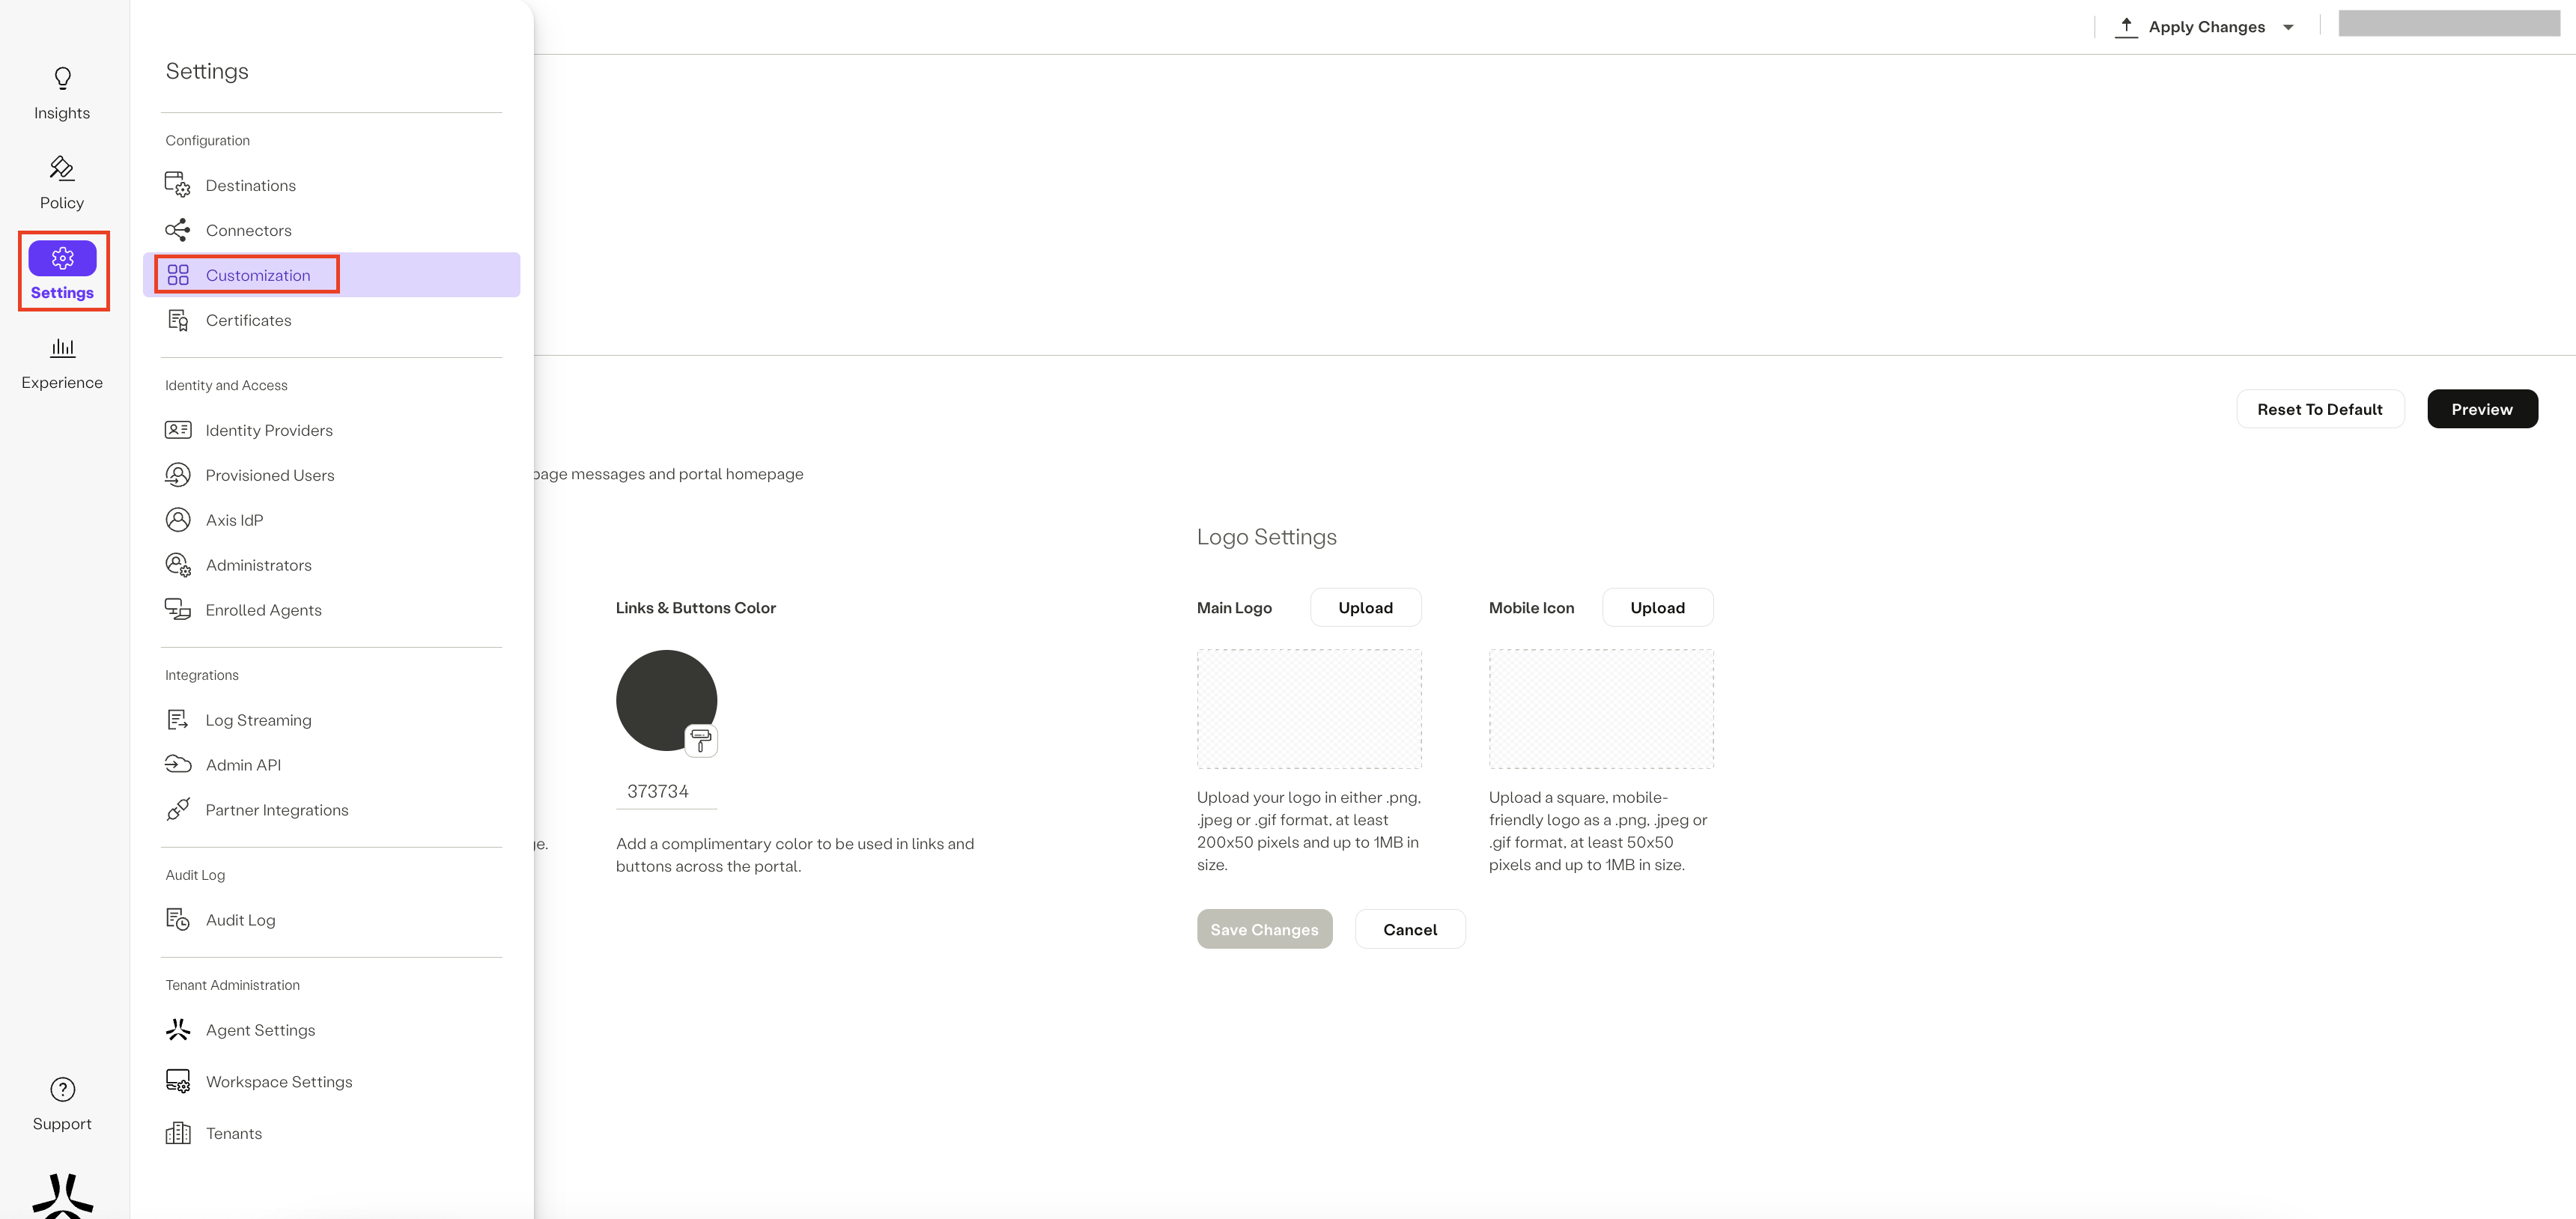
- Click on the Block Pages tab.
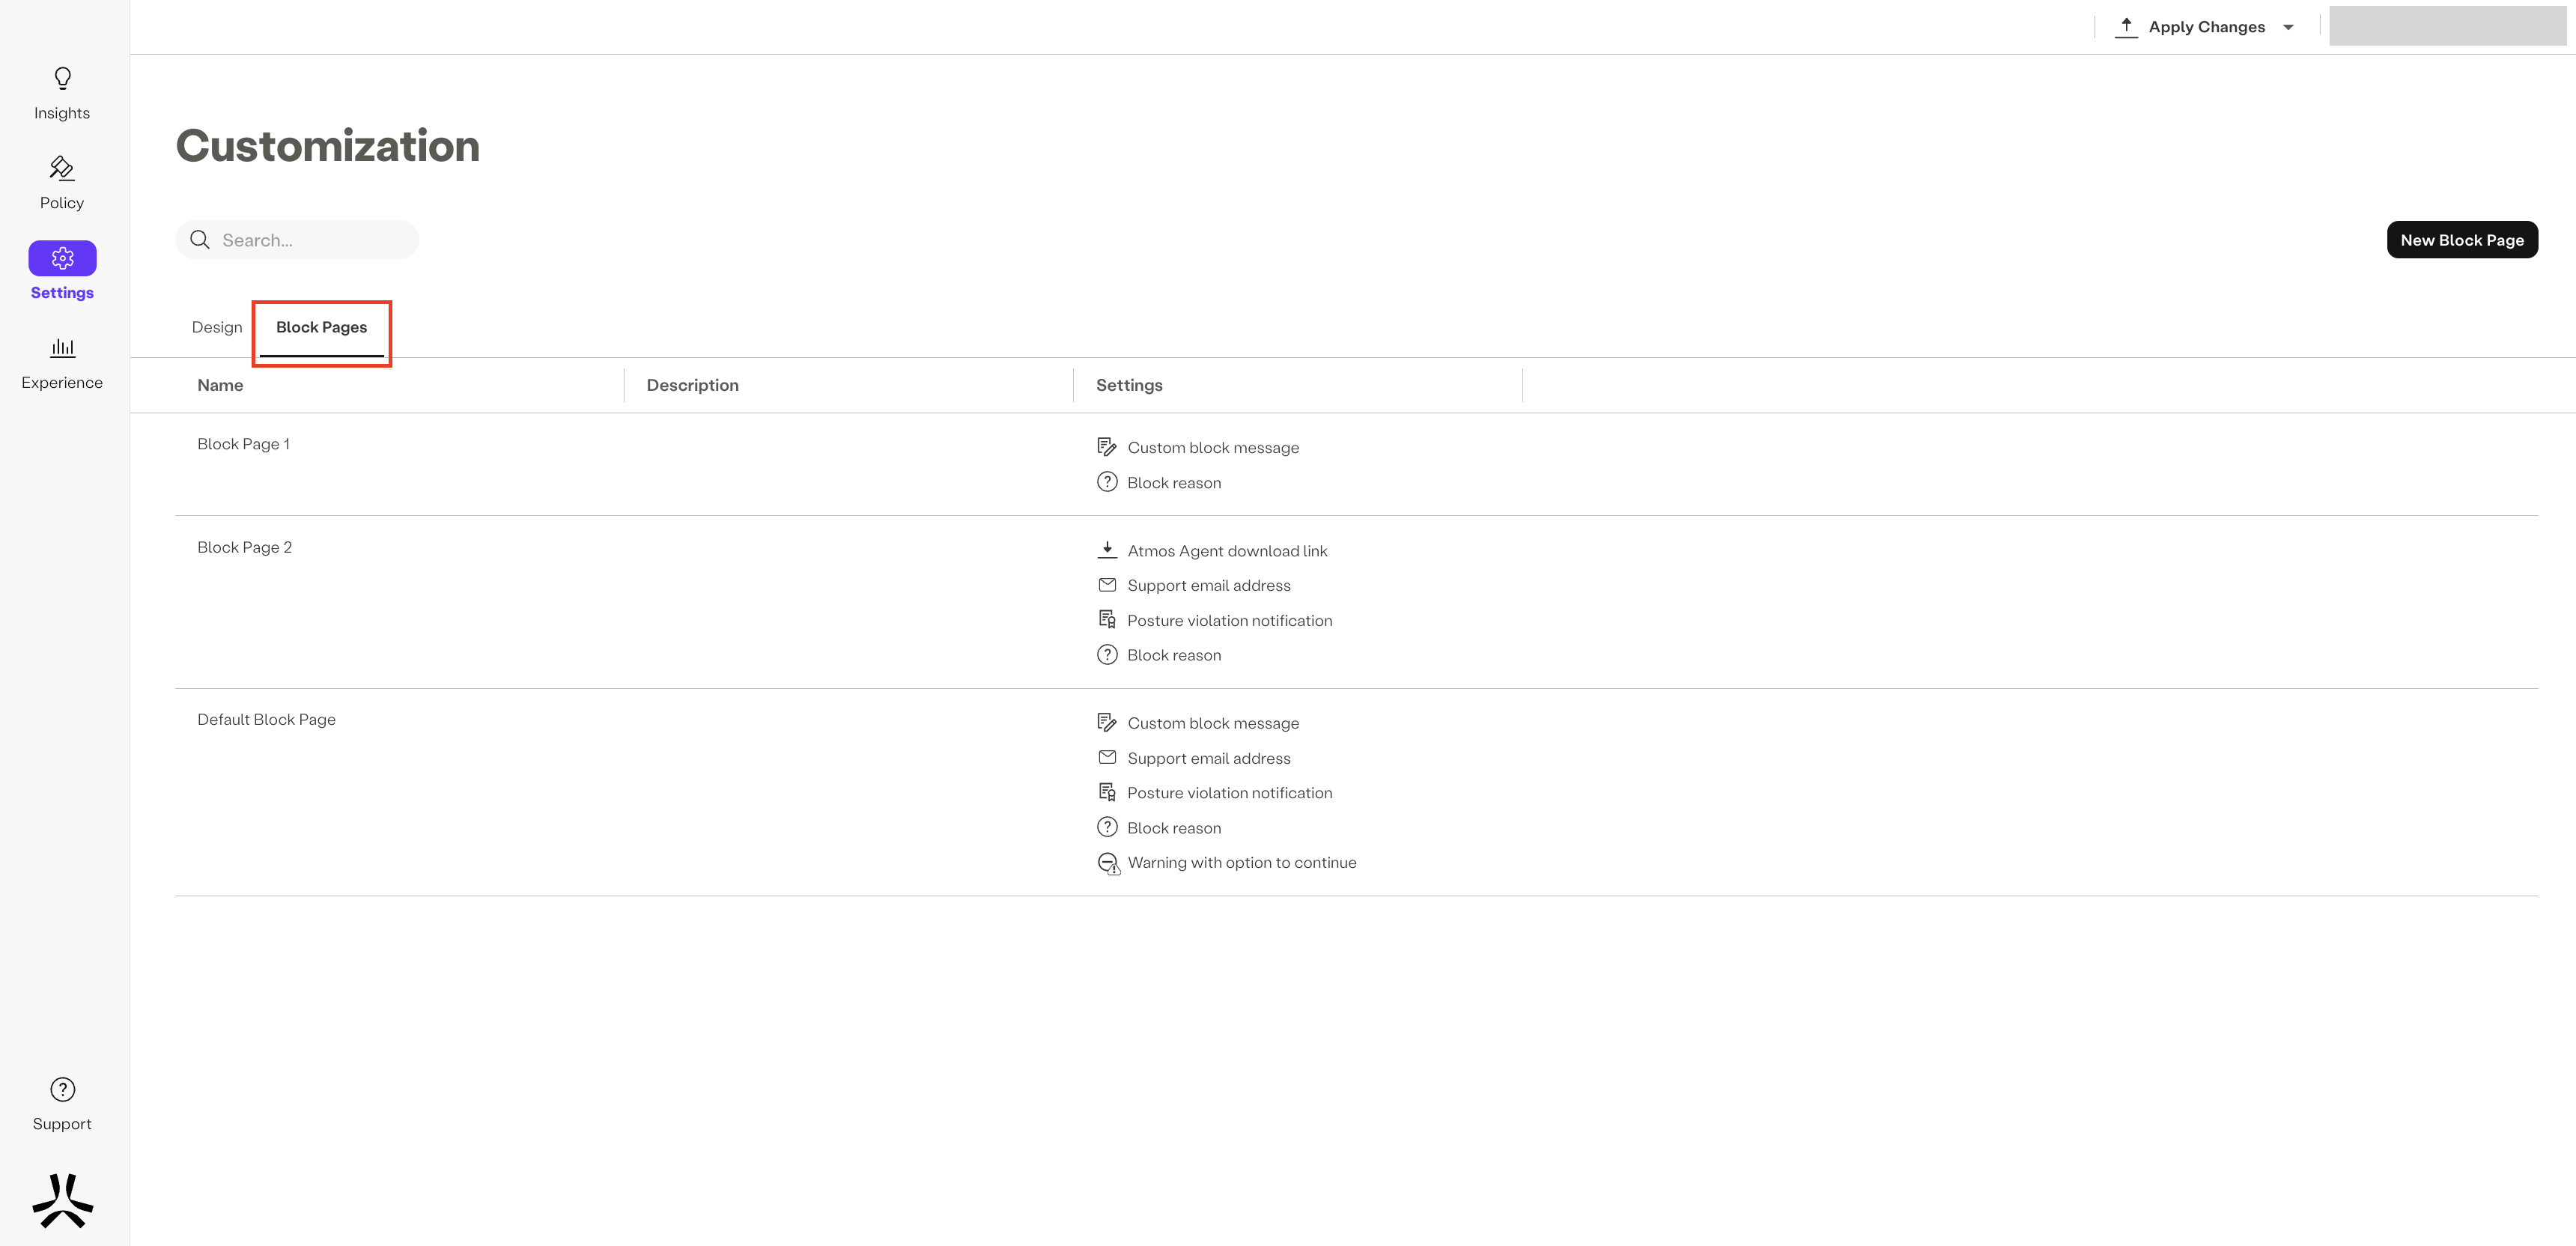
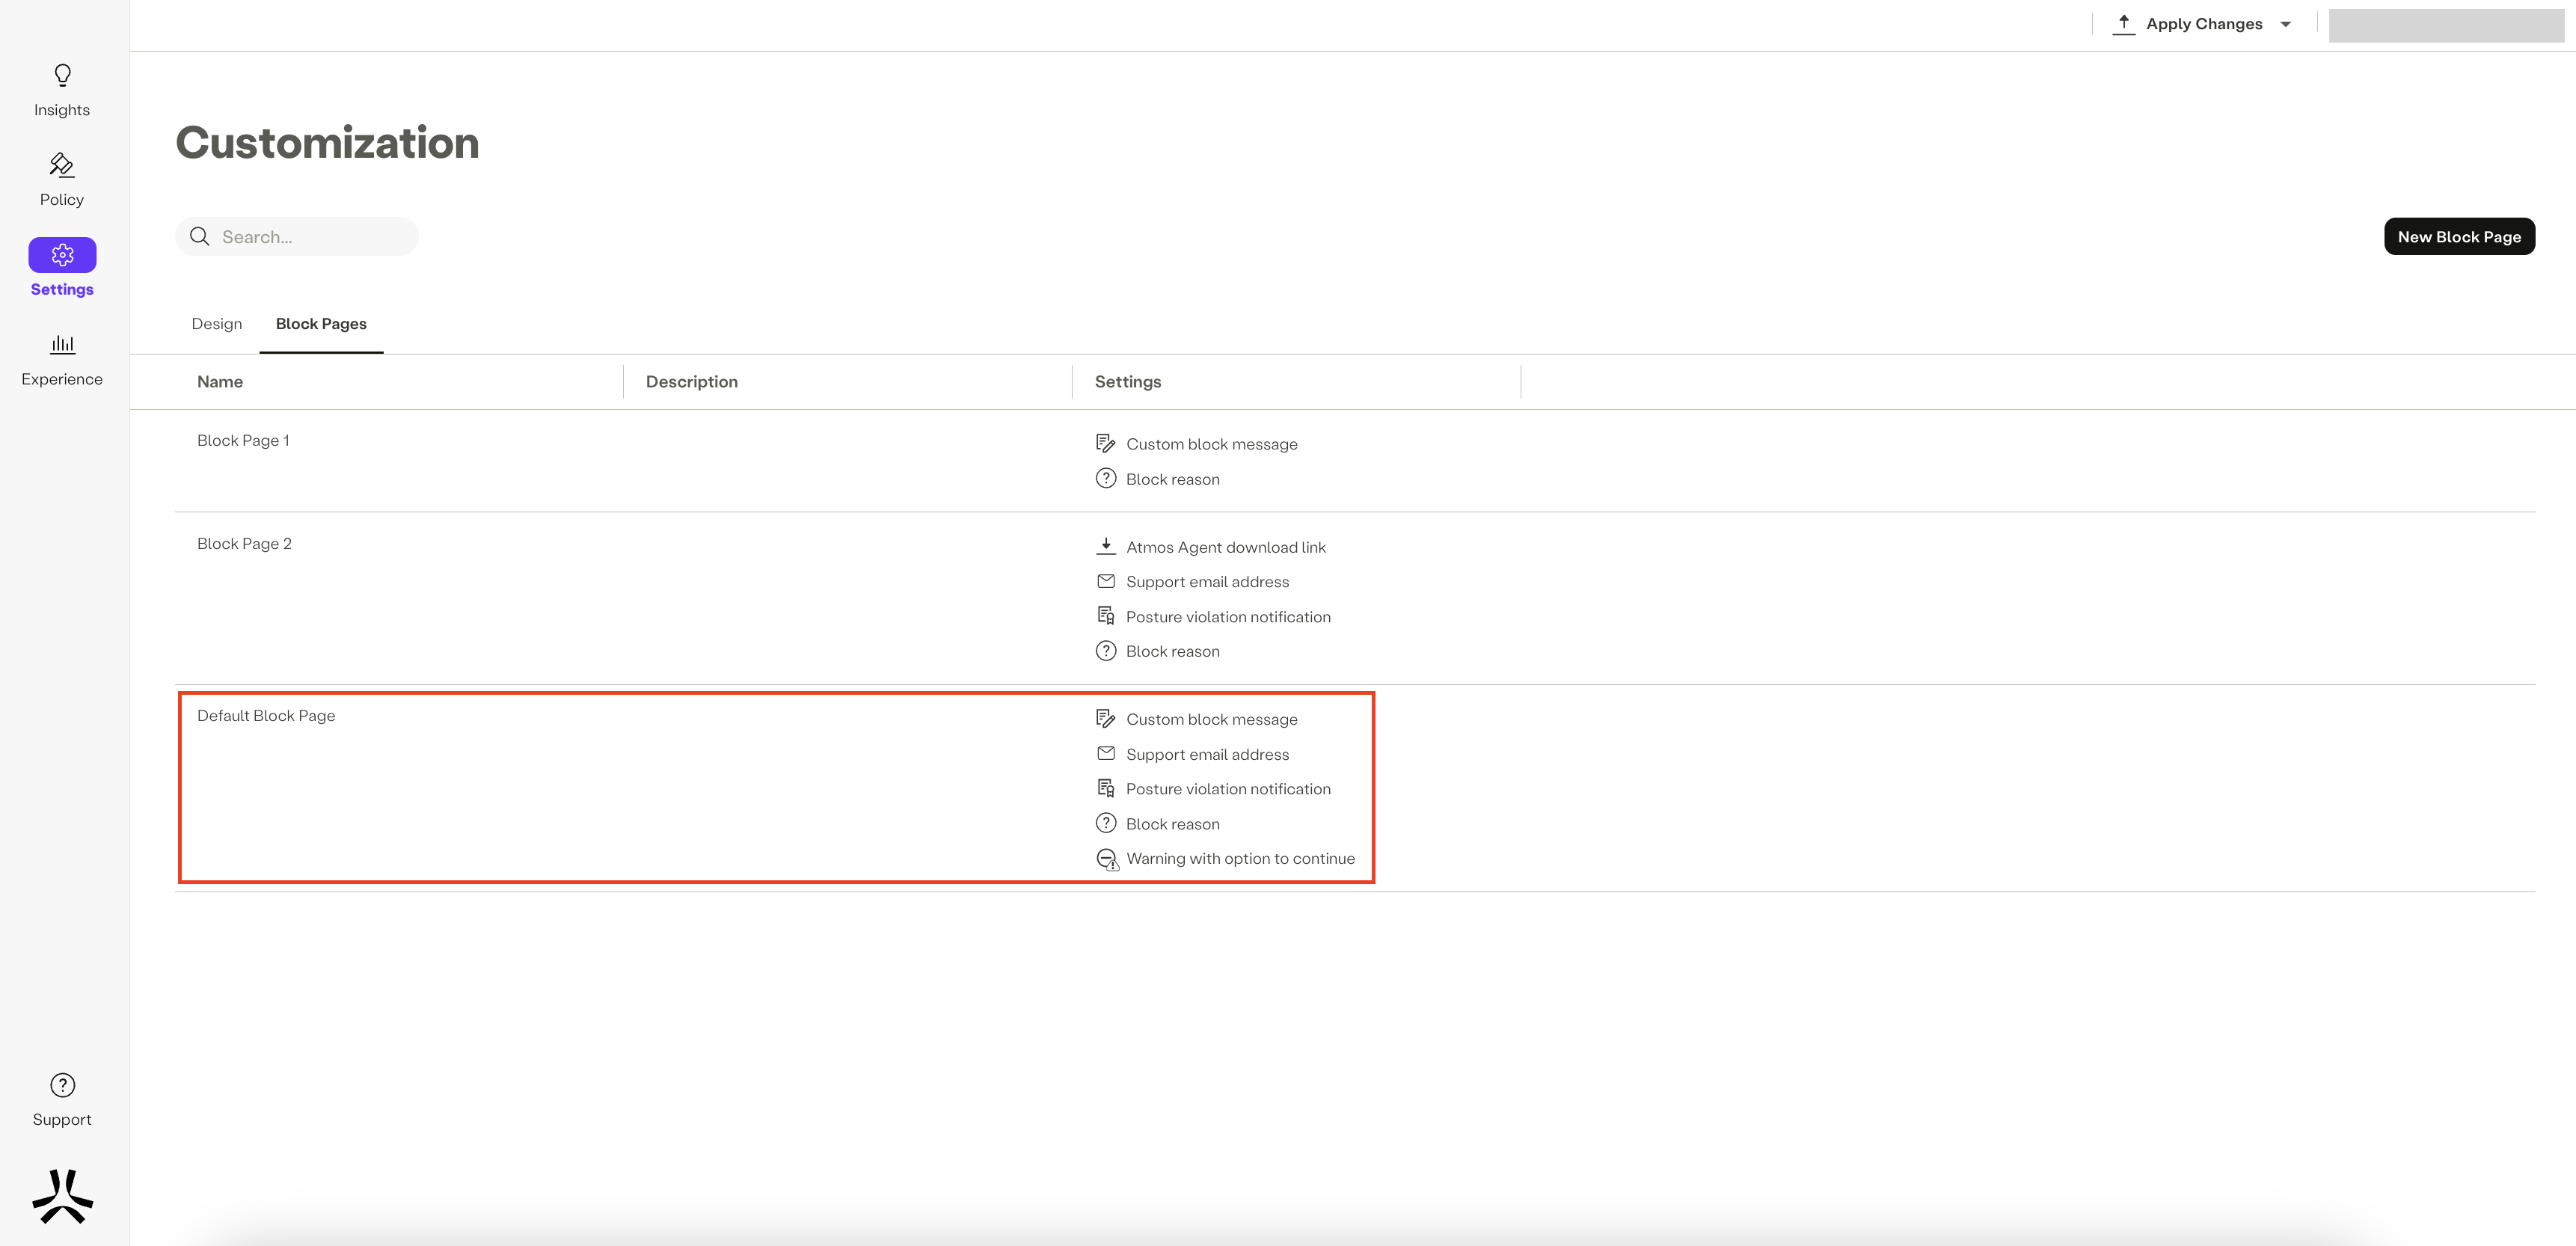
Default Block Page
The Default Block Page is automatically applied to new policy rules unless you choose to modify it when creating or editing a rule.
Custom Block Pages Options
Custom block pages offer a variety of options for fine-tuning the user experience and delivering important information when access to restricted destinations or websites is encountered. These options empower you to create an environment that is user-centric, transparent, and supportive for end-users.
Custom Block Message
The Custom Block Message option allows you to set a personalized message that will be displayed on the block pages. This message serves two primary purposes:
- Present the Organization's Policy: It provides a platform to consistently communicate your organization's access policy to users.
- Streamline Administrative Tasks: It simplifies administrative efforts by offering a standardized message for all block pages, ensuring consistent communication with users.
To enable this option, check the box for Add a custom block page message.
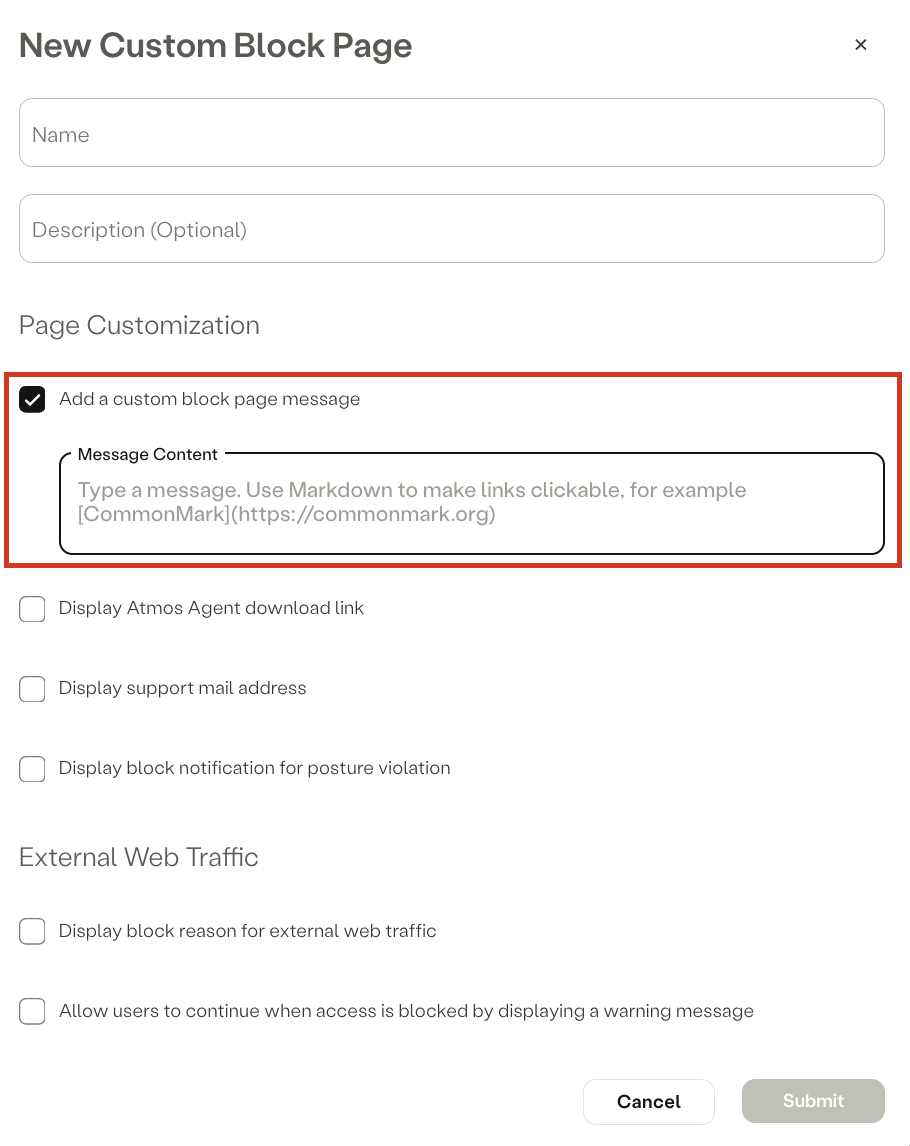
Then, fill in the Message Content with the content you wish to display to users. You can use markdowns to customize the message and make links clickable. For example: [CommonMark](https://commonmark.org/).
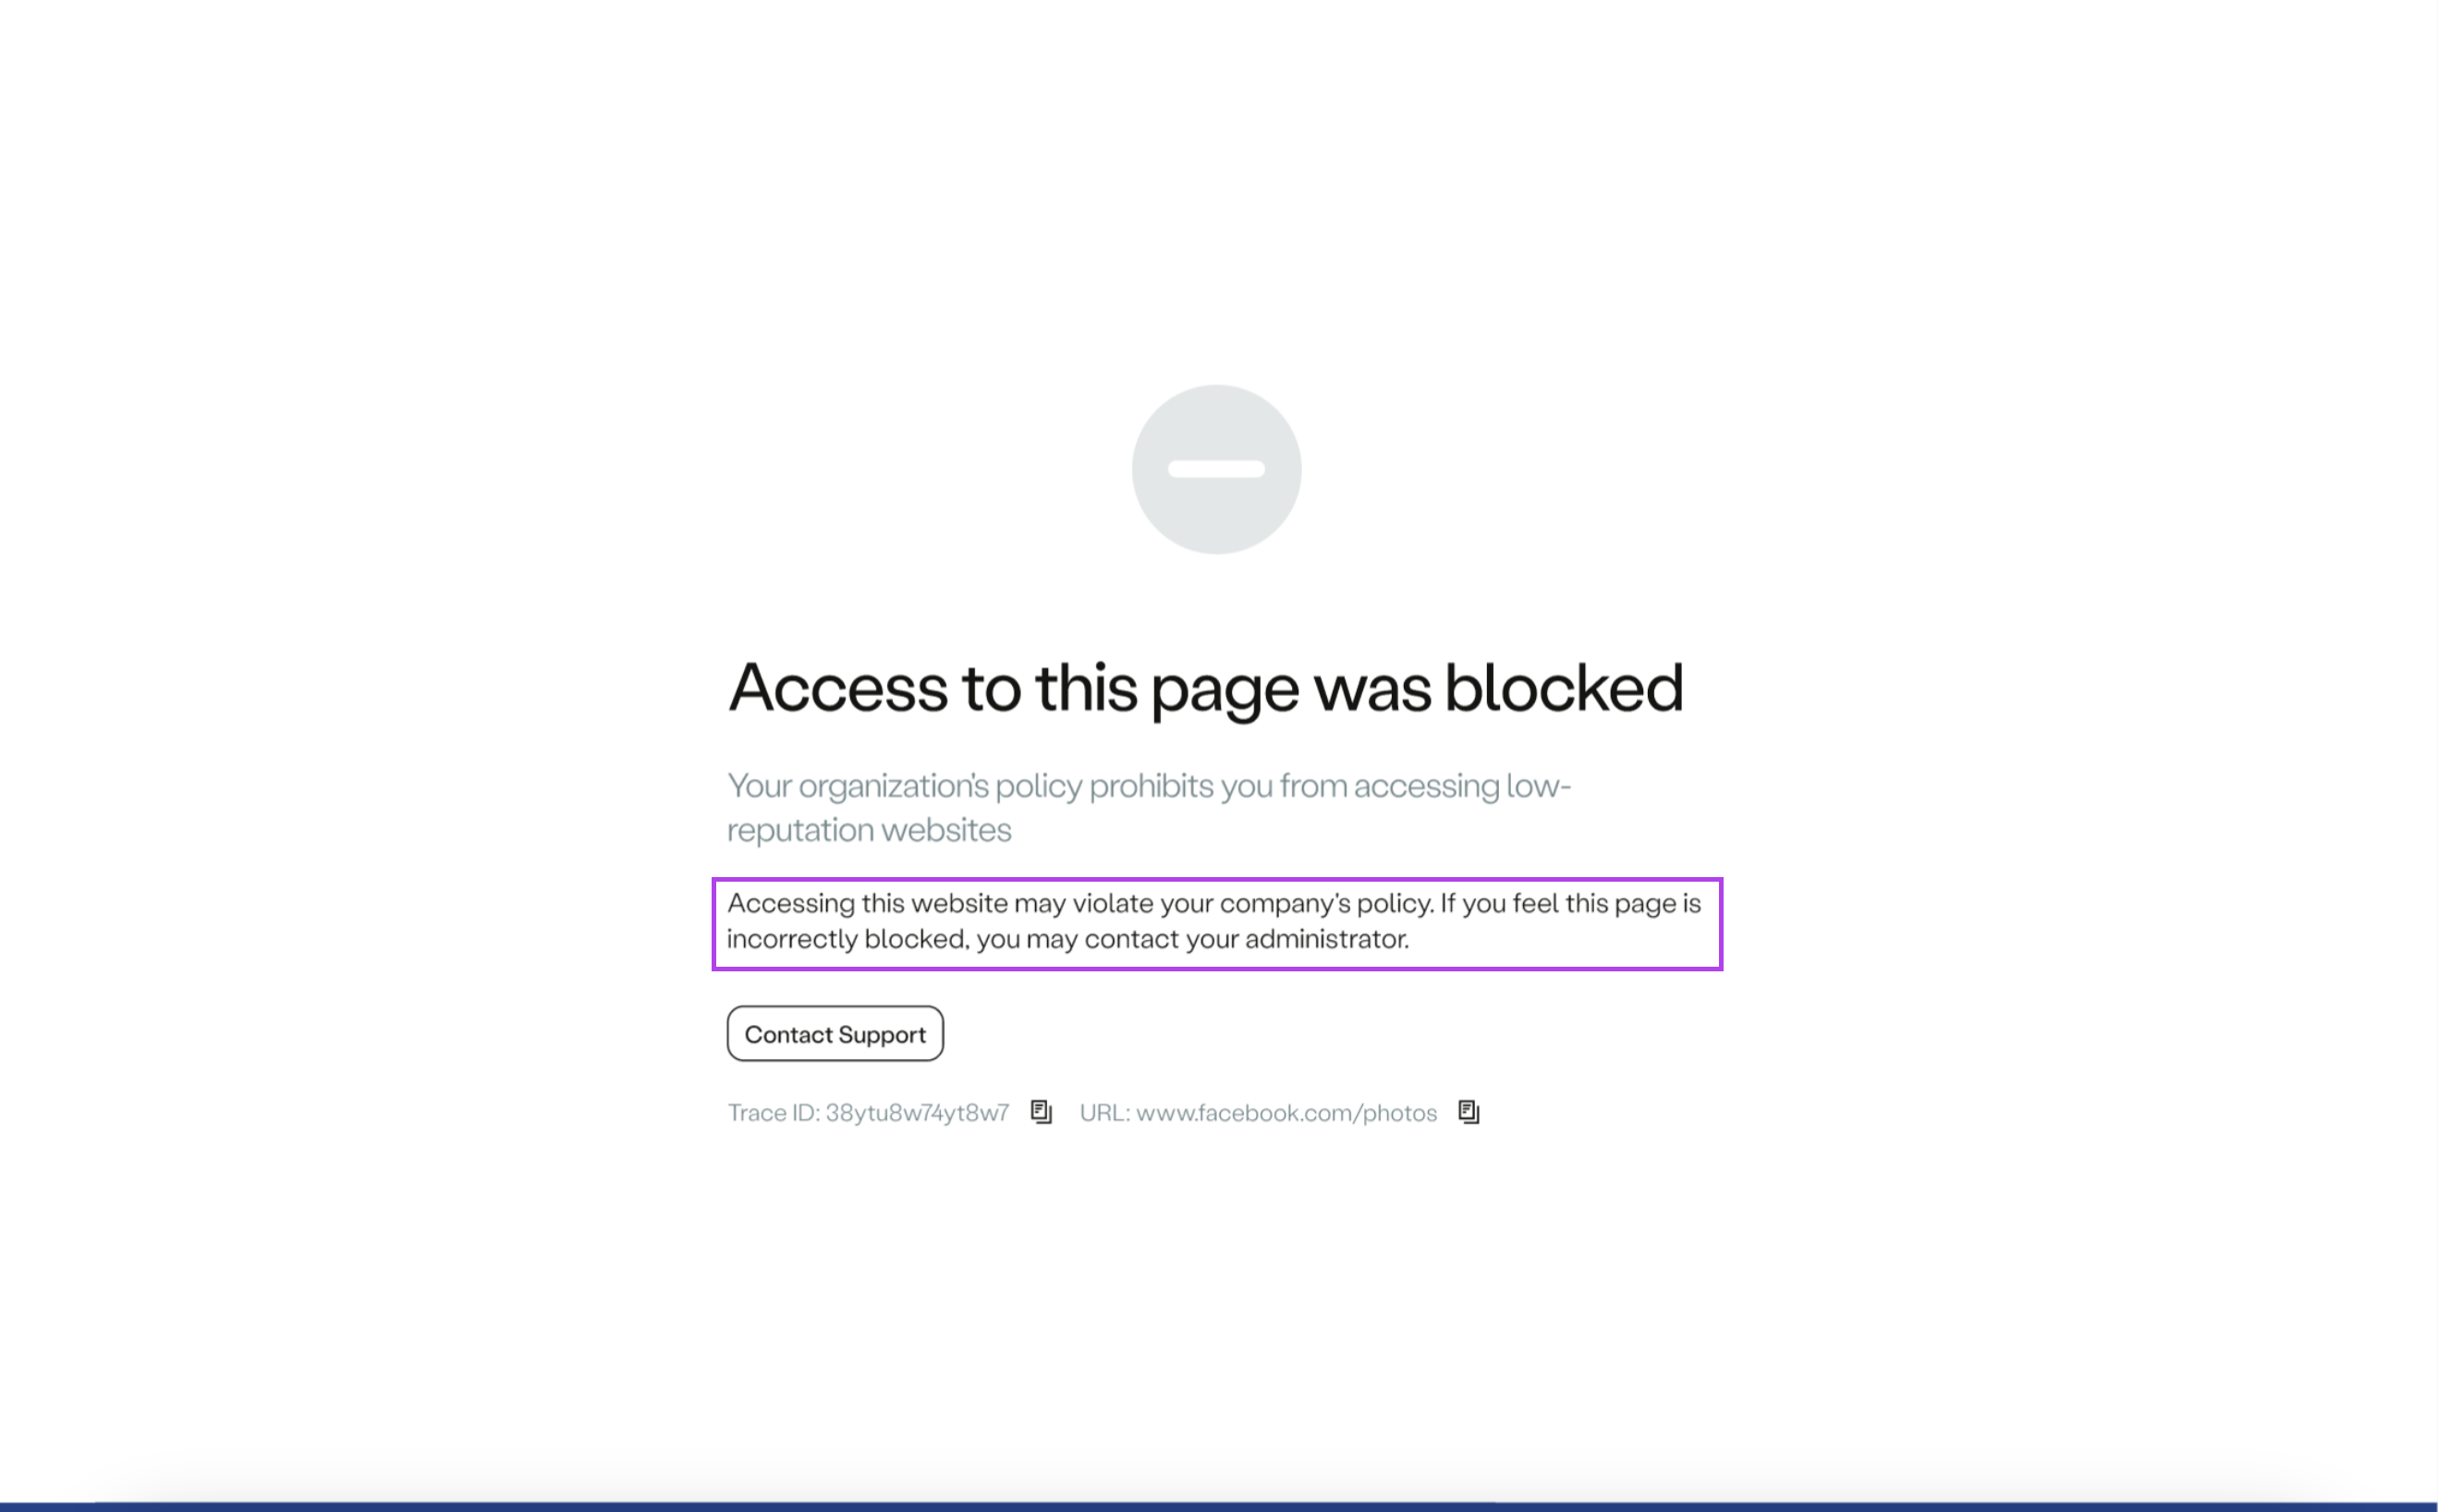
The end-user will receive a block page featuring the specified custom message
Atmos Agent download link
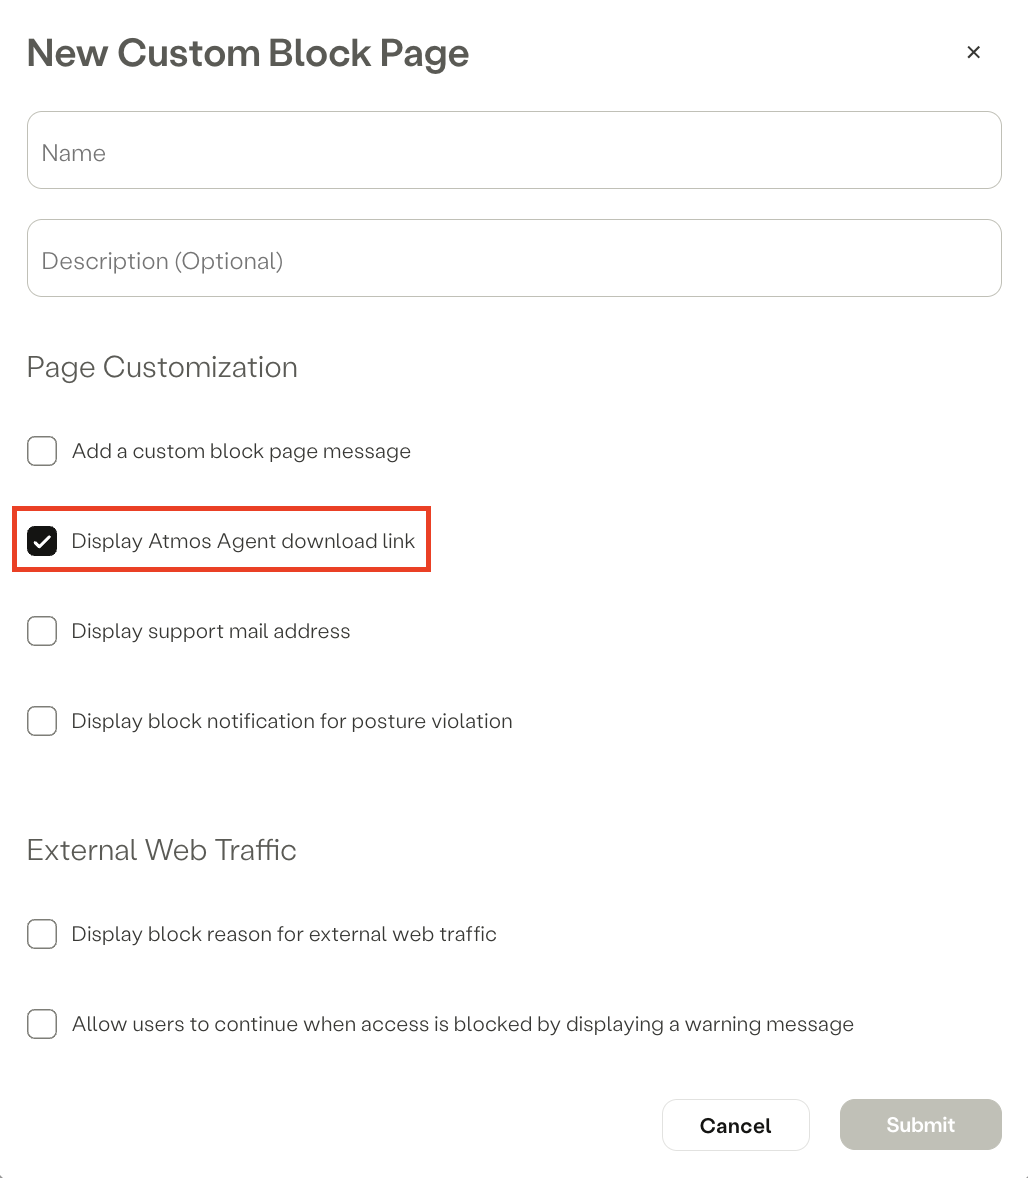
The Atmos Agent download link option allows users to download the Atmos Agent directly from the block page.
To enable this option, check the box for Add a custom block page message.
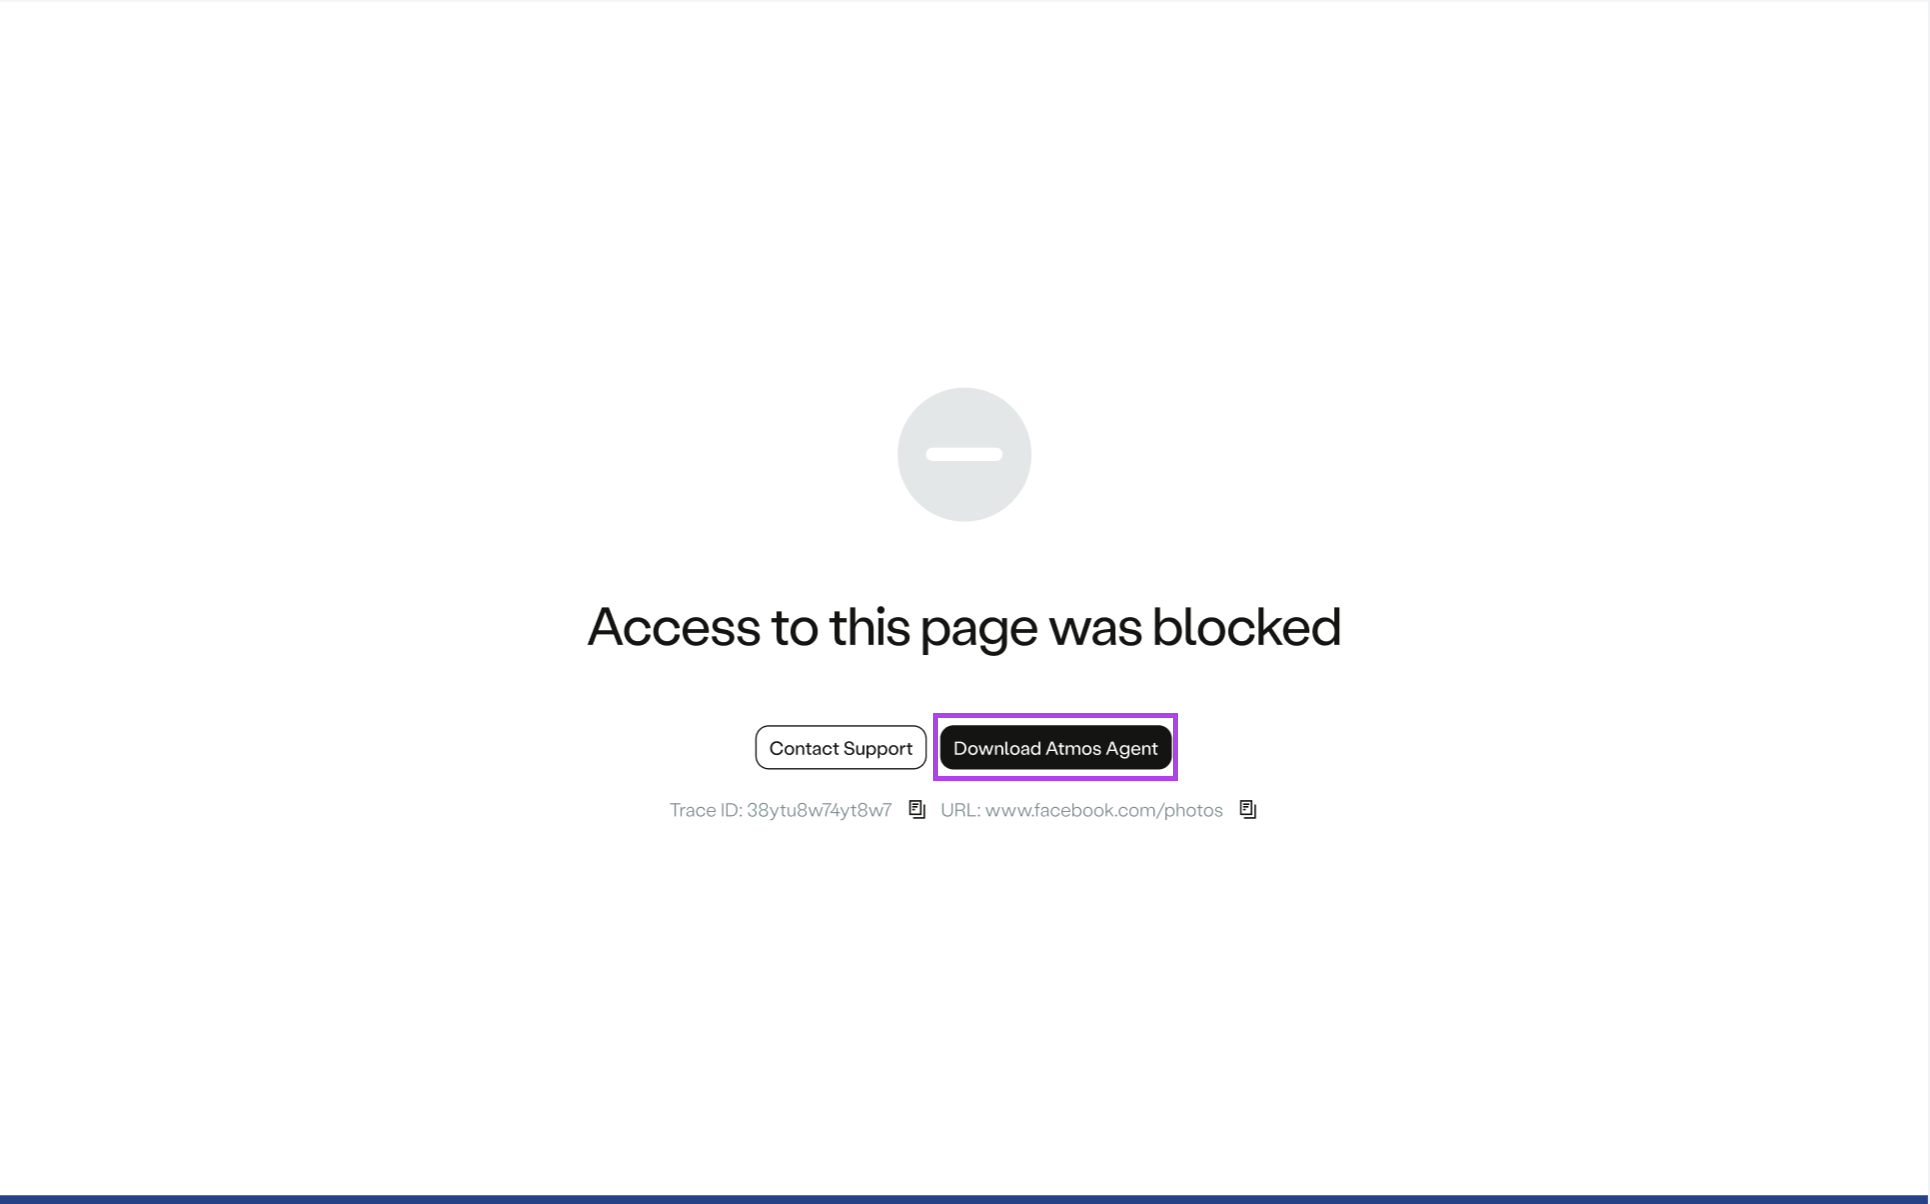
The end-user will receive a block page featuring the option to download the Atmos Agent
Support Email Address
You can also set an email address to be accessible on the block page for user support, making it easy for users to reach out for assistance.
To enable this option, check the box for Display support email address.
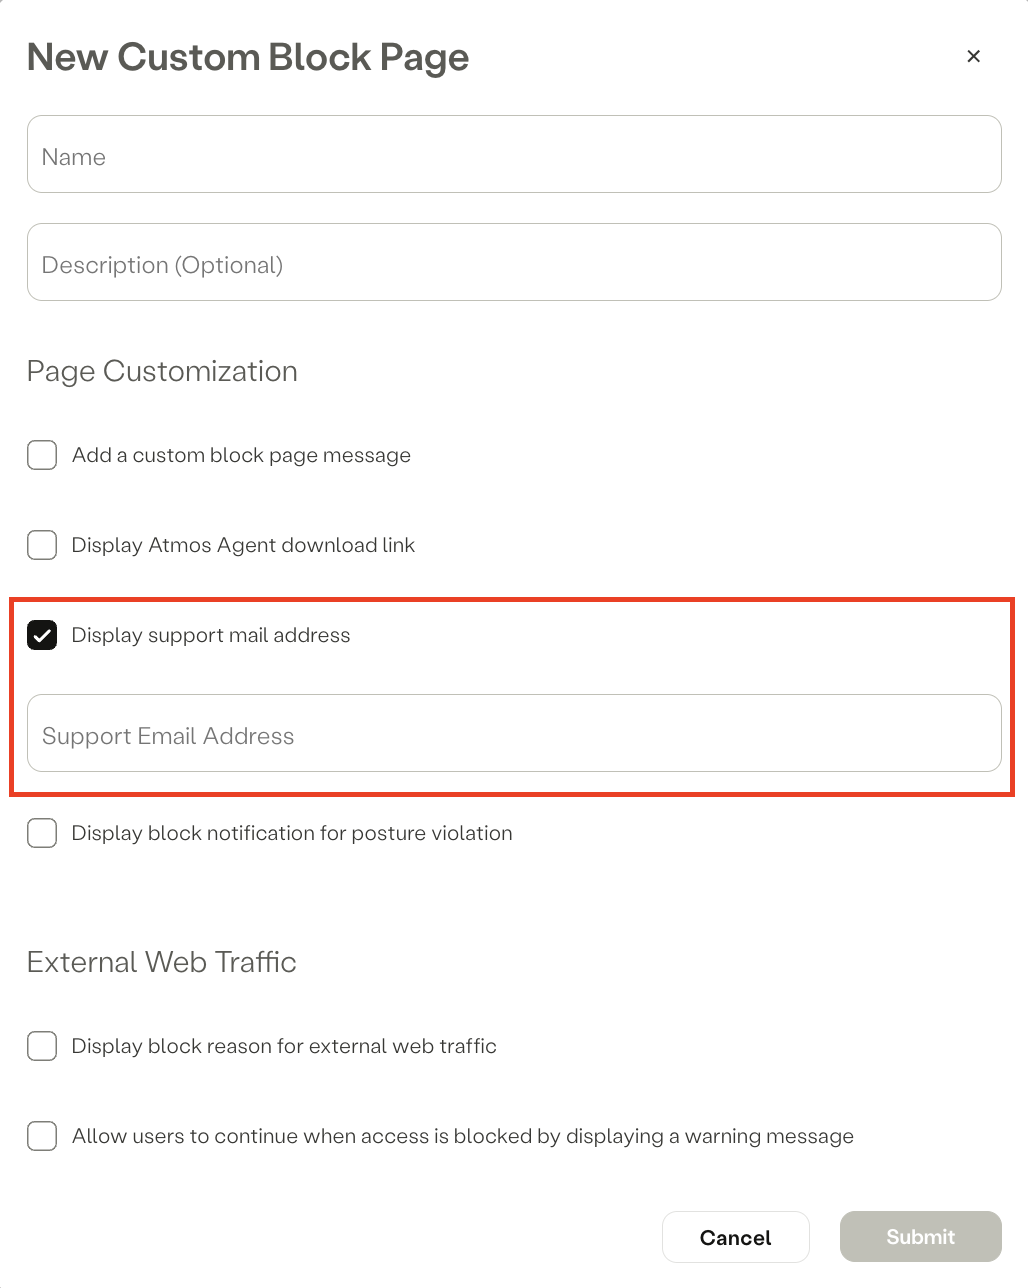
Then, add an email address to which users will be directed when they click Contact Support.
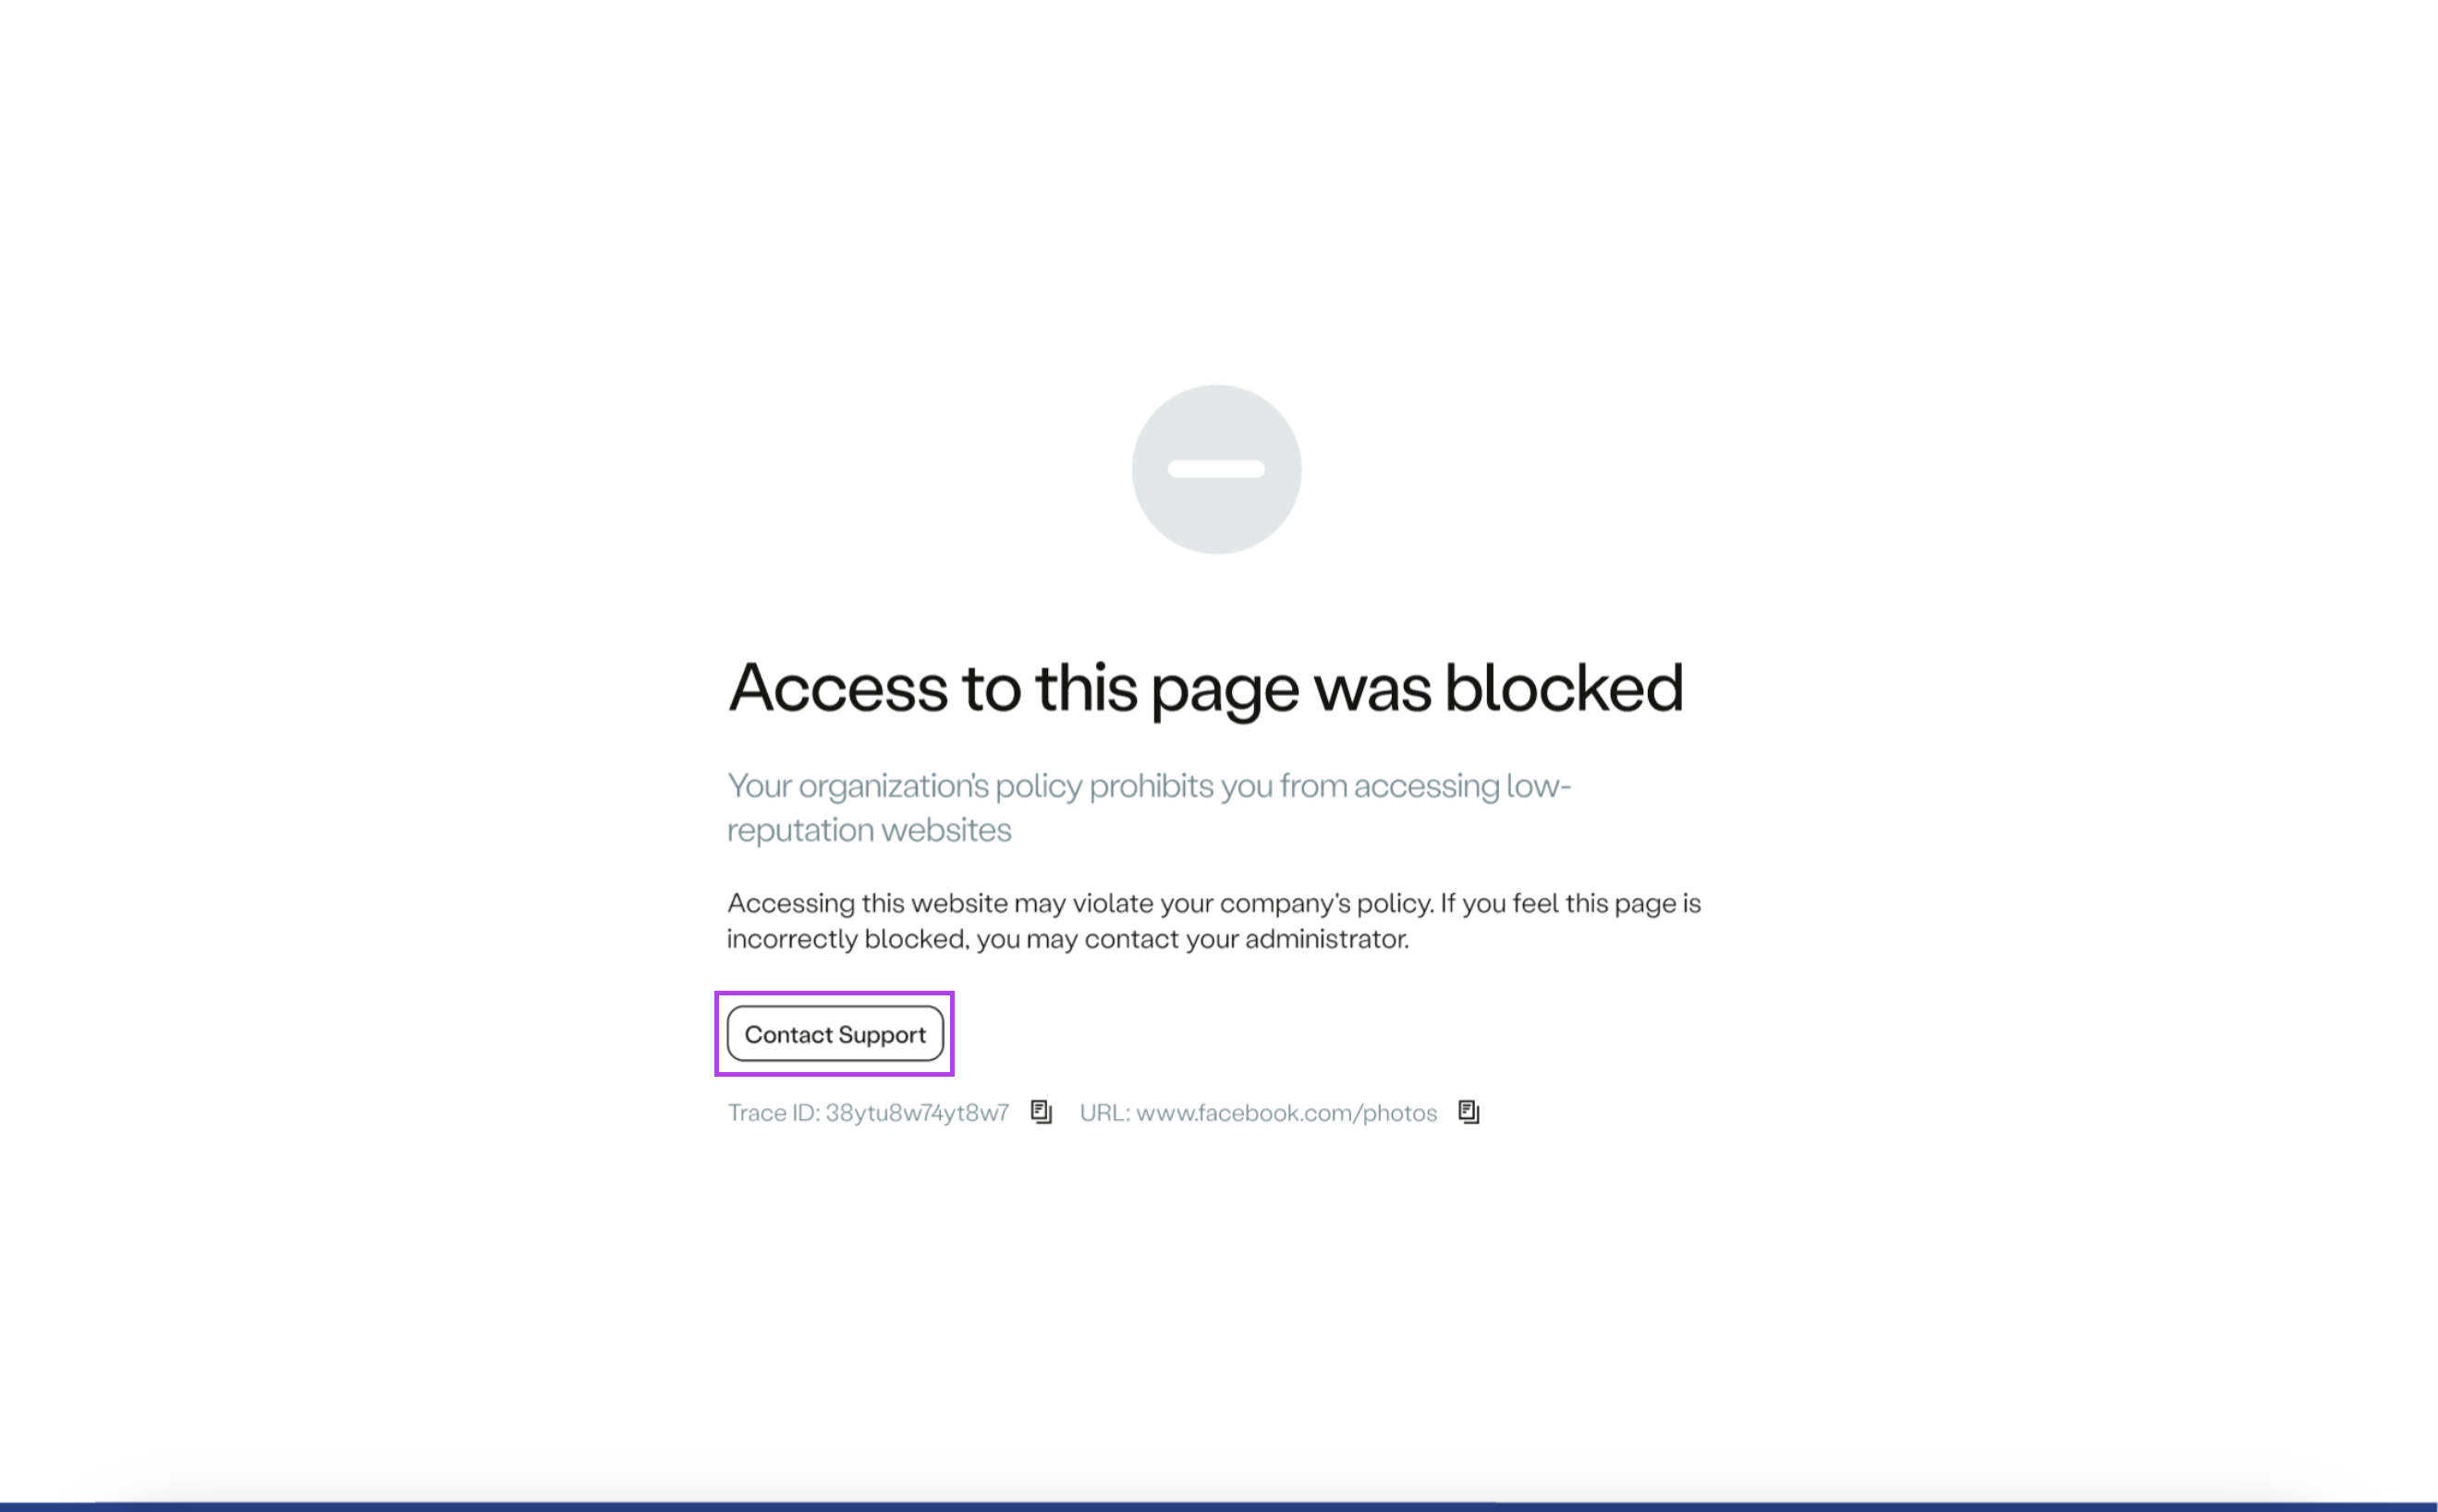
The end-user receives a block page that provides the option to contact support via the configured email address
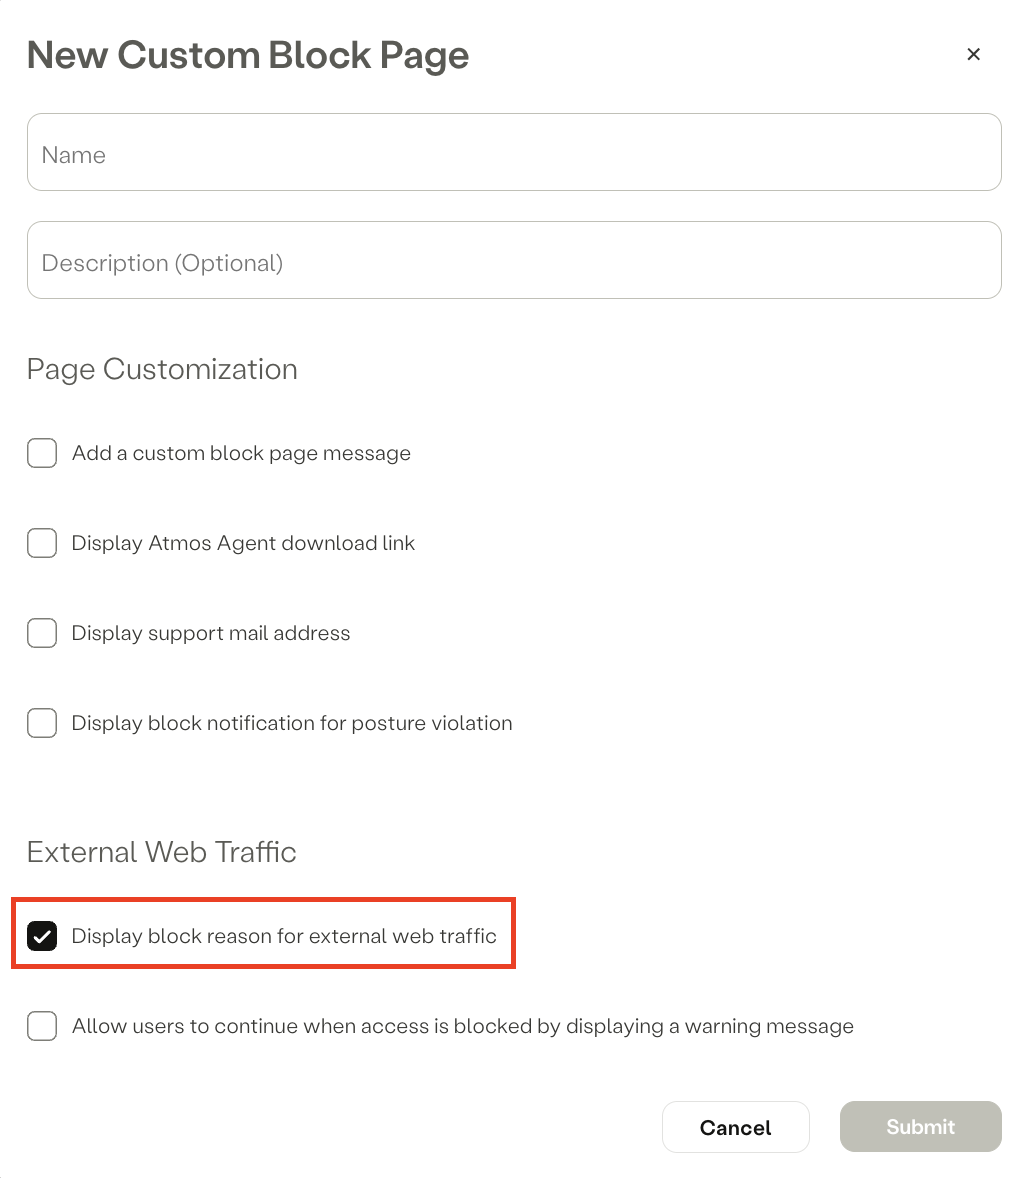
Block Reason
Note: This option is applicable exclusively to external web traffic.
Enabling this option allows the user to understand the reason for the block and take appropriate action if necessary. For example, if the block is due to a high-risk reputation or recent registration, the user may choose to avoid accessing the website again or contact the administrator if they believe the website is incorrectly blocked.
To enable this option, check the box for Display block reason for external web traffic.
Examples:
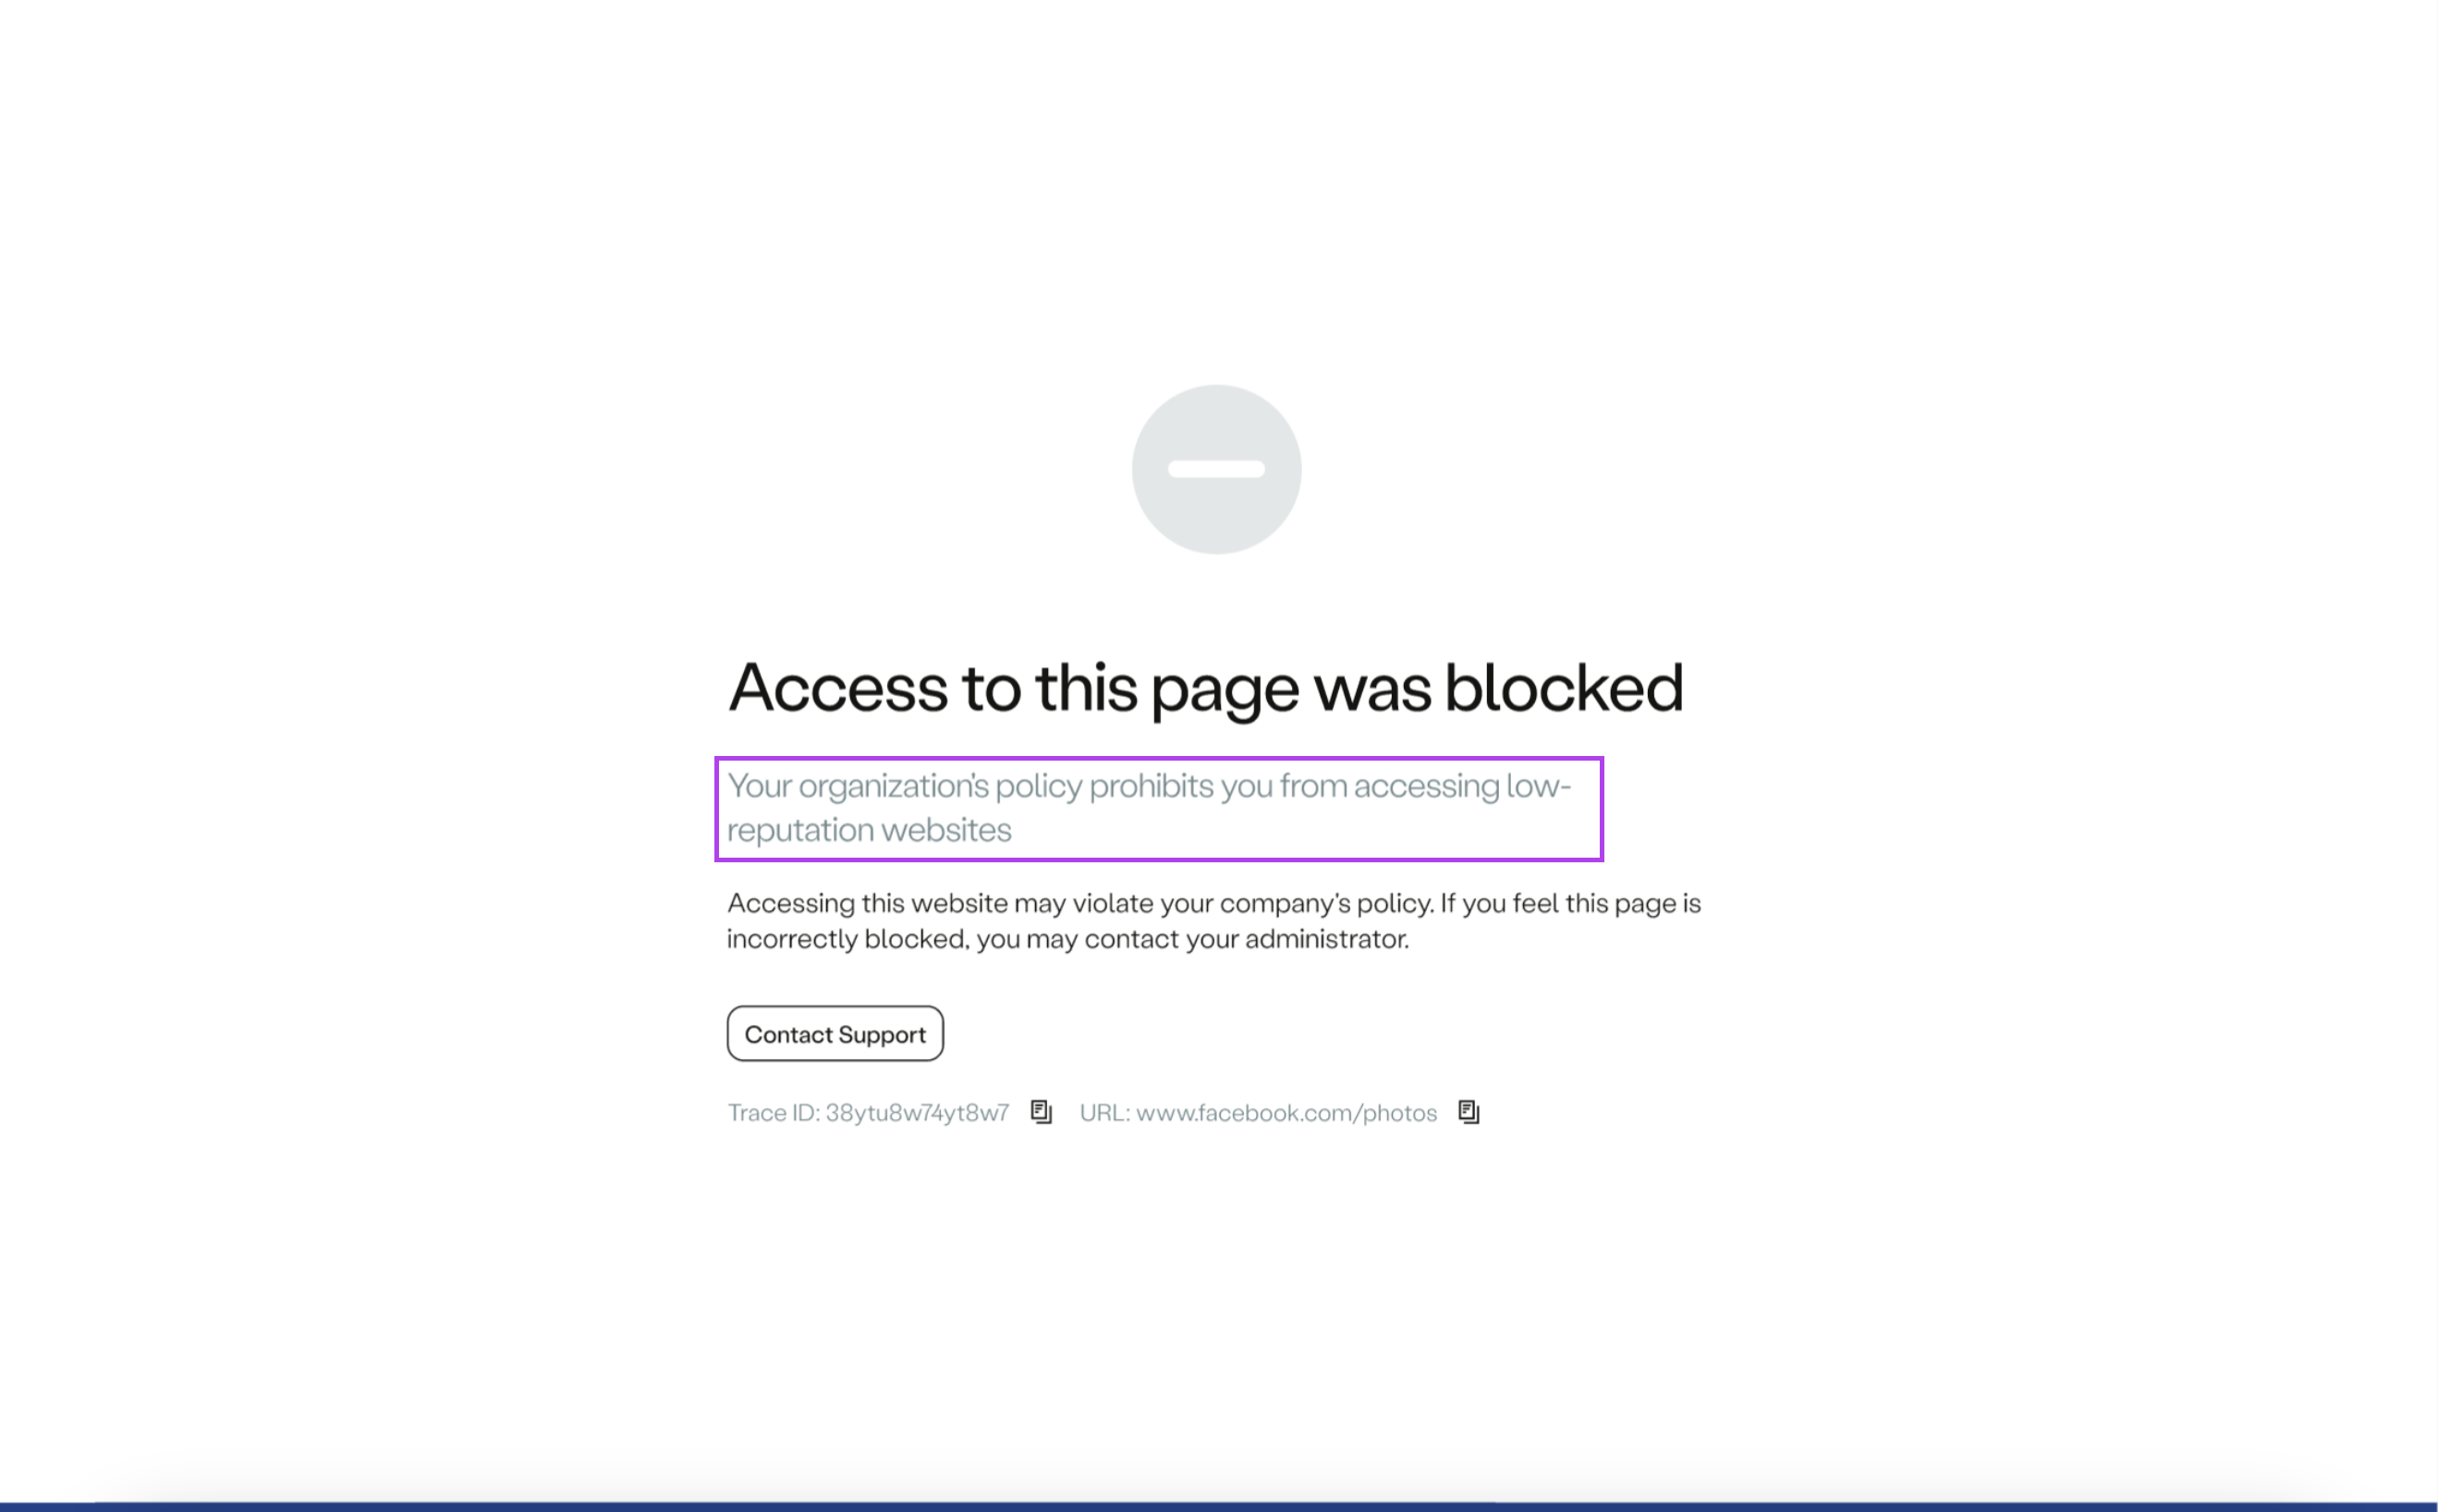
Access was blocked due to low reputation
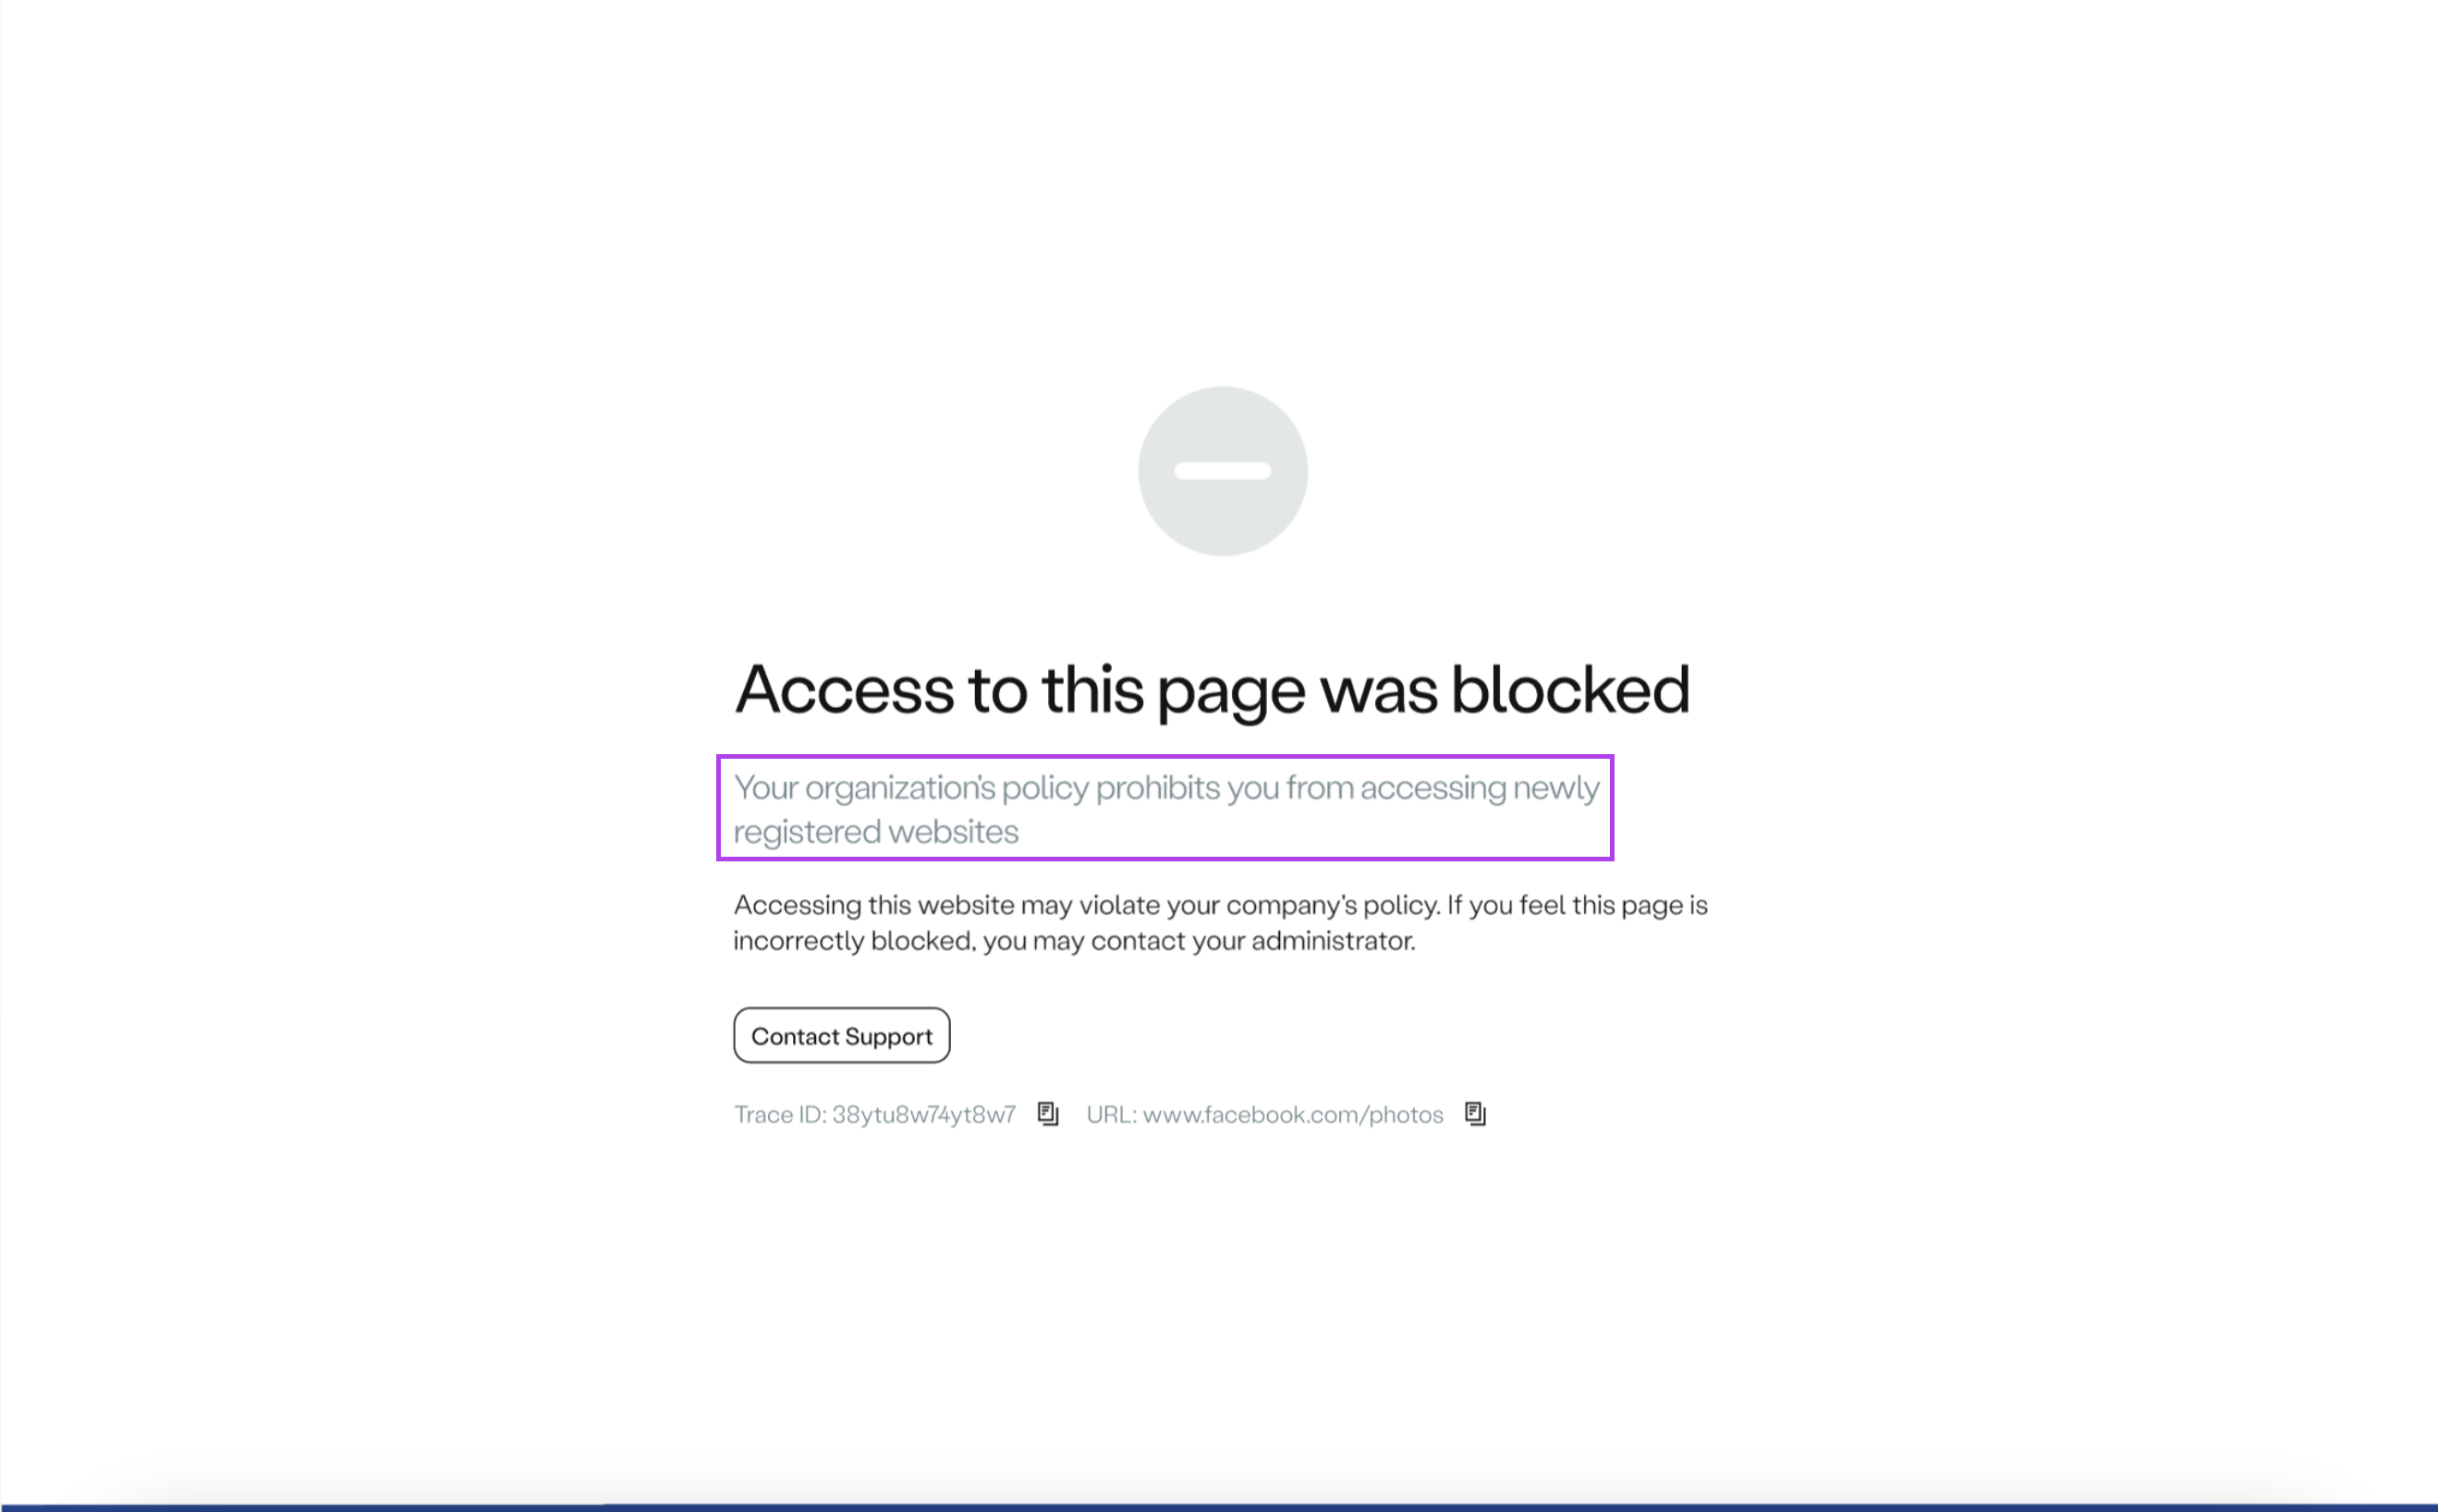
Access was blocked due to a newly registered domain
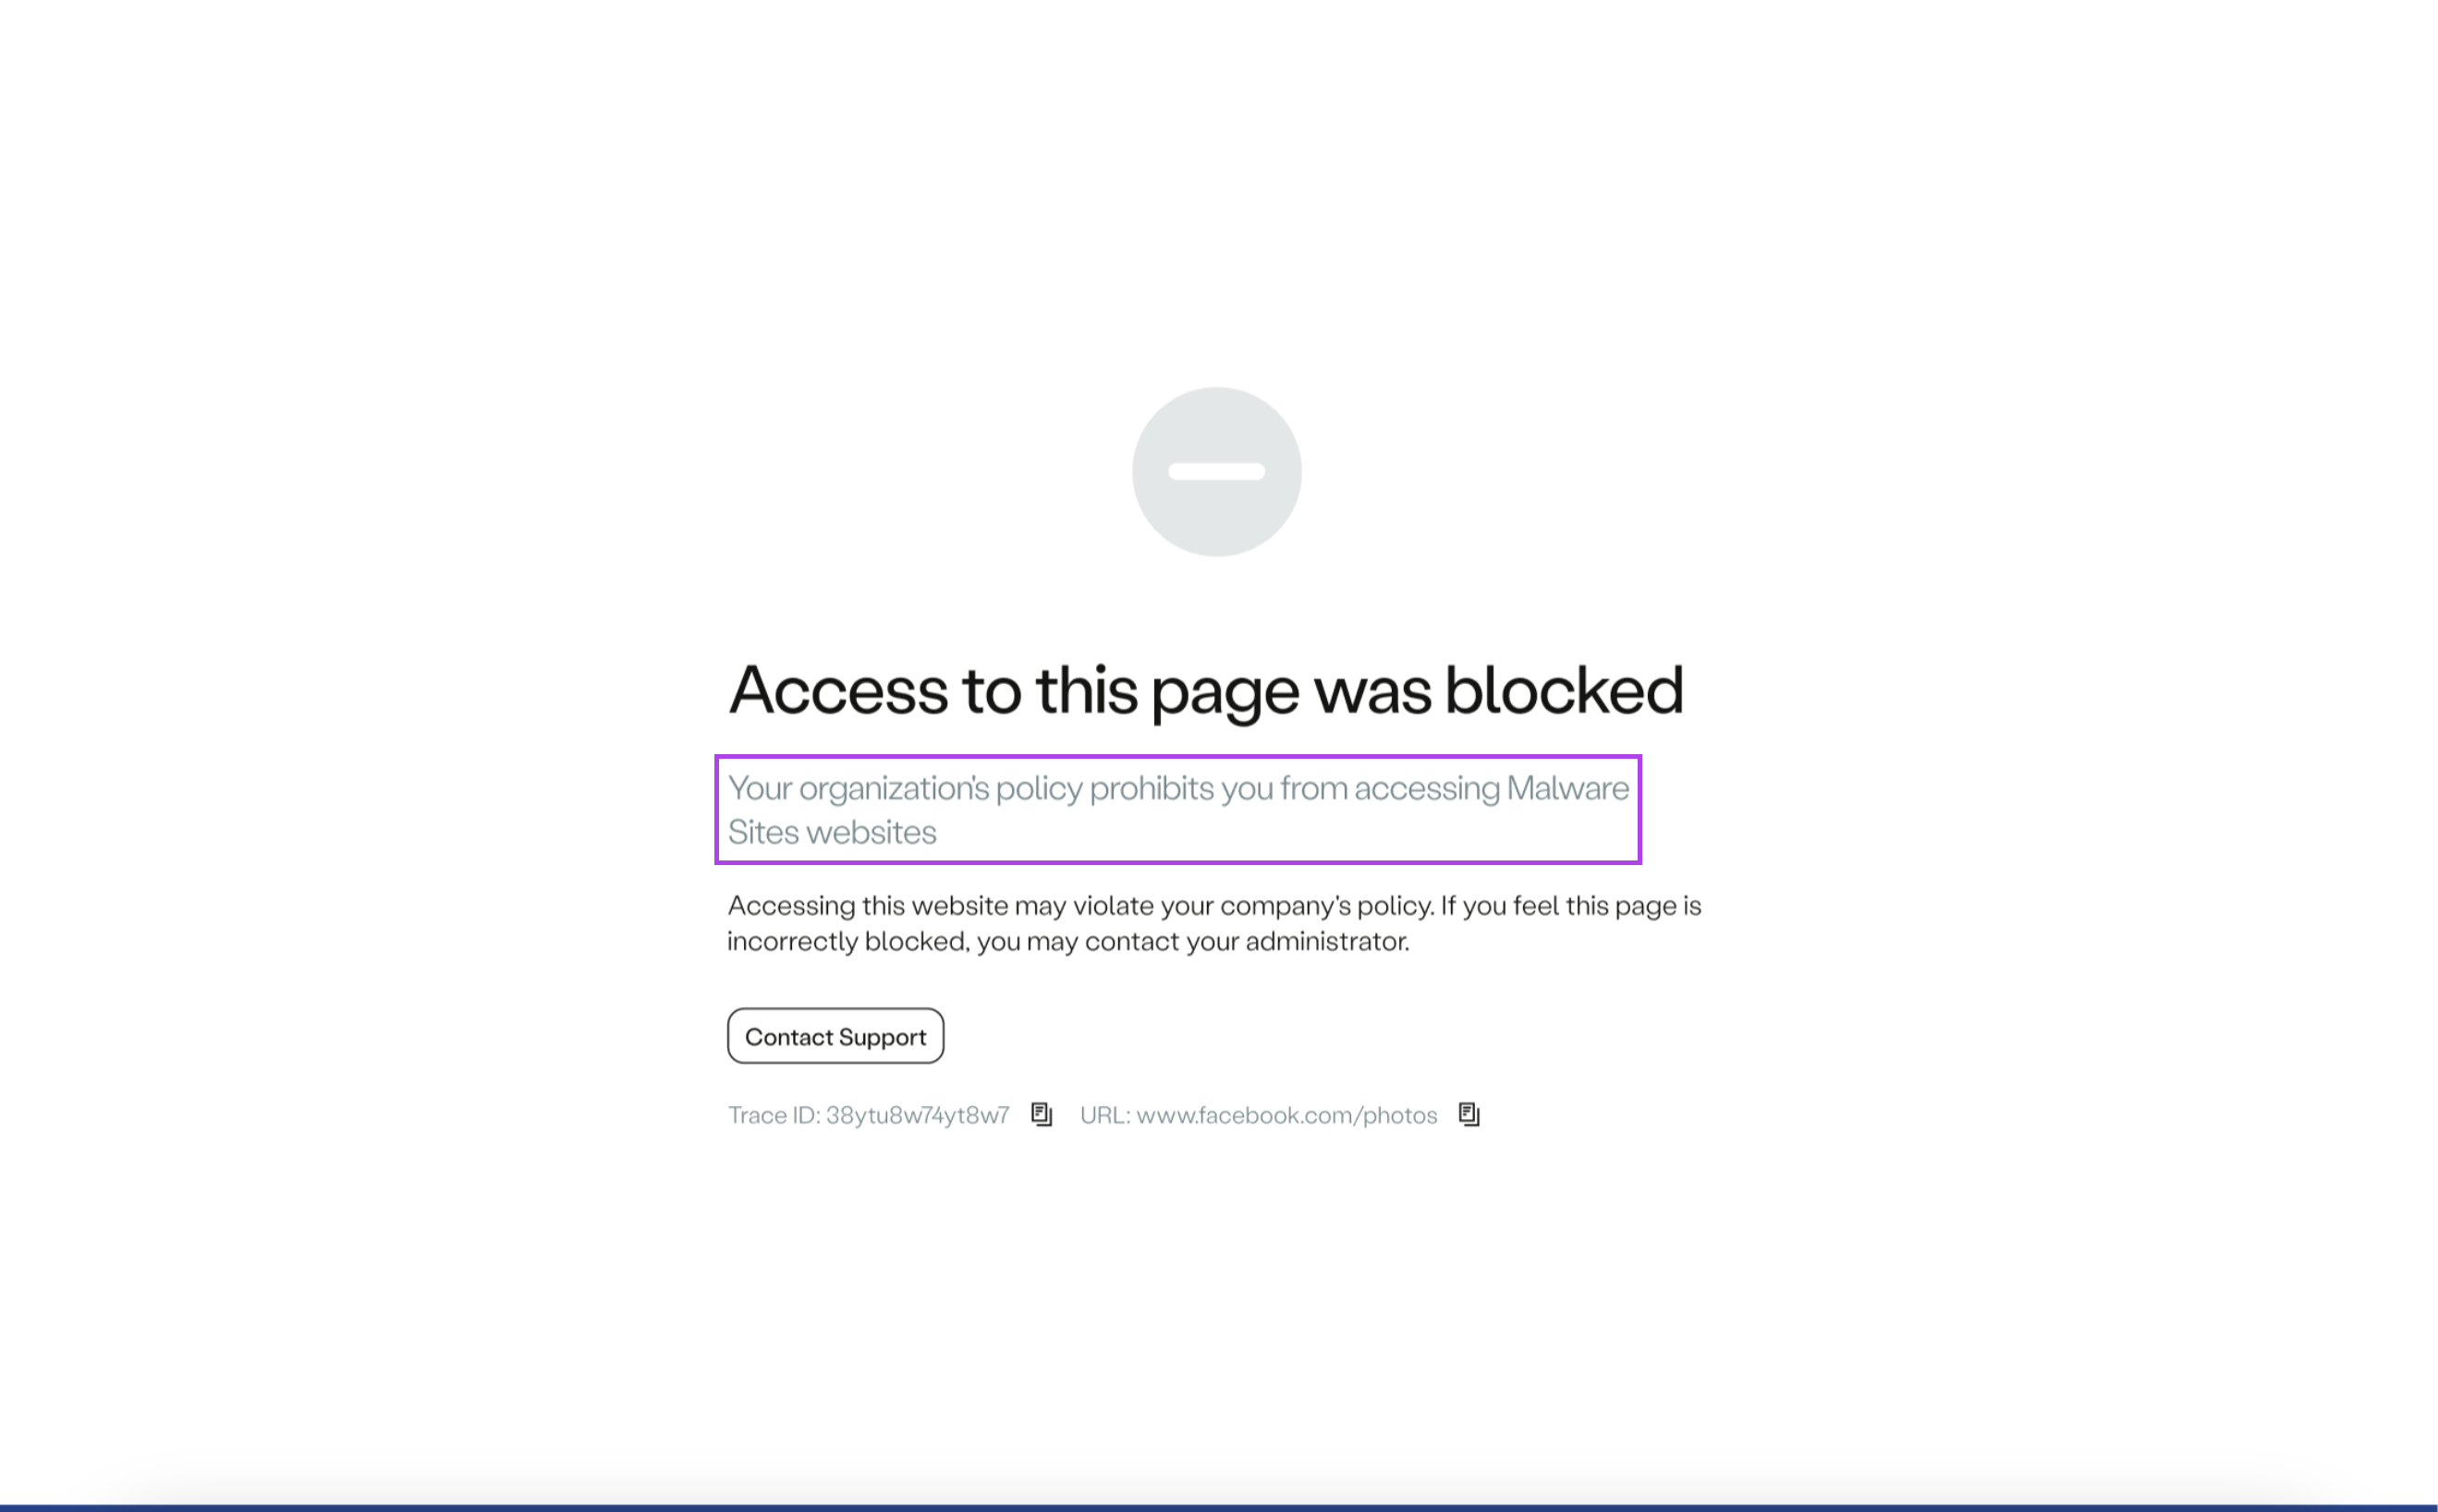
Access was blocked due to high-risk domain category
Warning with Option to Continue
NOTEThis is a limited release feature. For more information contact Axis Security Support: [email protected]
Note: This option is applicable exclusively to external web traffic.
For situations where access to external web traffic is blocked, this option provides users with the choice to proceed, along with a warning message. It allows users to make informed decisions.
Enabling this option is intended to inform users about the possible consequences when trying to access a restricted website.
It's crucial to note that this setting doesn't restrict or block access to the website - it merely provides a warning before granting access.
To enable this option, check the box for Allow users to continue when access is blocked by displaying a warning message.
Then, fill in the following fields:
- Message Content: The warning message text, emphasizing that users are responsible for deciding whether to proceed and providing information on the potential risks. You can use markdowns to customize the message and make links clickable. For example: [CommonMark](https://commonmark.org/).
- Continue Button Text: Customize the text displayed on the continue button.
- Dismiss Period: After the user opts to continue, the warning notification will remain dismissed for the specified period.

The end-user will receive a warning page featuring the specified warning message, along with the option to proceed using the continue button text that has been configured
Note: POST requests do not trigger the warning page. Therefore, if a session starts with a POST request, it will be blocked immediately.
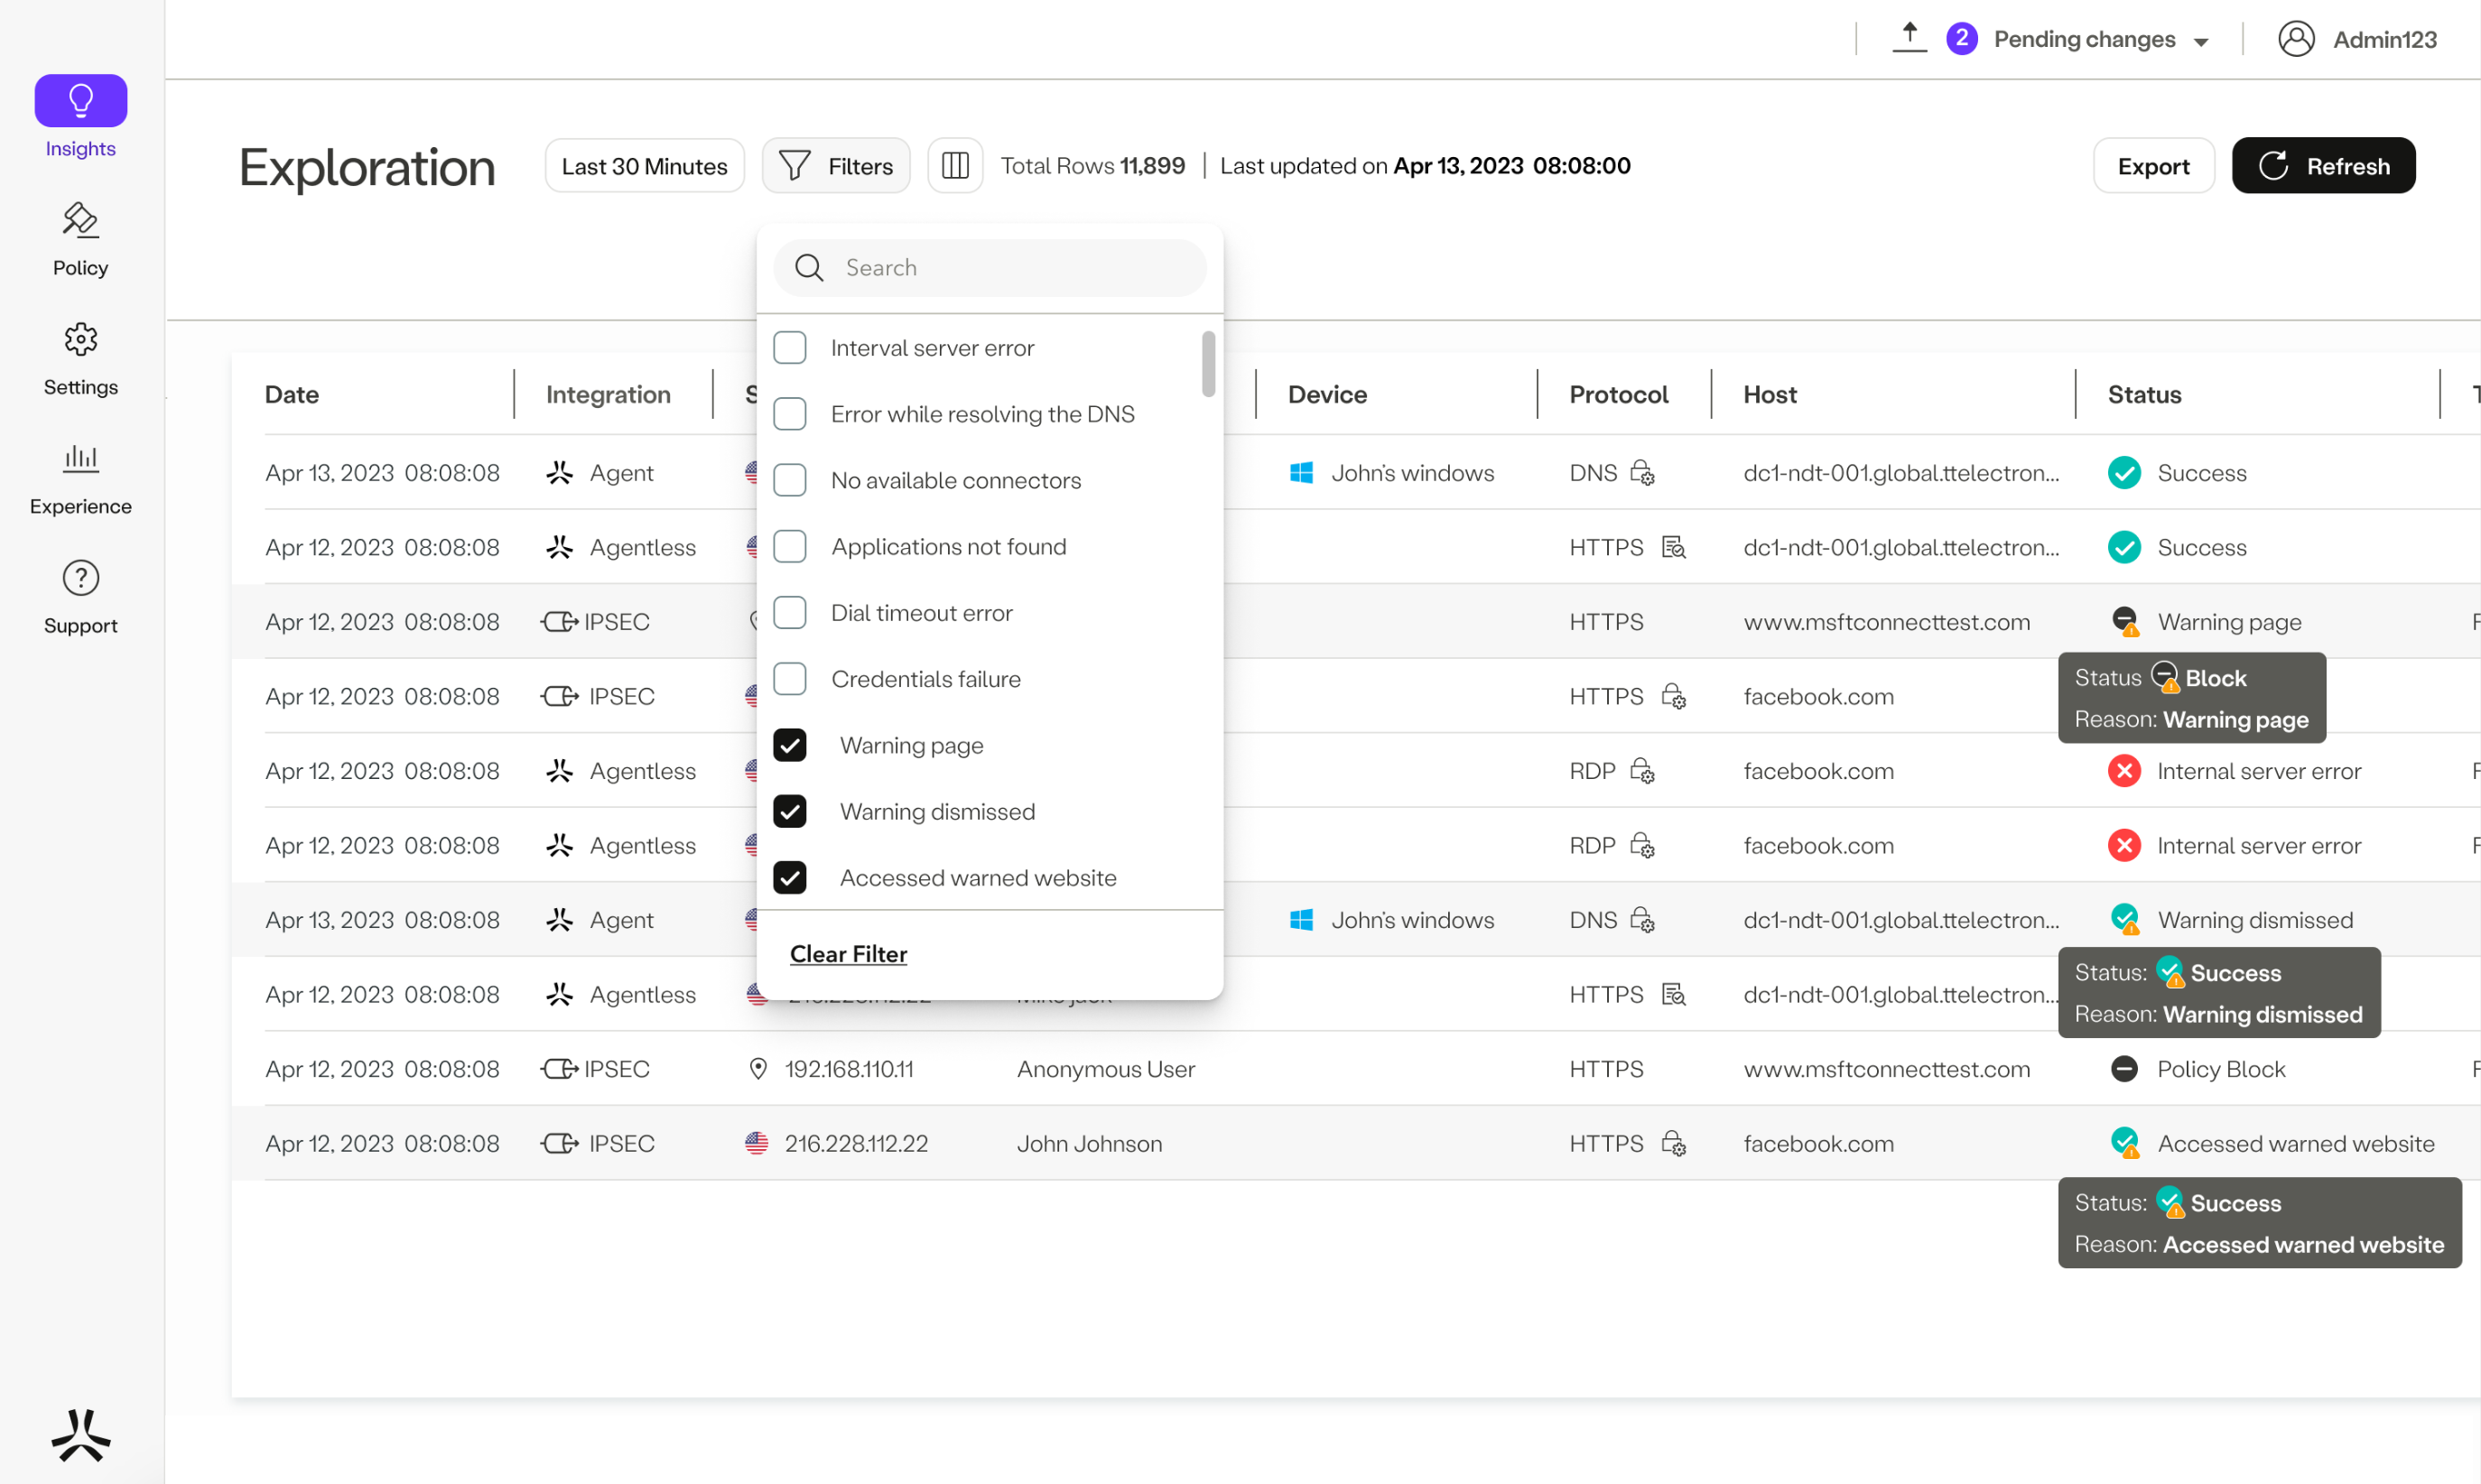
To view warning events in the Activity Exploration:
Filter the events based on the following status reasons:
- Warning Page: This indicates that a user encountered a warning page.
- Warning Dismissed: This indicates that the user opted to continue.
- Accessed Warned Website: This event indicates that a user successfully accessed a website after opting to continue. It's the event you'll observe for every access made during the Dismiss Period.
Updated 25 days ago